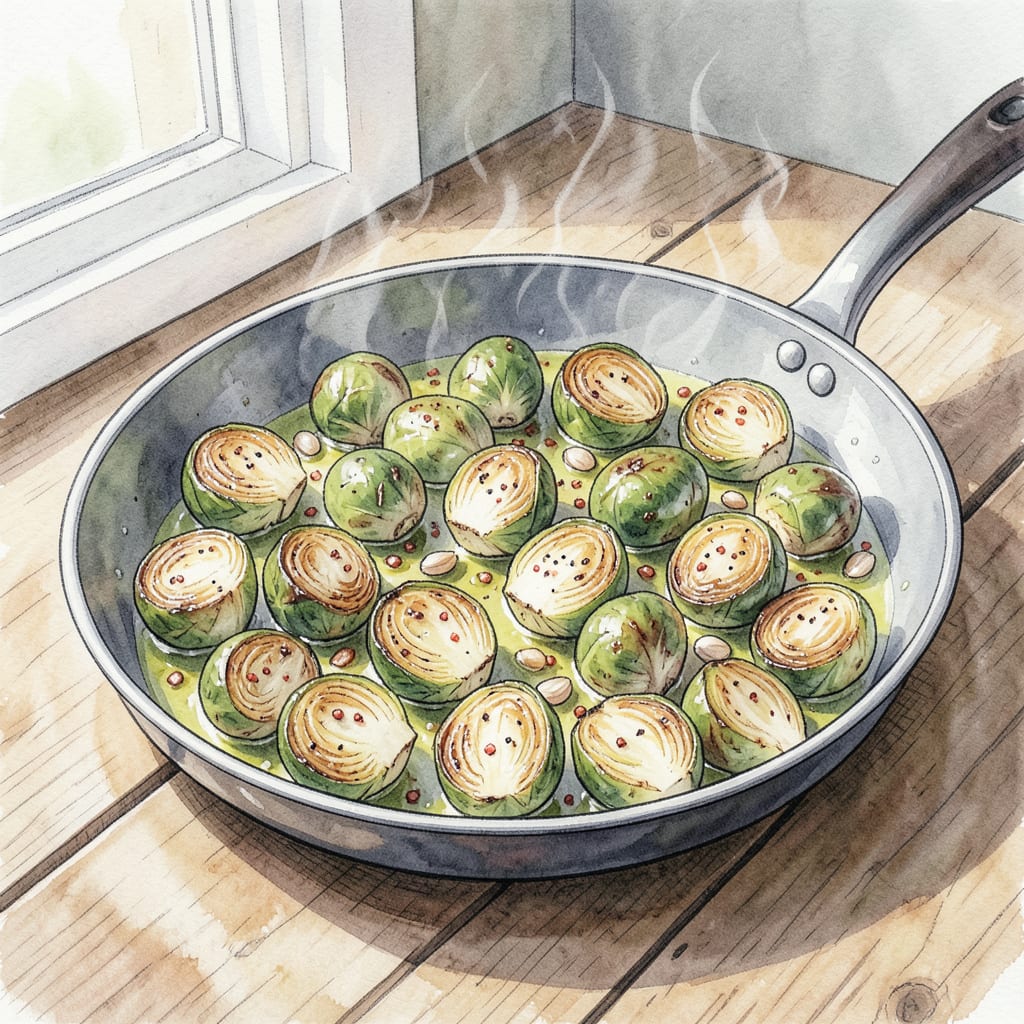
I’ve perfected pan-seared Brussels sprouts that deliver restaurant-quality results in just minutes. My secret? High heat and precise timing create that perfect caramelized exterior while keeping interiors tender.
This foolproof method works beautifully as a side dish for any meal. With simple ingredients and quick cooking, you’ll have a delicious vegetable dish that’s sure to impress. The result is crispy edges and tender centers that elevate any main course.
Ingredients for Sauteed Brussel Sprout
Simple ingredients for a delicious side dish that impresses every time.
| Ingredient | Amount | Notes |
|---|---|---|
| Brussels Sprouts 🥦 | 1 lb | Trimmed, halved |
| Olive Oil 🫒 | 2 tbsp | High-heat cooking oil |
| Garlic Cloves 🧄 | 3 cloves | Minced, fresh |
| Salt 🧂 | ½ tsp | Kosher or sea salt |
| Black Pepper 🌶️ | ¼ tsp | Freshly ground |
| Red Pepper Flakes 🔥 | ¼ tsp | Optional, for heat |
| Lemon Juice 🍋 | 1 tbsp | Freshly squeezed |
| Balsamic Vinegar 🍷 | 1 tbsp | Optional, for glaze |
[recipe_ingredient_scaler]
For the best results, choose firm, vibrant green Brussels sprouts—avoid any with yellowing leaves or soft spots. Most grocery stores carry them pre-trimmed, which saves time. If you’re trimming them yourself, cut in half through the stem to keep them intact. I usually buy mine from Whole Foods when I’m looking for the freshest batch.
No red pepper flakes? Omit or substitute with a pinch of cayenne. Want a richer flavor? Add 1-2 tablespoons of butter with the olive oil. For an extra caramelized exterior, make sure your pan is hot before adding the sprouts—you should hear a nice sizzle when they hit the pan. The garlic can be adjusted to taste, but don’t skip it entirely.
These keep well in an airtight container for 3-4 days in the fridge. Reheat in a pan with a bit of olive oil to restore that crispy texture. You can also make them ahead and reheat them in the oven at 400°F for about 10 minutes to get them crispy again.
Step-by-Step Instructions for Sauteed Brussels Sprouts
Follow these simple steps to achieve perfectly pan-seared Brussels sprouts every time.
Step 1: Prepare the Brussels Sprouts
Start by trimming and halving the 1 lb Brussels Sprouts. I like to remove any damaged outer leaves and trim the stems before cutting them in half. This ensures they cook evenly and quickly. Make sure they’re all roughly the same size so they sauté uniformly.
Once prepared, set them aside until you’re ready to cook. The key here is to have everything ready to go before you start cooking, as Brussels sprouts cook quickly.
Step 2: Sauté the Brussels Sprouts
Heat 2 tbsp Olive Oil in a large skillet over medium-high heat. When the oil is hot and shimmering, add the halved Brussels Sprouts. I like to let them cook undisturbed for 5 minutes to get a nice sear on the cut side. You’ll know they’re ready to stir when they develop a golden brown color.
After the initial sear, stir the Brussels Sprouts occasionally for another 5-7 minutes until they’re tender but still crisp. The total cooking time should be around 10-12 minutes. You’ll know they’re done when they’re tender when pierced with a fork but still retain some crunch.
Step 3: Add Aromatics and Seasoning
During the last 2 minutes of cooking, add 3 cloves minced Garlic Cloves to the skillet. Stir well to distribute the garlic evenly. The heat will release the garlic’s aroma and infuse it into the Brussels Sprouts. Be careful not to burn the garlic – it can go from perfectly toasted to burnt quickly.
Once the Brussels Sprouts are cooked, season them with 0.5 tsp Salt, 0.25 tsp Black Pepper, and 0.25 tsp Red Pepper Flakes (if using). Toss everything together to ensure the seasoning is evenly distributed. The red pepper flakes add a nice touch of heat, but feel free to adjust to your taste.
Step 4: Finish with Lemon Juice and Balsamic Glaze
Remove the skillet from the heat and stir in 1 tbsp Lemon Juice. The acidity will brighten the dish and balance the richness of the Brussels Sprouts. If you’re using 1 tbsp Balsamic Vinegar, drizzle it over the top for a sweet and tangy glaze. I like to use it sparingly to avoid overpowering the natural flavor of the sprouts.
Give everything a final toss to coat the Brussels Sprouts evenly with the lemon juice and balsamic glaze. Serve immediately while they’re still warm and enjoy the perfect blend of flavors and textures.
Make-Ahead Tips for This Recipe
Advance Preparation Tips
To make your sautéed Brussels sprouts meal prep easier, you can trim and halve the sprouts up to 2 days in advance. Store them in an airtight container lined with paper towels to absorb excess moisture. This helps maintain their freshness and saves time during final preparation. I often prep on Sunday for weekday meals.
Make-Ahead Cooking Strategies
You can cook Brussels sprouts completely and reheat them for later use. Simply sauté them as instructed, then cool completely before storing in the refrigerator for up to 3 days. When reheating, use a hot skillet with a bit of olive oil to restore their crispy texture. Alternatively, reheat in a 400°F oven for about 10 minutes until crispy again. 🔥
Storage Best Practices
For optimal storage, place cooled Brussels sprouts in an airtight container or zip-top bag. They’ll keep in the refrigerator for 3-4 days. When storing,
Reheating Techniques
The key to successful reheating is restoring that initial crispiness. For stovetop reheating, use medium-high heat with a bit of olive oil and stir frequently until hot and crispy. For oven reheating, spread them on a baking sheet in a single layer and heat at 400°F for about 10 minutes. Both methods work well, but the oven method is great for larger quantities. ✨
Freezer Storage Option
While best fresh, you can freeze cooked Brussels sprouts for longer storage. Blanch them for 3 minutes before sautéing, then shock in ice water. Once frozen in a single layer on a baking sheet, transfer to freezer-safe bags or containers. They’ll keep for up to 3 months. When ready to eat, reheat from frozen in a hot skillet with some oil.
Meal Prep Variations
To keep things interesting, try different variations when meal prepping. Add crushed red pepper for heat one day, or toss with lemon zest and parmesan another. You can also change up the cooking method by roasting instead of sautéing for a different flavor profile. Experiment with various herbs and spices to keep your meals exciting throughout the week.
Nutrition Facts

Trained in classic French technique but raised on slow-cooked ribs and spicy rubs, she blends culinary skill with smoke and soul.
- Recipe for Boneless Pork Chops in Cast Iron Skillet: Sear and Baste to Juicy Perfection - October 3, 2026
- Recipe for Boneless Cross Rib Roast: Slow-Roasted Beef with Herb Crust - October 3, 2026
- Hamburgers in Sauce Recipe Crock Pot: Slow-Cooked Savory Delight - October 3, 2026