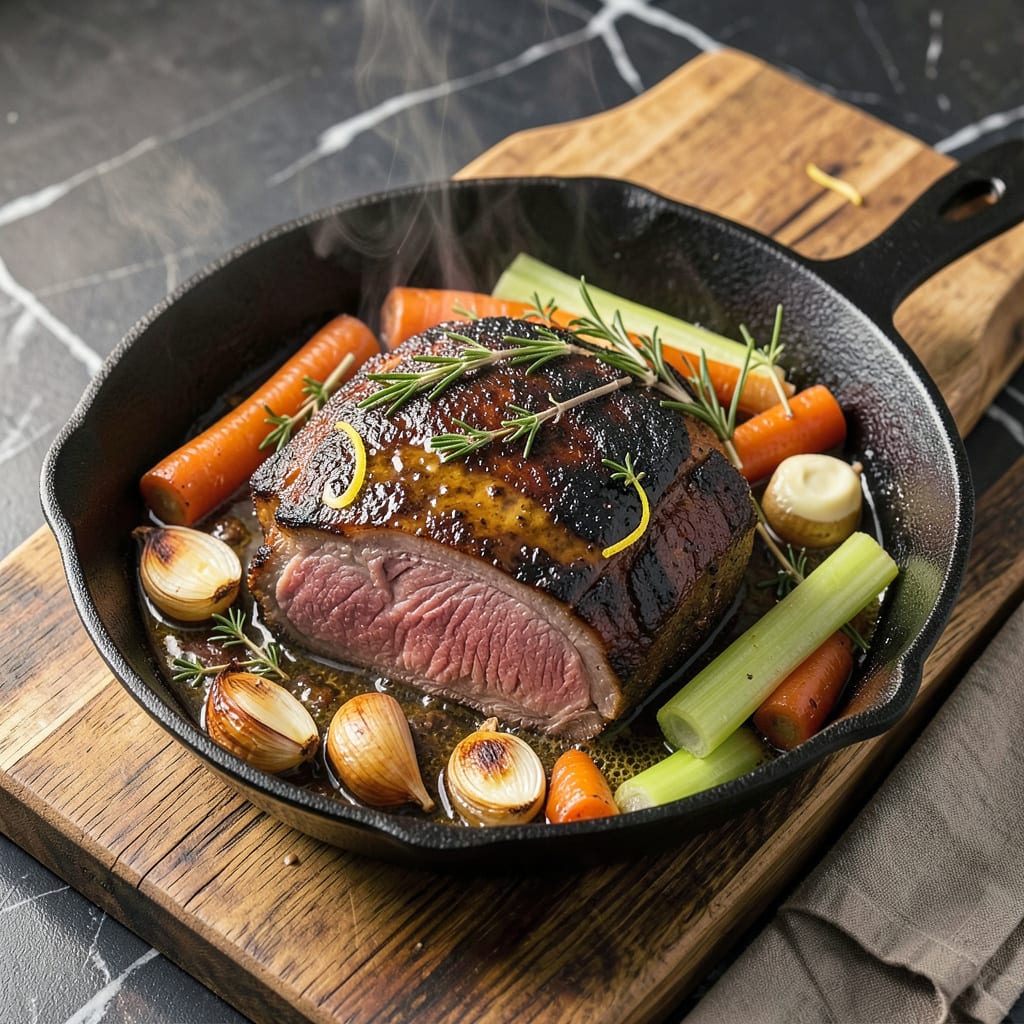
That first sizzle when a roast hits a screaming-hot pan is pure magic. I still remember my dad’s face lighting up when he pulled a perfectly crusty roast from the oven, that golden-brown bark crackling like autumn leaves. This isn’t just cooking—it’s alchemy, turning tough cuts into juicy, flavor-packed masterpieces with one crucial step.
Most home cooks skip the sear, but that’s where you build layers of flavor. A proper sear creates a caramelized crust that locks in moisture while adding depth you can’t get any other way. I’ve ruined more roasts than I care to admit by rushing this step—don’t make my mistake. Five minutes of patience now means the difference between “meh” and “more please” later.
The secret lies in high heat and dry surfaces. Your meat should hiss aggressively when it hits the pan, and you need to resist the urge to fiddle with it. Let that crust form undisturbed—this is where the Maillard reaction works its magic, transforming simple proteins into complex, savory goodness. The payoff comes when you slice into that perfect medium-rare center surrounded by a crispy, flavorful exterior.
Whether it’s a Sunday supper or holiday centerpiece, this method delivers restaurant-quality results every time. The aroma alone will have everyone gathering in the kitchen before the timer even goes off. Now let’s get that pan screaming hot and make some memories.
📚 In This Guide
- What You’ll Need
- Instructions
- Tips and Common Mistakes
What Youll Need
- ● Roast of choice – 3–5 lbs (beef, pork, or lamb; bone-in or boneless)
- ● High-smoke-point oil – 2–3 tbsp (avocado, grapeseed, or refined coconut oil 🌿)
- ● Kosher salt – 1.5–2 tbsp (coarse grind for better crust)
- ● Freshly ground black pepper – 1–2 tsp
- ● Heavy-bottomed pan – 12″ stainless steel or cast iron skillet (🔥 oven-safe if finishing in oven)
- ● Tongs – 12″ heat-resistant, no plastic!
- ○ Meat thermometer – instant-read for precision (🌡️ optional but highly recommended)
- ● Paper towels – for patting meat dry
- ○ Butter – 2 tbsp (optional, for basting)
- ○ Fresh herbs – 3–4 sprigs (thyme, rosemary, or sage; optional for aroma)
- ○ Garlic cloves – 2–3 (crushed, optional for flavor boost)
- ● Kitchen exhaust fan – or open windows—searing gets smoky! 💨
Instructions
Here’s how to achieve that perfect sear—crispy, flavorful, and foolproof every time.
Prep the Roast for Even Cooking
Start by patting the roast completely dry with paper towels. This is the most important step—any moisture on the surface will steam instead of sear, preventing that beautiful crust. Pay special attention to crevices and folds where water tends to collect.
Let the roast sit at room temperature for 30-45 minutes before searing. This ensures even cooking from edge to center. While it rests, season aggressively with kosher salt and freshly ground black pepper on all sides, pressing the seasoning into the meat so it adheres.
Heat the Pan to the Right Temperature
Choose a heavy pan (cast iron works best) and place it over medium-high heat for 5 minutes until it’s screaming hot. You’ll know it’s ready when a drop of water sizzles and evaporates instantly upon contact. Add just enough neutral oil to coat the bottom—about 2 tablespoons—and swirl to distribute.
The oil should shimmer but not smoke. If it starts smoking, your pan is too hot—reduce the heat slightly. This is the sweet spot where you’ll get maximum browning without burning. Don’t rush this step; proper pan temperature is what creates that deep, flavorful crust.
Sear All Sides for Maximum Flavor
Carefully place the roast in the hot pan. You should hear an immediate, aggressive sizzle—if you don’t, your pan isn’t hot enough. Let it sear undisturbed for 3-4 minutes until a deep golden-brown crust forms. Resist the urge to move it; this allows the Maillard reaction to work its magic.
Use tongs to turn the roast, searing each side (including the ends) for 2-3 minutes until evenly browned. You’re looking for a rich, caramelized crust—not blackened, but a deep mahogany color. The crust should feel slightly resistant when pressed with tongs.
Rest Before Finishing the Cook
Transfer the seared roast to a wire rack set over a baking sheet. Let it rest for 10 minutes before moving to the next cooking stage (oven, slow cooker, etc.). This brief rest allows the surface temperature to equalize, preventing the crust from overcooking during the final cook.
You’ll notice the crust becomes slightly firmer as it rests—that’s normal. The interior temperature will also rise about 5-10 degrees during this time (carryover cooking), so account for this in your final cooking calculations. The seared surface should remain intact, not cracked or peeling.
Tips and Common Mistakes
Here’s what I’ve learned from years of searing roasts—small details that make a huge difference in your final result.
The Drying Secret: In Step 1, don’t just pat the roast dry—press firmly with paper towels until no moisture comes off when you touch it. I’ve found that even a thin film of moisture creates steam instead of that perfect crust. Pay extra attention to folds and crevices where water hides. This step alone transforms your sear from good to restaurant-quality.
Heat Control: When heating your pan in Step 2, watch for the oil to develop fine ripples across the surface—that’s your visual cue it’s ready. The 5 minutes at medium-high heat is perfect for cast iron, but if using stainless steel, you might need an extra minute. Never let the oil smoke; that’s your signal to reduce heat slightly before adding the meat.
Timing Precision: During Step 3’s searing process, set a timer for exactly 3 minutes before checking the first side. The crust should release easily from the pan when properly seared—if it sticks, give it another 30 seconds. For the remaining sides, the 2-3 minute range accounts for different thickness; thicker ends need the full 3 minutes while thinner edges may be done at 2.
Resting Wisdom: That 10-minute rest in Step 4 isn’t just about carryover cooking—it’s when the crust sets completely. I place my roast on a rack (not directly on the baking sheet) to allow air circulation underneath, preventing any potential sogginess from trapped steam. The crust will actually become slightly crispier during this rest if you’ve dried the meat thoroughly in Step 1.
Pro Tips for Searing A Roast
- Here’s what I’ve learned from years of searing roasts—small details that make a huge difference in your final result.
- The Drying Secret: In Step 1, don’t just pat the roast dry—press firmly with paper towels until no moisture comes off…
- Heat Control: When heating your pan in Step 2, watch for the oil to develop fine ripples across the surface—that’s yo…
Frequently Asked Questions
How long should I sear a roast to get the perfect crust?
Sear each side for 2-4 minutes over medium-high to high heat (400–450°F). Larger roasts (3+ lbs) may need 4–5 minutes per side. Listen for that satisfying sizzle—it’s your cue the Maillard reaction is working! Avoid moving the meat too soon; let it develop a deep brown crust before flipping.
Can I sear a roast in an air fryer or slow cooker?
Air fryers work great for searing smaller roasts (under 3 lbs)! Preheat to 400°F and sear for 5–8 minutes, turning once. Slow cookers? Not ideal—they lack high-heat capability. For best results, sear in a skillet first, then transfer to the slow cooker. Pro tip: Use an oven-safe skillet to go from stovetop to oven seamlessly.
Why does my roast stick to the pan when searing?
Sticking usually means one of two things: the pan isn’t hot enough or the meat isn’t dry. Pat the roast very dry with paper towels before searing, and ensure your oil is shimmering (not smoking) before adding the meat. Stainless steel or cast iron pans work best—nonstick lacks crust-building power!
Do I need to sear a roast before slow-roasting or braising?
Technically no, but yes—always sear! Skipping this step means missing out on deep, caramelized flavors. Searing also renders fat, which enriches braising liquids or pan sauces. Even a quick 2-minute sear per side makes a huge difference in taste and texture. Exception: Ultra-tender cuts like filet mignon can skip searing if braised long enough.
What’s the best oil for searing a roast?
Choose oils with a high smoke point: avocado oil (520°F), grapeseed oil (420°F), or refined coconut oil (450°F). Avoid butter (burns easily) or extra-virgin olive oil (smoke point ~375°F). For extra flavor, use a mix of oil and a small pat of butter toward the end of searing. Bonus: Save the browned bits (fond) for gravy!
Mastering the art of searing a roast unlocks a world of rich, caramelized flavor and juicy perfection. 🥩 With the right heat, technique, and patience, you’ll transform an ordinary cut into a showstopping centerpiece—every single time. Now that you’ve got the know-how, it’s time to put it into practice!
Grab your favorite roast, fire up that pan, and let the sizzle begin. For your next step, try experimenting with different herb crusts or marinades to make your dish truly unforgettable. Happy cooking—your taste buds will thank you! 😉

Trained in classic French technique but raised on slow-cooked ribs and spicy rubs, she blends culinary skill with smoke and soul.
- Recipe for Boneless Pork Chops in Cast Iron Skillet: Sear and Baste to Juicy Perfection - October 3, 2026
- Recipe for Boneless Cross Rib Roast: Slow-Roasted Beef with Herb Crust - October 3, 2026
- Hamburgers in Sauce Recipe Crock Pot: Slow-Cooked Savory Delight - October 3, 2026