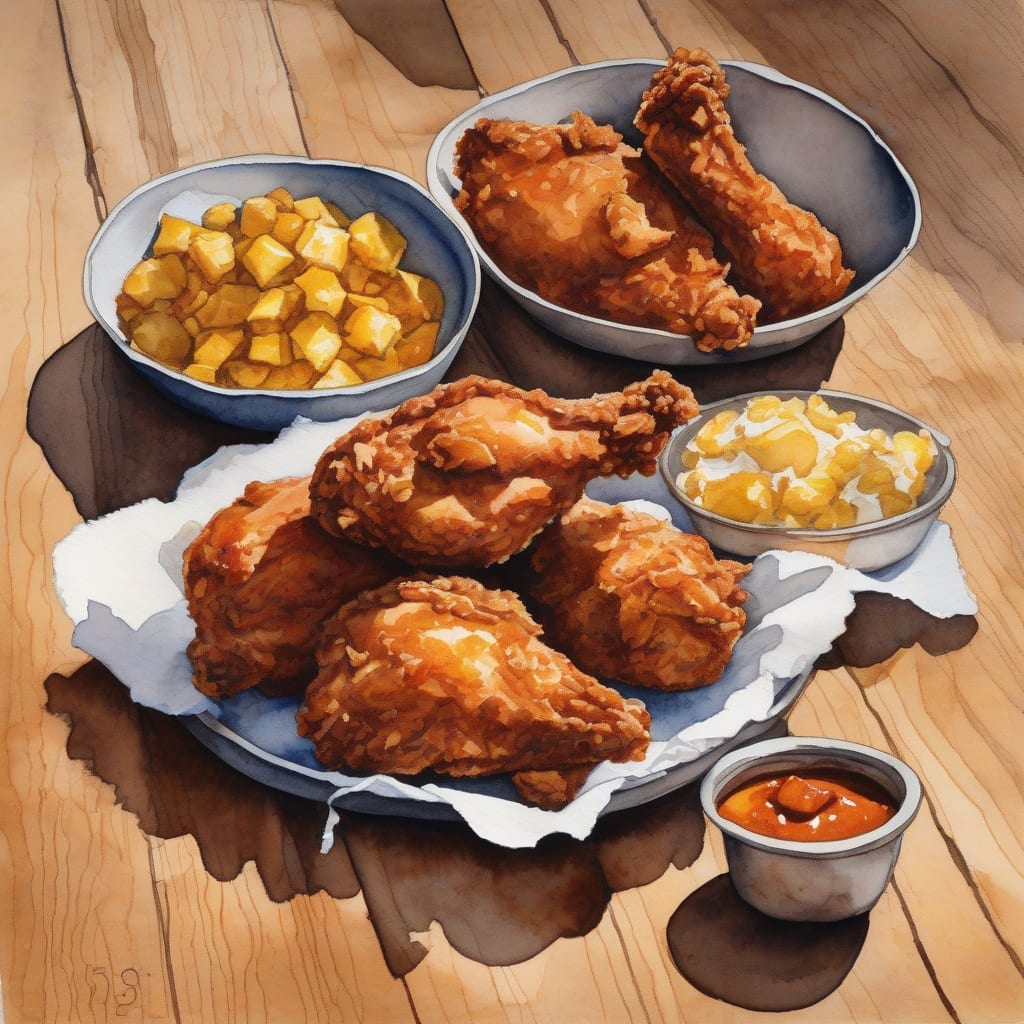
Imagine biting into a piece of fried chicken that’s perfectly crispy on the outside and irresistibly juicy on the inside. This dish has become a favorite of mine, and I can’t wait to share the secrets that make it exceptional.
What sets this recipe apart is its straightforward approach. With simple ingredients and techniques, achieving restaurant-quality fried chicken at home is easier than you might think. This method guarantees a crispy coating and tender meat every time.
By the end of this cooking adventure, you’ll have golden-brown chicken pieces that are bursting with flavor. Trust me, once you try this recipe, it will be your go-to for fried chicken nights. Let’s get started!
Ingredients for Shaq fried chicken
Gather these fresh ingredients and you’ll have crispy, juicy chicken ready in no time.
| Ingredient | Amount | Notes |
|---|---|---|
| Chicken Pieces 🍗 | 3 lb | Bone-in, skin-on for best flavor |
| All-Purpose Flour 🌾 | 2 cups | For coating chicken |
| Cornstarch 🌽 | ½ cup | For extra crispiness |
| Baking Powder 🍞 | 1 tbsp | Helps the coating puff up |
| Salt 🧂 | 1 ½ tbsp | Kosher or sea salt preferred |
| Black Pepper 🌶️ | 1 tbsp | Freshly ground for flavor |
| Garlic Powder 🧄 | 1 tbsp | Adds depth to the seasoning |
| Onion Powder 🧅 | 1 tbsp | For added flavor complexity |
| Cayenne Pepper 🔥 | ½ tsp | Adjust for heat preference |
| Vegetable Oil 💧 | 4 cups | For frying chicken pieces |
[recipe_ingredient_scaler]
You can find all these ingredients at your local grocery store. For the best quality chicken, choose pieces with a good amount of fat and skin. Brands like Perdue or Tyson offer reliable options. Ensure that your flour is unbleached for better texture, and check that your spices are fresh for maximum flavor impact.
If you don’t have cornstarch, you can substitute with additional flour, but the coating may be less crispy. Try using smoked paprika instead of cayenne for a different flavor profile. For a gluten-free option, substitute all-purpose flour with a gluten-free flour blend and ensure your spices are gluten-free.
Store any leftover fried chicken in an airtight container in the fridge for up to 4 days. To maintain crispiness, reheat in an oven rather than a microwave. You can also freeze cooked chicken for up to 3 months; just ensure it’s well-wrapped to prevent freezer burn.
Step-by-Step Instructions for Shaq Fried Chicken
Let me guide you through my method to achieve crispy and juicy fried chicken that’s sure to impress.
👨🍳 Step 1: Prepare the Chicken
Start by washing the 3 lb chicken pieces under cold water and pat them dry with paper towels. This helps to ensure that the coating sticks properly. If you have time, letting the chicken sit uncovered in the refrigerator for about 30 minutes will help it dry out even more, resulting in crispier skin when fried.
Next, season the chicken generously with 1.5 tbsp salt and 1 tbsp black pepper. I like to rub the seasoning under the skin as well to enhance the flavor throughout the meat. This step is crucial for a flavor-packed bite!
🍳 Step 2: Mix the Coating
In a large bowl, combine 2 cups all-purpose flour, 0.5 cup cornstarch, 1 tbsp baking powder, 1 tbsp garlic powder, 1 tbsp onion powder, and 0.5 tsp cayenne pepper. I always sift these together to prevent any lumps and ensure an even distribution of ingredients. The cornstarch is key for that extra crispiness you’re after!
Toss the chicken pieces in the flour mixture one at a time, ensuring each piece is thoroughly coated. I like to press the flour onto the chicken firmly; this creates a thicker crust that will hold up during frying.
🔥 Step 3: Heat the Oil and Fry
In a large, heavy pot or deep fryer, heat 4 cups vegetable oil to 350°F. Use a thermometer for accuracy because maintaining this temperature is crucial for frying. If the oil is too cool, the chicken will absorb excess oil; if it’s too hot, the coating will burn before cooking through.
Carefully add the chicken pieces to the hot oil, making sure not to overcrowd the pot. Fry in batches if necessary. Cook for about 12-15 minutes, turning occasionally until the chicken is golden brown and a thermometer reads 165°F in the thickest part. The aroma will be heavenly, and you’ll see that beautiful golden color developing!
⏰ Step 4: Drain and Rest
Once cooked, transfer the fried chicken to a wire rack set over a baking sheet to drain excess oil. I recommend letting them rest for at least 5-10 minutes. This resting period allows the juices to redistribute, keeping your chicken juicy on the inside while maintaining that crispy exterior.
Avoid placing them directly on paper towels; this can cause steam to build up and make the coating soggy. Enjoy your perfectly crispy and juicy fried chicken with your favorite sides!
Transform Your Fried Chicken Game: Essential Cooking Tips
When it comes to achieving the perfect fried chicken, the right techniques can make all the difference. Start by ensuring your chicken pieces are dry before coating them. I recommend letting them sit uncovered in the fridge for about 30 minutes. This helps the skin become crispier when fried. 🍗
The seasoning is crucial! Generously rub a mixture of 1.5 tbsp salt and 1 tbsp black pepper under the skin and on the surface. This not only flavors the meat but also enhances that delicious crispy coating we all love. I always use freshly ground black pepper for the best flavor impact. 🌶️
For the coating, combining 2 cups all-purpose flour, 0.5 cup cornstarch, and various seasonings ensures a crunchy texture. I sift everything together to avoid lumps, which can lead to uneven frying. The cornstarch is a game-changer for extra crispiness! 🔥
Maintaining oil temperature is essential during frying. Heat your oil to 350°F, and use a thermometer to check. If it’s too hot, the coating burns; too cool, and your chicken absorbs excess oil. Fry in batches to avoid overcrowding, ensuring even cooking and that beautiful golden color.
Lastly, let your fried chicken rest on a wire rack instead of paper towels. This prevents steam from making the coating soggy and allows the juices to redistribute within the meat for maximum juiciness. Enjoy your perfectly crispy fried chicken with your favorite sides! 💛
Nutrition Facts
650kcal

Trained in classic French technique but raised on slow-cooked ribs and spicy rubs, she blends culinary skill with smoke and soul.
- Recipe for Boneless Pork Chops in Cast Iron Skillet: Sear and Baste to Juicy Perfection - October 3, 2026
- Recipe for Boneless Cross Rib Roast: Slow-Roasted Beef with Herb Crust - October 3, 2026
- Hamburgers in Sauce Recipe Crock Pot: Slow-Cooked Savory Delight - October 3, 2026