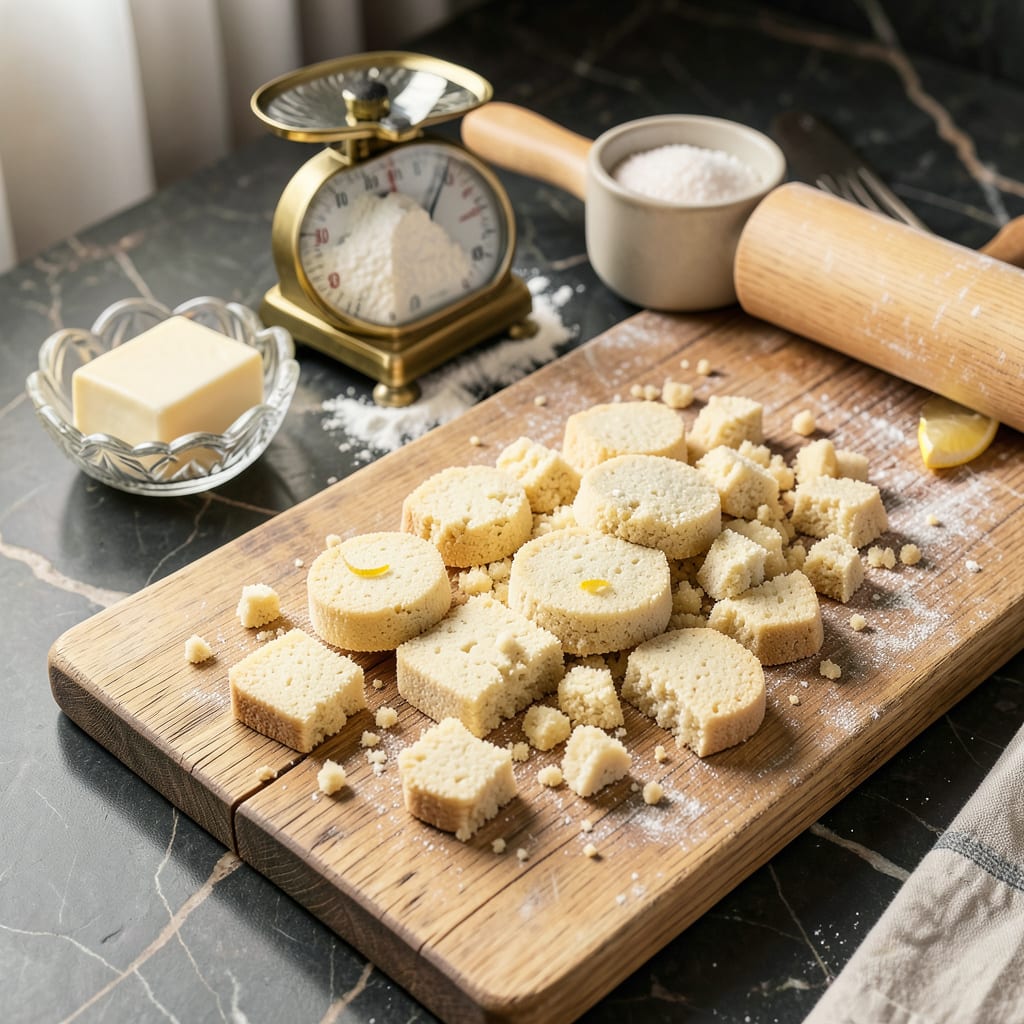
I’ll be real with you—nothing’s more frustrating than pulling shortbread out of the oven only to have it crumble into dust at the first touch. After burning through more batches than I’d like to admit (and nearly giving up on shortbread entirely), I finally cracked the code for cookies that hold their shape while staying melt-in-your-mouth tender.
Here’s the thing—most shortbread recipes fail to mention the delicate balance between butter and flour. Too much flour makes it dry and brittle, while too little leaves it greasy. The perfect ratio exists, and once you nail it, you’ll get that ideal firm-but-tender texture every time. No more sad piles of crumbs when you try to slice a wedge.
What you’re aiming for is shortbread that holds together when you press it but still dissolves on your tongue. The secret? Chilling the dough before baking and watching for that magic moment when the edges turn just barely golden. I’ve tested this method with everything from classic vanilla to brown butter variations, and it works every single time.
Whether you’re making holiday gifts or just craving that buttery crunch, this method will save you from the crumbly shortbread curse. Let’s fix this once and for all—your cookie tin will thank you.
📚 In This Guide
- What You’ll Need
- Instructions
- Tips and Common Mistakes
What Youll Need
- ● Ingredients: 2 cups (250g) all-purpose flour (spooned & leveled, not scooped) 🌾
- ● 1 cup (225g) unsalted butter (cold, cut into cubes) 🧈
- ● ½ cup (60g) powdered sugar (sifted for smoothness) ⚪
- ● ¼ tsp salt (omit if using salted butter) 🧂
- ○ Optional: 1 tsp vanilla extract or ½ tsp almond extract for flavor 🌸
- ● Tools: 9-inch (23cm) round tart pan or square baking pan (for even edges) 🍪
- ● Food processor or pastry cutter (for perfect butter-flour blend) ✨
- ● Plastic wrap (for chilling dough) ❄️
- ● Fork or docking tool (to prick dough before baking) 🍴
- ● Sharp knife or bench scraper (for clean cuts) 🔪
- ● Prerequisites: Butter must be cold (60–65°F / 15–18°C)—no soft or melted butter! ❄️
- ● Preheat oven to 325°F (160°C) (low and slow is key!). 🔥
- ● Chill dough for at least 30 minutes before baking (prevents spreading). ⏰
Instructions
Let’s fix that crumbly shortbread together—these steps will transform your texture from fragile to perfectly firm yet tender.
Evaluate Your Butter Ratio
The most common cause of crumbly shortbread is insufficient fat to bind the dry ingredients. Start by checking your butter measurement—it should be 1 part butter to 2 parts flour by weight (not volume). If you used cups, weigh your ingredients: 8 ounces butter to 16 ounces flour is the ideal ratio.
I’ve found that even slightly less butter can make the difference between cohesive dough and crumbly disaster. If your mixture feels dry when you press it together, work in an additional 1-2 tablespoons of softened butter until the dough just holds its shape when squeezed. The texture should resemble wet sand that clumps when pressed—not sticky, not dry.
Rework the Dough Properly
If your shortbread is already baked and crumbly, don’t despair—we can still salvage it. Crumble the cooled cookies into fine pieces in a food processor. Add 1-2 tablespoons of melted butter per cup of crumbs and pulse until the mixture starts to clump together when pressed between your fingers.
For unbaked dough that’s too dry, transfer it to a clean surface and knead gently with your palms for 30-60 seconds. The warmth from your hands will help distribute the fat more evenly. Press the dough firmly into your pan—don’t just drop spoonfuls. Use the bottom of a measuring cup to compact it uniformly. This eliminates air pockets that create weak spots.
Adjust Your Mixing Technique
Here’s the thing—overmixing develops gluten, but undermixing leaves dry pockets. The perfect shortbread texture comes from creaming the butter and sugar until light and fluffy (about 3-4 minutes on medium speed), then mixing in the flour just until it disappears. You should still see a few flour streaks when you stop mixing.
Real talk: if you’re using a food processor, pulse in 5 one-second bursts after adding flour. With a stand mixer, use the lowest speed and mix for no more than 20 seconds. The dough will look crumbly in the bowl but should press together easily. This is normal—shortbread firms up during baking, not mixing.
Bake at the Right Temperature
A too-hot oven can cause the butter to melt before the flour sets, leading to spread and crumbliness. Preheat to 300°F—no higher—and bake on the middle rack for even heat distribution. The edges should turn pale golden brown after 30-40 minutes, but the center will still look soft. That’s perfect.
Here’s what I do: rotate the pan halfway through baking for even browning. Don’t cut the shortbread while warm—let it cool completely in the pan on a wire rack for at least 2 hours. This resting period allows the butter to solidify again, creating that signature firm-yet-tender texture. Cutting too soon is the #1 reason for crumbly results.
Store for Optimal Texture
Once completely cool, store your shortbread in an airtight container at room temperature with a slice of bread. The bread’s moisture will regulate the environment, keeping your cookies tender but firm. Avoid the refrigerator—it dries out shortbread and accentuates crumbliness.
If your shortbread still seems fragile after baking, brush the warm (not hot) surface lightly with melted butter using a pastry brush. This adds just enough fat to bind the crumbs without making them greasy. Let it absorb for 10 minutes before cutting. The result should be crisp edges with a melt-in-your-mouth center—exactly what shortbread should be.
Tips and Common Mistakes
Perfect shortbread is all about the details—here’s what I’ve learned from years of baking.
Butter Ratio Secret: The 1:2 butter-to-flour ratio by weight (8 ounces butter to 16 ounces flour) is non-negotiable. I learned this the hard way after several batches fell apart. When measuring by volume, spoon flour into cups lightly—don’t scoop directly from the bag, which can pack in up to 25% more flour. That extra flour makes all the difference between crumbly and cohesive. If your dough feels dry after mixing, work in that additional 1-2 tablespoons of softened butter mentioned in Step 1—it’s often the missing link.
Mixing Technique Breakthrough: Those 3-4 minutes of creaming butter and sugar in Step 3 aren’t just suggestions. This step incorporates air that creates shortbread’s signature tender crumb. Use a timer and watch for the mixture to turn pale and increase in volume. When adding flour, remember the 5 one-second pulses or 20-second mixer rule from Step 3—the dough should look crumbly but press together easily. Overmixing develops gluten, which is the enemy of tender shortbread.
Baking Temperature Wisdom: The 300°F oven temperature in Step 4 is crucial for even baking without butter leakage. I always use an oven thermometer to verify my oven’s accuracy—many run 25°F hot or cold. Rotate your pan halfway through the 30-40 minute bake time for uniform browning. The edges should be pale golden while the center remains soft when you pull it out. That two-hour cooling period isn’t optional; it’s when the magic happens as the butter resets.
Storage Strategy: The bread trick in Step 5 might seem odd, but it works wonders. A single slice of bread in your airtight container creates the perfect humidity level to maintain that firm-yet-tender texture for days. Avoid plastic wrap directly on the cookies—it can make them soggy. If your shortbread still seems fragile after baking, that 10-minute melted butter brush technique from Step 5 adds just enough binding power without altering the flavor.
Pro Tips for Shortbread Too Crumbly
- Perfect shortbread is all about the details—here’s what I’ve learned from years of baking.
- Butter Ratio Secret: The 1:2 butter-to-flour ratio by weight (8 ounces butter to 16 ounces flour) is non-negotiable. …
- Mixing Technique Breakthrough: Those 3-4 minutes of creaming butter and sugar in Step 3 aren’t just suggestions. This…
Frequently Asked Questions
Why is my shortbread falling apart when I cut it?
Your shortbread is likely too dry or lacks enough fat. Overworking the dough or using too much flour can also cause crumbling. Try adding 1-2 tbsp of melted butter to the dough before baking, and avoid rolling it too thin. Chilling the dough for 30 minutes before cutting helps too!
Can I fix crumbly shortbread after baking?
Yes! Brush warm shortbread with a thin layer of melted butter or lightly press crumbs together with a bit of corn syrup (1 tsp). For a quick fix, serve with whipped cream or ice cream to hold slices together. Just avoid overhandling—it’ll crumble more!
What’s the best flour for non-crumble shortbread?
Use low-protein flour like cake flour or pastry flour (8-9% protein). All-purpose works in a pinch, but avoid bread flour—it’s too high in gluten. For extra tenderness, replace 10% of the flour with cornstarch. Pro tip: Weigh flour instead of scooping!
How long should I chill shortbread dough to prevent crumbling?
Chill for at least 30 minutes (up to 2 hours). This lets the butter firm up, reducing spread and crumbles. If dough is too warm, it’ll melt unevenly in the oven. For cut-out shapes, freeze for 10 minutes before baking for crisp edges.
Can I substitute oil for butter in shortbread?
Not recommended! Butter’s solid fat structure is key for shortbread’s texture. Oil (even coconut oil) makes cookies greasy and prone to crumbling. If you must substitute, use shortening (1:1 ratio) but expect a less rich flavor. Stick to butter for classic results!
Don’t let crumbly shortbread discourage you—now you’ve got the tools to bake buttery, perfectly textured cookies every time! 🍪✨ The secret lies in balancing your ingredients, nailing the mixing technique, and giving your dough the right chill time. Whether it’s adjusting your flour ratio, checking your butter temperature, or avoiding overbaking, small tweaks make a big difference.
Ready to put these fixes to the test? Grab your mixing bowl and try again—your next batch could be the best one yet! For extra confidence, bookmark this guide or share it with a fellow baking buddy. Happy baking! 👩🍳💛

Trained in classic French technique but raised on slow-cooked ribs and spicy rubs, she blends culinary skill with smoke and soul.
- Recipe for Boneless Pork Chops in Cast Iron Skillet: Sear and Baste to Juicy Perfection - October 3, 2026
- Recipe for Boneless Cross Rib Roast: Slow-Roasted Beef with Herb Crust - October 3, 2026
- Hamburgers in Sauce Recipe Crock Pot: Slow-Cooked Savory Delight - October 3, 2026