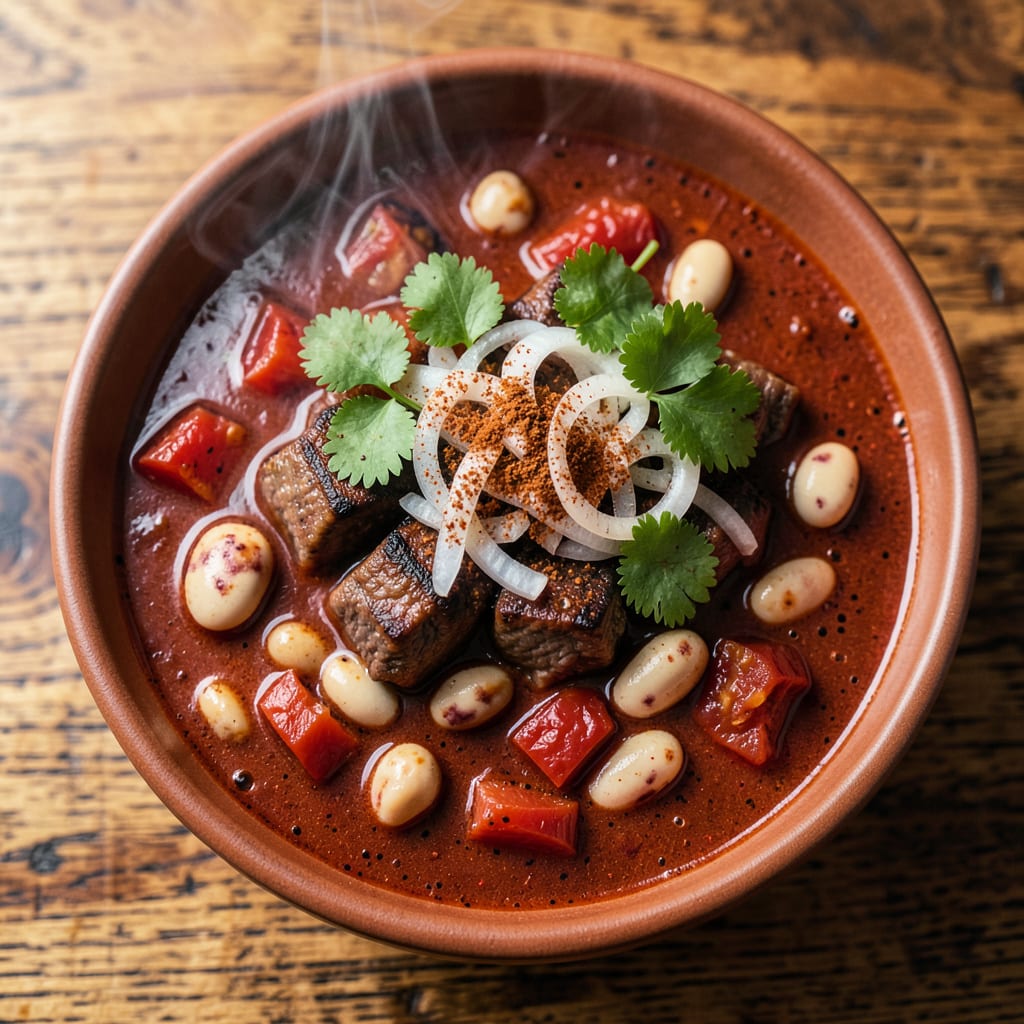
There’s nothing like a bowl of chili that hits you with deep, smoky flavor from the first bite. I’ve been perfecting this recipe for years, and the secret weapon is always smoked paprika—it transforms basic chili into something rich and complex. That first whiff of spices blooming in hot oil still gets me every time, just like my family’s backyard cookouts did when I was a kid.
This isn’t your average chili. The smoked paprika adds layers of warmth and subtle heat without overpowering the other spices. I tested batches with different amounts until I found that sweet spot where the smokiness enhances the beef and beans instead of competing with them. And here’s the thing—you don’t need fancy equipment or hours of simmering to get it right.
What you’ll end up with is a thick, hearty chili where every spoonful delivers that perfect balance of meaty richness, bean texture, and smoky depth. The aroma alone will have everyone gathering around the pot before it’s even done. I like to finish mine with sharp cheddar and fresh cilantro for contrast, but the toppings are really up to you.
Whether you’re feeding a crowd or meal prepping for the week, this chili holds its own. The flavors actually get better overnight, making it ideal for make-ahead meals. Just remember—good chili starts with good spices, and smoked paprika is the one you don’t want to skip.
📚 In This Guide
- What You’ll Need
- Instructions
- Tips and Common Mistakes
What Youll Need
- ● Ingredients (Serves 6-8): 2 lbs ground beef (80/20 lean-to-fat ratio for best flavor) OR 1.5 lbs ground turkey/chicken for a lighter option
- ● 2 (15 oz) cans kidney beans, drained & rinsed (or 3 cups cooked beans)
- ● 1 (28 oz) can crushed tomatoes (fire-roasted for extra smokiness!)
- ● 1 large yellow onion, diced (~2 cups)
- ● 1 bell pepper (any color), diced (~1.5 cups)
- ● 4 garlic cloves, minced
- ● 2–3 tbsp smoked paprika (🔥 key ingredient! Use sweet or hot variety)
- ● 1 tbsp ground cumin
- ● 1 tsp dried oregano
- ○ 1–2 chipotle peppers in adobo (optional, for extra heat/smoke)
- ● 4 cups beef or vegetable broth (low-sodium preferred)
- ● 2 tbsp tomato paste
- ● 1 tbsp olive oil or avocado oil
- ● Salt & black pepper to taste
- ● Tools & Equipment: 1 large pot or Dutch oven (5–6 quart capacity, heavy-bottomed)
- ● Wooden spoon or silicone spatula for stirring
- ● Chef’s knife & cutting board
- ● Measuring spoons & cups
- ● Can opener (if using canned beans/tomatoes)
- ● Ladle for serving
- ○ Slow cooker (optional, for hands-off cooking)
- ○ Optional Toppings: Shredded cheddar cheese or pepper jack
- ● Sour cream or Greek yogurt
- ● Fresh cilantro, chopped
- ● Diced avocado or guacamole
- ● Pickled jalapeños (for heat lovers!)
- ● Crushed tortilla chips or cornbread
Instructions
Here’s how to build layers of smoky flavor that’ll make this chili unforgettable.
Bloom the Spices for Maximum Flavor
Heat a large Dutch oven over medium heat until warm. Add the smoked paprika along with your other dry spices (like cumin and chili powder) to the dry pot. Toast them for about 1 minute, stirring constantly, until you can smell their aroma filling your kitchen.
This blooming process wakes up the spices and intensifies their flavors. The smoked paprika will develop a deeper, richer character when briefly toasted. Just be careful not to let them burn – if the spices start to smoke, remove the pot from heat immediately and reduce your burner temperature.
Build the Flavor Base with Aromatics
Add a small amount of oil to the pot with your bloomed spices, then stir in diced onions. Cook them for 5-7 minutes until they become translucent and start to soften. The onions will absorb all those beautiful toasted spice flavors as they cook.
Next, add minced garlic and cook for just 30 seconds until fragrant. You’ll know it’s ready when you can smell the garlic’s sweet aroma. At this point, add any fresh chiles or bell peppers your recipe calls for. Let them cook together for 3-4 minutes until the vegetables begin to soften slightly.
Develop the Smoky Foundation
Push the aromatics to one side of the pot and add your ground meat (if using). As the meat browns, sprinkle additional smoked paprika over it. The paprika will form a crust on the meat, creating another layer of smoky flavor.
Cook the meat until it’s fully browned, breaking it up with a wooden spoon. Don’t rush this step – you want to develop good color on the meat. This caramelization process creates complex flavors that will carry through your entire chili. The smoked paprika will blend with the meat juices to create a rich, smoky base.
Simmer to Perfection
Add your liquids (broth, tomatoes, etc.) and remaining ingredients to the pot. Bring everything to a gentle boil, then reduce the heat to maintain a slow simmer. Partially cover the pot and let it cook for at least 1 hour, stirring occasionally.
The smoked paprika will continue to develop and mellow as the chili simmers. You’ll notice the aroma changing from sharp and spicy to deeper and more complex. Taste periodically and adjust seasoning as needed. The flavors will concentrate as the chili reduces, so what tastes perfect early on might need balancing later.
Rest and Serve for Optimal Flavor
Once your chili reaches the desired consistency, remove it from heat and let it rest for 10-15 minutes before serving. This resting time allows the flavors to meld together completely. The smoked paprika will have infused every component by now.
When serving, garnish with fresh toppings like cilantro or green onions to contrast with the deep smokiness. The smoked paprika flavor will be most pronounced when the chili is hot, so serve it immediately for the best experience. Leftovers will keep well, and the smoky flavor often deepens even more overnight.
Tips and Common Mistakes
Here’s what I’ve learned from years of making this chili – small details that make a huge difference in flavor.
Spice Blooming Technique: In Step 1, that 1 minute of toasting the smoked paprika and other spices is absolutely critical. I can’t stress this enough – don’t walk away during this step. The second those spices start releasing their aroma, you’ll know they’re properly bloomed. If they start to smoke, you’ve gone too far and they’ll taste bitter. Medium heat is perfect for this – not too hot, not too low.
Onion Cooking Secret: When cooking the onions in Step 2 for 5-7 minutes, you’re looking for them to turn translucent but not brown. This is where they absorb all those beautiful toasted spice flavors. If they start browning too quickly, lower your heat slightly. The sweetness that develops during this time balances the smokiness perfectly.
Simmering Wisdom: During the 1 hour simmer in Step 4, keep that pot only partially covered. This allows just enough steam to escape so the chili reduces and concentrates in flavor, while still maintaining enough moisture. Stir occasionally and taste as you go – the smoked paprika flavor will deepen and mellow beautifully over this time.
Resting Period Importance: Don’t skip the 10-15 minute resting time in Step 5. I know it’s tempting to dig in right away, but this is when all the flavors truly come together. The smoked paprika needs this time to fully infuse every bite. You’ll notice the difference in that first taste after resting – it’s worth the wait.
Pro Tips for Smoked Paprika In Chili
- Here’s what I’ve learned from years of making this chili – small details that make a huge difference in flavor.
- Spice Blooming Technique: In Step 1, that 1 minute of toasting the smoked paprika and other spices is absolutely crit…
- Onion Cooking Secret: When cooking the onions in Step 2 for 5-7 minutes, you’re looking for them to turn translucent …
Frequently Asked Questions
Can I add smoked paprika directly to chili, or should I bloom it first?
For the best flavor, bloom smoked paprika in oil or fat (like bacon grease) for 30–60 seconds before adding liquids. This wakes up its smoky, earthy notes! If short on time, stir it in directly—but expect a slightly milder taste.
How much smoked paprika should I use in a 6-quart pot of chili?
Start with 1–2 tablespoons for subtle smokiness or 3–4 tablespoons for bold flavor. Pro tip: Add half early (with spices) and the rest near the end to layer depth. Adjust to taste—it’s hard to overdo!
What’s a good substitute if I don’t have smoked paprika?
Mix 1 part regular paprika + ½ part chipotle powder (for heat) or ½ part liquid smoke (use sparingly!). For zero spice, try ground cumin + a pinch of cayenne—it won’t be identical but adds warmth.
My chili tastes bitter after adding smoked paprika—what went wrong?
Bitterness usually means the paprika burned (bloomed too long) or was old/stale. Fix it by balancing with a pinch of sugar, tomato paste, or extra broth. Next time, bloom on low heat and check your spice’s freshness!
When’s the best time to add smoked paprika—start or end of cooking?
Add most with your initial spices (to build flavor) and a final pinch 10 minutes before serving for brightness. Avoid adding it all late—it needs time to meld into the chili’s base.
Smoked paprika isn’t just a spice—it’s the secret weapon that transforms your chili from good to unforgettable. 🌶️ With its rich, smoky depth and subtle warmth, it balances bold flavors while keeping every bite exciting. Whether you’re a chili veteran or a first-timer, this ingredient proves that small tweaks can make a huge difference.
Ready to take your chili game further? Grab that pot, experiment with spice blends, and don’t be afraid to adjust the heat to your taste. Your next bowl of smoky, soul-warming chili is just a simmer away—happy cooking!

Trained in classic French technique but raised on slow-cooked ribs and spicy rubs, she blends culinary skill with smoke and soul.
- Recipe For Oven Baked Haddock: Buttery Crumbs With Zesty Lemon Topping - October 3, 2026
- Recipe For Fried Salmon Patties With Flour: Crispy Golden Crust With Flaky Centers - October 3, 2026
- Meat and Potato Recipe Ideas: Savory Pairings for Hearty Meals - October 3, 2026