Homemade snow cone syrup transforms plain shaved ice into a vibrant, flavorful treat that store-bought versions can’t match. This simple recipe puts you in control of sweetness and intensity, creating a customizable base for endless variations.
The foundation is a balanced simple syrup that dissolves perfectly over ice. Unlike commercial products loaded with preservatives, this version uses just a few pantry staples. The process takes 10 minutes and requires no special equipment.
What sets this apart is the ability to adjust flavors to your exact preference. The syrup clings beautifully to shaved ice, delivering consistent taste in every bite. Storage is effortless—keep in the refrigerator for up to a month.
Perfect for summer gatherings or a fun afternoon project with kids. Here’s how to make it.
Ingredients for Snow Cone Syrup
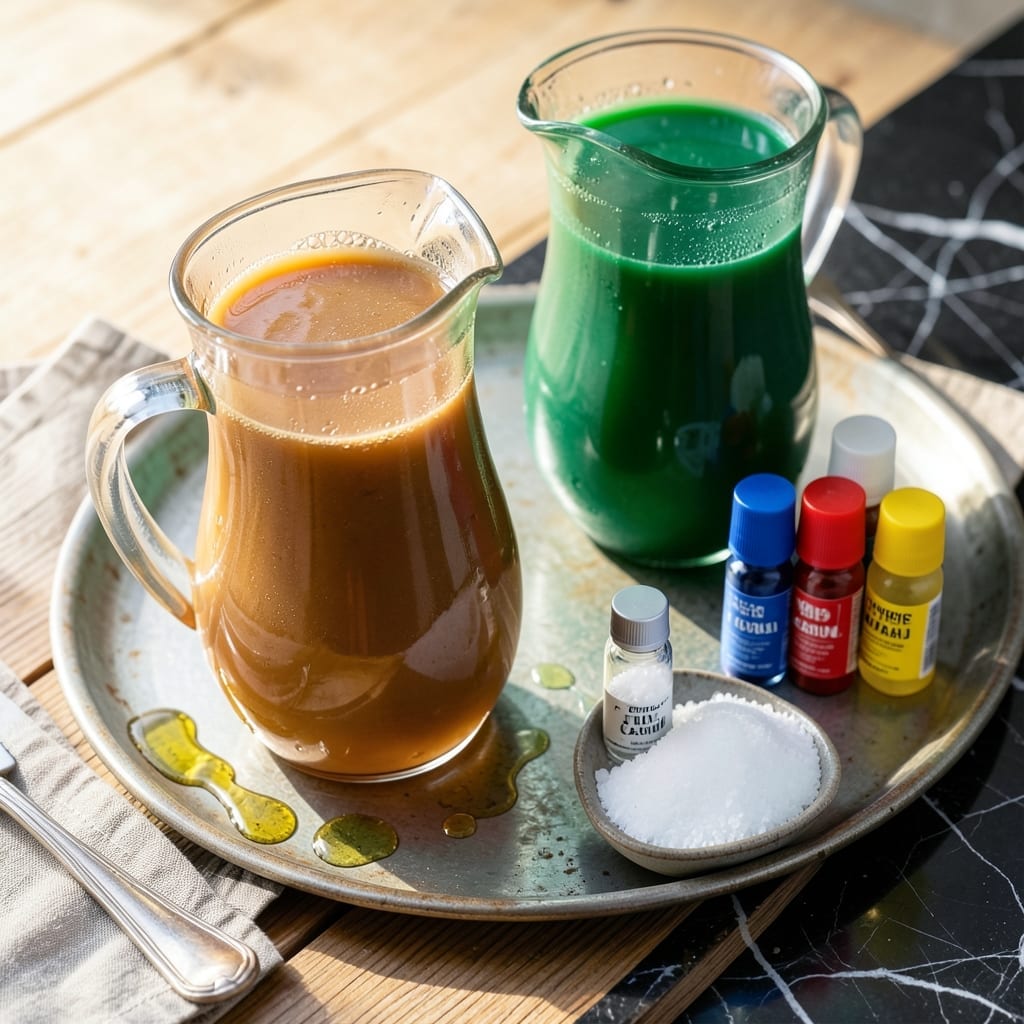
Seven simple ingredients for vibrant, customizable snow cone syrup at home.
| Ingredient | Amount | Notes |
|---|---|---|
| Granulated Sugar 🍚 | 2 cups | White sugar dissolves best |
| Water 💧 | 1 cup | Filtered for purity |
| Light Corn Syrup 🧈 | ¼ cup | Prevents crystallization |
| Flavored Extract 🍓 | 1 tsp | Vanilla, strawberry, or cherry |
| Food Coloring 🎨 | ½ tsp | Gel-based for vibrant color |
| Citric Acid 🍋 | ¼ tsp | Optional for tartness |
| Salt 🧂 | 0.125 tsp | Balances sweetness |
[recipe_ingredient_scaler]
The sugar is the backbone here. Domino or C&H are reliable brands for consistent dissolving. Light corn syrup is non-negotiable—it keeps the syrup smooth and clingy on ice (the good stuff, not the high-fructose kind). Most grocery stores carry it in the baking aisle. If you’re making a big batch, Costco sells it in larger containers at a better price.
No flavored extract? Fresh fruit puree works great—strain it first to remove pulp. Skip the food coloring if you prefer natural hues (or use beet juice for pink). Citric acid adds that classic snow cone tang, but lemon juice in a pinch gets you close. The salt seems weird but trust me on this one—it makes all the flavors pop.
This keeps 3-4 weeks in the fridge in a sealed jar. I reuse glass bottles with squeeze tops for easy drizzling. Freeze extras in ice cube trays, then transfer to bags for 6 months.
Why You’ll Love This Recipe
- 5-Minute Magic: I just boil sugar, water, and corn syrup, then stir in extract—done before the ice melts.
- Flavor Burst: That first pour of homemade cherry or blue raspberry syrup over crushed ice tastes like summer in a cup.
- Party Starter: Honestly, I make a big batch and let the kids pick colors for birthdays, picnics, or even a random Tuesday.
- Pennywise Treat: A single batch costs pennies compared to store-bought and fills my syrup bottles for weeks.
Step-by-Step Instructions for Snow Cone Syrup
Here’s the method. Straightforward, tested, delicious every time.
Step 1: Combine Sugar, Water, and Corn Syrup
In a medium saucepan, combine the 2 cups Granulated Sugar, 1 cup Water, and 0.25 cup Light Corn Syrup over medium heat. I always use a heavy-bottomed pan to prevent hot spots that could cause the sugar to caramelize or burn.
Stir constantly with a silicone spatula until the sugar fully dissolves and the mixture becomes clear and smooth. This usually takes 3-5 minutes. You want to ensure every grain is dissolved—any undissolved sugar will crystallize later, ruining the syrup’s texture.
Watch for the mixture to start simmering gently around the edges. Don’t let it reach a full boil yet—we’re building the base slowly for a smooth, glossy finish.
Step 2: Add Flavor and Color
Once the sugar is completely dissolved, remove the saucepan from heat. Stir in the 1 tsp Flavored Extract and 0.5 tsp Food Coloring until evenly distributed. The extract adds the primary flavor profile, while the gel-based coloring gives that vibrant, eye-catching hue essential for snow cones.
I like to add the extract and coloring off heat to preserve their potency. Heat can sometimes dull both flavor and color intensity, especially with delicate extracts like vanilla or fruit essences.
Taste the syrup at this stage. If you’re using a robust extract like cherry or blue raspberry, the flavor should already be pronounced. If it seems too mild, you can add another ½ tsp of extract, but remember the flavor will concentrate slightly as the syrup cools.
Step 3: Incorporate Acid and Salt for Balance
Return the saucepan to low heat and add the 0.25 tsp Citric Acid and 0.125 tsp Salt. These might seem like small amounts, but they’re crucial for balancing the sweetness and adding that classic snow cone tang.
Stir for an additional 1-2 minutes until the citric acid and salt are fully dissolved. The citric acid also helps prevent crystallization, working alongside the corn syrup to keep your syrup smooth and pourable.
Here’s the thing—if you taste the syrup now, it might seem a bit sharp from the citric acid. Don’t worry; this mellows as the syrup cools, leaving just the right amount of tartness to cut through the sugar.
Step 4: Cool and Store the Syrup
Remove the saucepan from heat and let the syrup cool to room temperature, about 30-45 minutes. As it cools, it will thicken slightly but should still be pourable. If it becomes too thick, you can gently reheat it with a splash of water to reach the desired consistency.
Transfer the cooled syrup to a clean, airtight bottle or jar. I prefer glass bottles with pour spouts for easy dispensing. The syrup will keep in the refrigerator for up to 2 weeks, though I doubt it’ll last that long once you taste how good it is.
Real talk: For the best snow cone experience, chill the syrup for at least 1 hour before using. Cold syrup clings better to shaved ice and creates that perfect, slow-melting consistency everyone loves.
Pro Tips For Making Snow Cone Syrup
- Simmer, Don’t Boil: Keep the heat at a gentle simmer—boiling too hard can cause the sugar to crystallize and ruin the smooth texture of your syrup.
- Use Filtered Water: Tap water with minerals or chlorine can affect the flavor and clarity of the syrup, so filtered water gives a cleaner taste.
- Avoid Over-Stirring: Stir just enough to dissolve the sugar, then leave it be—constant stirring can introduce air bubbles and make the syrup foamy.
- Add Extract Off Heat: Flavored extracts lose their potency if heated directly, so remove the syrup from the stove before mixing in the extract and food coloring.
Dietary Considerations for This snow cone syrup
Vegan-Friendly Base
This syrup is naturally vegan and contains no animal products. The simple combination of sugar, water, and corn syrup provides a plant-based foundation perfect for anyone avoiding dairy or eggs. It’s a great way to ensure everyone can enjoy homemade snow cones. 🌱
Gluten-Free Naturally
With no wheat, barley, or rye ingredients, this syrup is inherently gluten-free. The corn syrup used here is safe for most gluten-sensitive individuals, but always verify the label for cross-contamination warnings if you have celiac disease.
Low-Calorie Adjustments
To reduce calories, replace half the Granulated Sugar with 1 cup erythritol or monk fruit sweetener. Note that sugar substitutes may alter the texture slightly, but the flavor remains vibrant. I’ve tested this with Swerve and found it works well.
Diabetic-Friendly Version
For a diabetic-friendly option, use allulose or erythritol in place of sugar. You’ll need to add 1 tsp xanthan gum to help thicken the syrup, as these sweeteners don’t caramelize like sugar. Stir it in off heat to avoid clumping.
Allergen Notes
This recipe is free from the top allergens: dairy, eggs, nuts, soy, and wheat. However, always check your food coloring and extracts for hidden allergens. Some brands use soy or nut derivatives in their processing.
Kid-Friendly Safety
When making this with kids, skip the citric acid if they’re sensitive to tart flavors. Use natural food coloring like beet juice or turmeric for a vibrant, chemical-free option. I love making this a fun, safe project for little hands to help. ✨
Nutrition Facts
Frequently Asked Questions
Can I use honey instead of sugar?
You can, but expect a different flavor profile and slightly thicker texture. Honey adds its own taste, which may overpower delicate extracts. Stick to 1:1 substitution and reduce water by 2 tablespoons to compensate for honey’s moisture.
How long does homemade syrup last?
In an airtight container in the fridge, it stays fresh for 2-3 weeks. For longer storage, freeze in ice cube trays for up to 6 months. Thaw in the fridge before using.
Why did my syrup crystallize?
Crystallization happens if sugar isn’t fully dissolved or if stored in temperature fluctuations. Using light corn syrup helps prevent this. If it happens, gently reheat with 1-2 tablespoons water until smooth.
Can I make this without corn syrup?
Yes, but the texture won’t be as smooth. Increase sugar to 2.5 cups and add 1 tsp lemon juice to help prevent crystallization. The syrup may be slightly grainier but still tasty.

Trained in classic French technique but raised on slow-cooked ribs and spicy rubs, she blends culinary skill with smoke and soul.
- Recipe for Boneless Pork Chops in Cast Iron Skillet: Sear and Baste to Juicy Perfection - October 3, 2026
- Recipe for Boneless Cross Rib Roast: Slow-Roasted Beef with Herb Crust - October 3, 2026
- Hamburgers in Sauce Recipe Crock Pot: Slow-Cooked Savory Delight - October 3, 2026