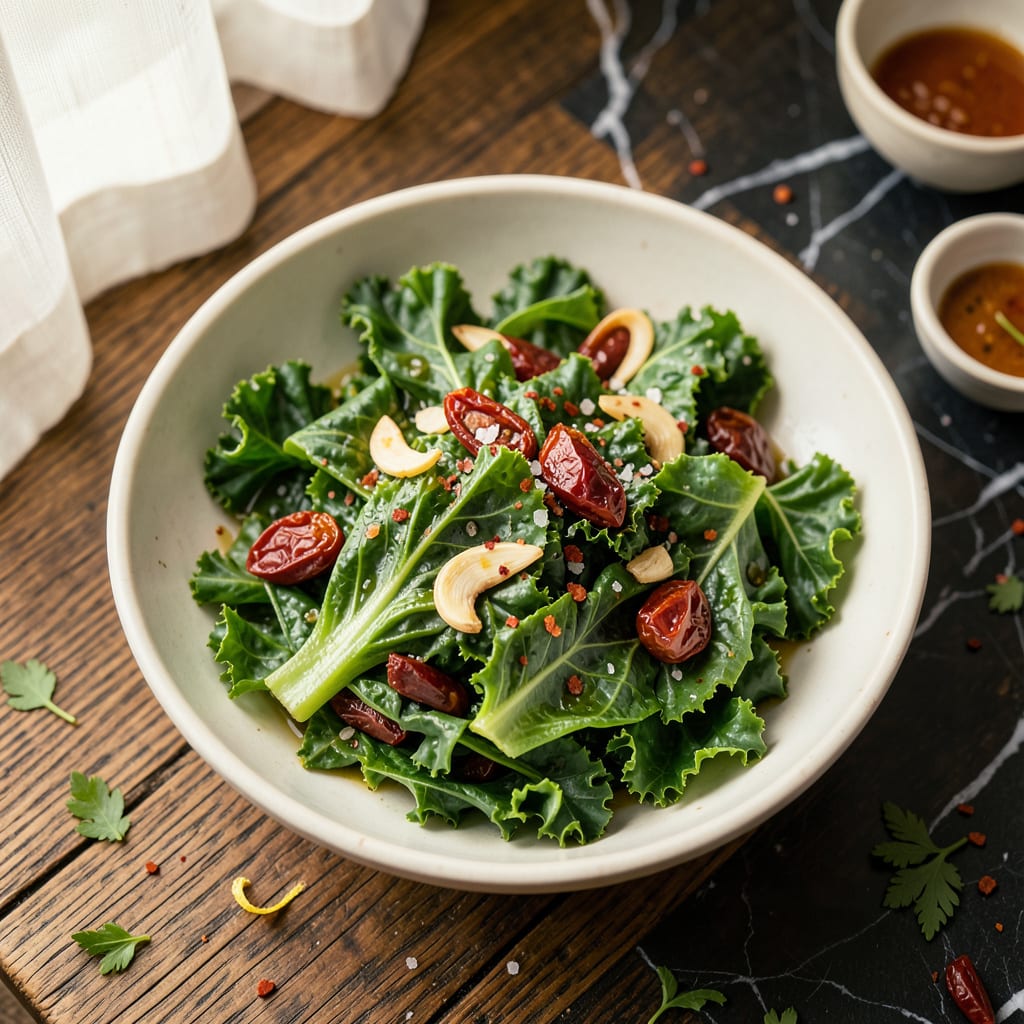
Here’s the thing—raw kale can be tough and bitter, but with the right technique, you can transform it into tender, silky greens in minutes. I used to struggle with chewy kale until I discovered these foolproof methods that work every time. No fancy equipment needed, just a little know-how and patience.
Whether you’re massaging it with oil and lemon or giving it a quick sauté in a hot pan, the key is breaking down those fibrous leaves. I’ve found that 5 minutes of massaging or 3-4 minutes in a hot pan makes all the difference. The kale reduces by about half and becomes so much easier to eat—no more jaw workout required.
Softened kale opens up a world of possibilities. Toss it into salads without that unpleasant crunch, stir it into pasta dishes where it melts right in, or blend it into smoothies for a nutrient boost without the gritty texture. I keep a batch prepped in my fridge all week—it’s my secret weapon for quick, healthy meals.
Fair warning: don’t overdo it. Kale can turn mushy fast if you’re not careful. But get it right, and you’ll have perfectly tender greens that actually taste good. Let me show you exactly how to nail the texture every single time.
📚 In This Guide
- What You’ll Need
- Instructions
- Tips and Common Mistakes
What Youll Need
- ● 1 bunch fresh kale (about 6–8 cups chopped; curly, lacinato, or red varieties work best)
- ● 1–2 tbsp olive oil or avocado oil (for massaging or sautéing)
- ● ½ tsp salt (kosher or sea salt preferred; adjust to taste)
- ○ 1 tbsp lemon juice or apple cider vinegar (optional, for brightness)
- ● 1 small bowl (for massaging raw kale)
- ● Chef’s knife & cutting board (sharp blade makes prep easier!)
- ● Large skillet or pot (if sautéing or blanching; stainless steel or cast iron recommended)
- ● Tongs or wooden spoon (for stirring)
- ○ Timer (optional but helpful for precise blanching)
- ● Salad spinner or clean kitchen towel (if washing fresh kale)
Step-by-Step Instructions for Softening Kale
This simple method transforms tough kale into tender, silky greens in just minutes—no special tools required.
Wash and Prep the Kale Properly
Start by rinsing your kale thoroughly under cold running water. I like to fill a large bowl with water and swish the leaves around—this helps remove any hidden dirt or grit that tends to cling to the curly edges. Drain in a colander and give it a final rinse if needed.
Next, pat the leaves completely dry with clean kitchen towels or use a salad spinner. This step is crucial because excess water will steam the kale instead of softening it evenly. While the leaves are still slightly damp, remove the tough stems by folding each leaf in half and stripping the stem away with one quick motion.
Massage the Kale with Oil and Salt
Place the destemmed kale in a large bowl and drizzle with just enough olive oil to lightly coat the leaves—about 1 tablespoon per 4 cups of kale. Sprinkle with ¼ teaspoon of salt for every 4 cups. The salt helps break down the fibrous cell structure while the oil creates friction for better texture.
Now comes the key technique: massage the kale with your hands for 2-3 minutes. Grab handfuls and gently squeeze, rub, and release repeatedly. You’ll feel the leaves soften under your fingers and notice the color deepen slightly. The volume will reduce by about half when it’s properly massaged.
Let It Rest for Maximum Tenderness
After massaging, let the kale sit at room temperature for 10-15 minutes. This resting period allows the salt and oil to continue working their magic. You’ll see the leaves become more pliable and develop a silky sheen. I often prep other ingredients during this time.
For even better results, you can cover the bowl and refrigerate the massaged kale for up to 1 hour. The cold temperature further relaxes the fibers while maintaining that perfect tender-crisp texture. This is especially helpful if you’re prepping ahead for salads or meal prep.
Quick Cook for Extra Softness (Optional)
If you prefer your kale extra tender (perfect for soups or sautés), heat a large skillet over medium heat. Add the massaged kale in batches—it will sizzle slightly from the residual moisture. Cook for just 1-2 minutes, stirring constantly, until the leaves turn bright green and wilt slightly.
Watch carefully during this step—the kale should soften but not lose its vibrant color. Remove from heat immediately when the leaves are tender but still hold their shape. For raw applications like salads, skip this cooking step entirely—the massaging alone creates beautifully tender greens.
Use or Store Your Perfectly Softened Kale
Your kale is now ready to use in any recipe calling for tender greens. For salads, toss with your favorite dressing and other ingredients. For cooked dishes, add to soups, stir-fries, or pasta during the last few minutes of cooking. The texture will hold up beautifully without becoming mushy.
To store, place in an airtight container with a paper towel to absorb excess moisture. Properly massaged kale keeps in the refrigerator for up to 5 days without getting soggy. The flavor actually improves over time as the kale continues to soften slightly in storage.
Tips and Common Mistakes for Perfectly Softened Kale
Mastering this technique comes down to a few simple but crucial details—here’s what I’ve learned from years of working with kale.
The Massage Technique: When you’re working through Step 2, really focus on the 2-3 minutes of massaging. Use your fingertips to gently knead each leaf as if you’re working with delicate dough. The kale should feel noticeably softer and look slightly darker green when properly massaged. I find it helpful to set a timer—those minutes go faster than you think!
Resting Time Matters: Don’t rush the 10-15 minute resting period in Step 3. This is when the salt and oil continue breaking down the fibrous structure. You’ll see the leaves develop a silky sheen and become more pliable. If you’re prepping ahead, the optional 1-hour refrigeration makes an even bigger difference in texture—perfect for meal prep.
Moisture Control: In Step 1, make sure your kale is completely dry before massaging. Any excess water will create steam instead of allowing the oil and salt to work their magic. I like to use a salad spinner, then pat with clean towels. The drier the leaves, the better they’ll absorb the oil and soften evenly.
Optional Cooking Tip: If you choose to do the quick cook in Step 4, keep the heat at medium and work in batches. The kale should sizzle gently but not brown. Those 1-2 minutes are just enough to wilt the leaves while keeping them vibrant green. Remove them from the pan immediately when they’re tender but still hold their shape.
Pro Tips for Soften Kale
- Mastering this technique comes down to a few simple but crucial details—here’s what I’ve learned from years of workin…
- The Massage Technique: When you’re working through Step 2, really focus on the 2-3 minutes of massaging. Use your fin…
- Resting Time Matters: Don’t rush the 10-15 minute resting period in Step 3. This is when the salt and oil continue br…
Frequently Asked Questions
How long does it take to soften kale properly?
Most methods take 5–10 minutes (e.g., massaging with oil or blanching). For raw kale, massage for 3–5 minutes until tender. Cooked kale (sautéed/steamed) softens in 5–7 minutes. Pro tip: Check doneness by folding a leaf—it should bend easily, not crack!
Can I soften kale without oil or salt?
Try these oil-free tricks:
- Acid tenderizing: Toss with lemon juice or vinegar (1 tbsp per bunch) and let sit 10 minutes.
- Steam blast: Microwave damp kale in a bowl (covered) for 1–2 minutes.
- Freeze-thaw: Freeze raw kale, then thaw—it’ll wilt naturally!
Why is my kale still tough after massaging?
Common culprits: Not enough time (massage longer!), thick stems (remove them!), or dry leaves (add a splash of water or oil). For mature kale, blanch first (30 sec in boiling water) before massaging. Baby kale softens faster!
Does softening kale remove nutrients?
Minimally! Light methods (massaging, steaming) preserve most vitamins. Boiling leaches some water-soluble nutrients (like vitamin C), but kale stays packed with fiber, calcium, and antioxidants. Quick tip: Use blanching water in soups to retain nutrients!
What’s the best kale variety for softening?
Lacinato (dinosaur kale) and curly kale are top picks—both tenderize well. Red kale stays slightly chewier. For raw dishes, choose baby kale (naturally delicate). Avoid overly mature leaves—they’re bitter and stubborn!
With just a few simple tricks, you can turn tough, chewy kale into tender, melt-in-your-mouth greens every time! 🌿 Whether you prefer massaging, blanching, or sautéing, the key is patience and the right technique. Now that you’ve mastered the art of softening kale, why not put it to use in your favorite salad, stir-fry, or smoothie? Try experimenting with different recipes—your taste buds (and digestion!) will thank you. Happy cooking!

Trained in classic French technique but raised on slow-cooked ribs and spicy rubs, she blends culinary skill with smoke and soul.
- Recipe for Boneless Pork Chops in Cast Iron Skillet: Sear and Baste to Juicy Perfection - October 3, 2026
- Recipe for Boneless Cross Rib Roast: Slow-Roasted Beef with Herb Crust - October 3, 2026
- Hamburgers in Sauce Recipe Crock Pot: Slow-Cooked Savory Delight - October 3, 2026