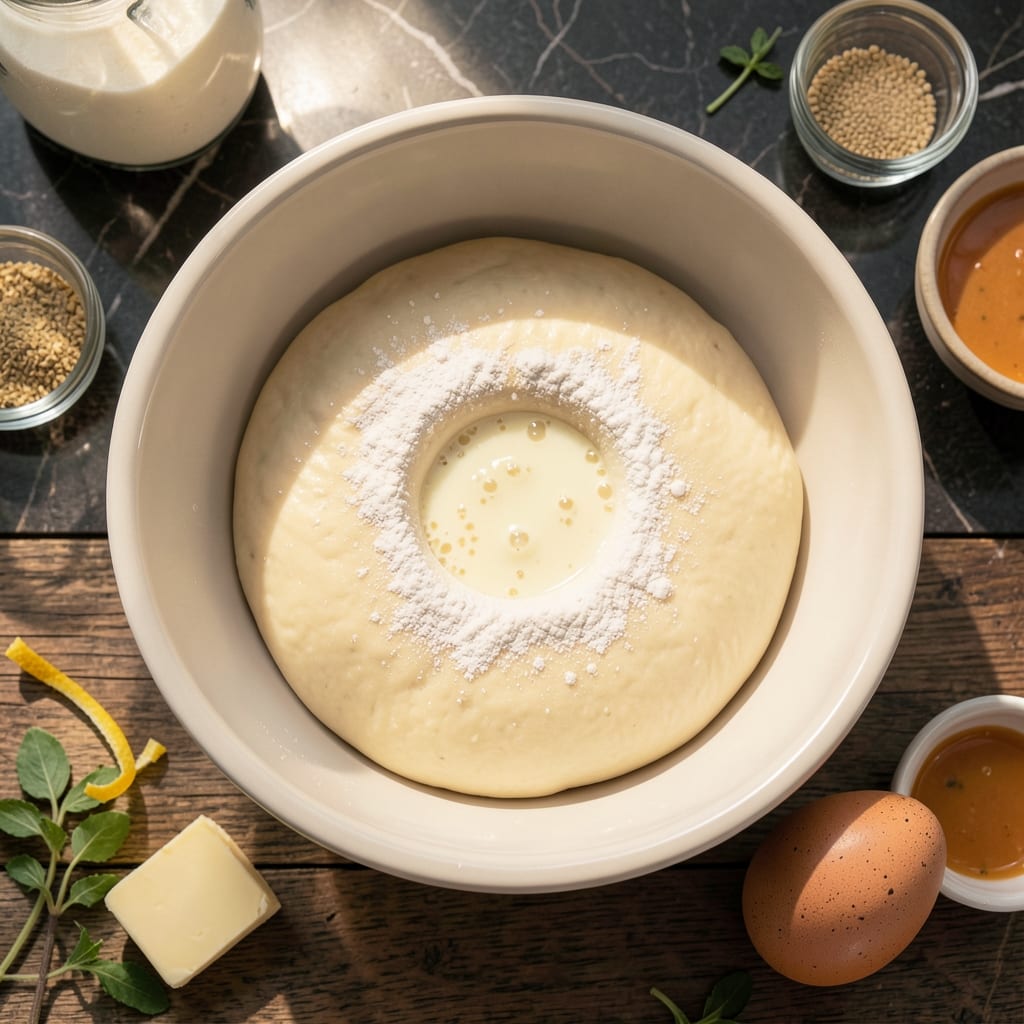
Mastering sweet roll dough is a game-changer for any home baker seeking perfect pastries. Standing on a step stool in my grandmother’s Sicilian kitchen, I learned that patience and precision transform simple ingredients into golden, flaky layers.
This recipe delivers tender, buttery dough that rises beautifully and bakes into soft, pillowy rolls. The key lies in proper kneading and allowing the dough to rest until doubled in size, ensuring a light, airy texture.
With just a few basic ingredients and careful handling, you’ll create a versatile base for cinnamon rolls, dinner rolls, or any sweet pastry. The process is straightforward but rewards attention to detail.
Once you taste the results, store-bought versions won’t compare. Here’s how to achieve bakery-quality at home.
Ingredients for Sweet Roll Dough
Simple ingredients, precise measurements. Grandma would approve of this list.
| Ingredient | Amount | Notes |
|---|---|---|
| Bread Flour 🌾 | 4 cups | Plus extra for dusting surface |
| Granulated Sugar 🍚 | ¼ cup | Dissolved in warm liquid |
| Active Dry Yeast 🍞 | 2 ¼ tsp | One 0.25-oz packet plus extra |
| Whole Milk 🥛 | 1 cup | Warmed to 110°F |
| Unsalted Butter 🧈 | ½ cup | Melted and cooled slightly |
| Large Egg 🥚 | 1 whole | Room temperature preferred |
| Fine Sea Salt 🧂 | 1 ½ tsp | Divided for dough and topping |
| Pure Vanilla Extract 🌿 | 1 tsp | For depth of flavor |
| Vegetable Shortening 🫒 | 2 tbsp | For greasing bowl |
| All-Purpose Flour 🌾 | ½ cup | For adjusting consistency |
[recipe_ingredient_scaler]
The flour is non-negotiable here. King Arthur Bread Flour is my go-to—higher protein content gives that perfect chew. Don’t substitute all-purpose entirely, but keep a little on hand for adjustments. Yeast matters too: SAF or Red Star are reliable. Check the expiration date—old yeast is the #1 reason dough fails to rise. Warm the milk gently on the stove (or microwave in 20-second bursts) until it’s bathwater temperature.
No bread flour? Use all-purpose plus 1 tbsp vital wheat gluten per cup. Out of milk? Warm water with 1 tbsp powdered milk works. The butter must be unsalted—salted can throw off the balance. For extra richness, swap the shortening for more butter. Vanilla extract can be skipped in a pinch, but it adds that bakery-quality depth. Always proof your yeast in the warm milk with a pinch of sugar first (it should foam in 5-10 minutes).
Dough can rest in the fridge overnight (actually improves flavor). Cover the bowl tightly with plastic wrap or a damp towel. Keeps 2-3 days refrigerated, or freeze the shaped rolls for up to 1 month. Bring to room temp before baking if chilled.
Why You’ll Love This Recipe
- One Bowl Wonder: I love that I can mix everything—flour, sugar, yeast, warm milk, and butter—in a single bowl and let the dough do its magic.
- Buttery Sweetness: The combo of granulated sugar and rich unsalted butter gives these rolls that melt-in-your-mouth sweetness I crave.
- Holiday or Tuesday: Honestly, this dough works for Christmas morning cinnamon rolls or a random weeknight treat when I need comfort food.
- Stretch Your Budget: Bread flour and milk are affordable staples, and one batch makes enough rolls to feed my family for days.
Step-by-Step Instructions for Sweet Roll Dough
Here’s the method I use for fail-proof dough with that perfect tender crumb.
Step 1: Activate the Yeast and Warm the Liquid
Start by warming the 1 cup Whole Milk to exactly 110°F—any hotter and you’ll kill the yeast, any cooler and it won’t activate properly. I use an instant-read thermometer for this. Stir the 0.25 cup Granulated Sugar into the warm milk until fully dissolved.
Sprinkle the 2.25 tsp Active Dry Yeast over the surface and let it sit undisturbed for 5-7 minutes until foamy and bubbly. This visual confirmation tells you the yeast is alive and ready to work. If it doesn’t foam, your yeast may be expired—start over with fresh yeast.
Step 2: Combine Wet Ingredients and Begin the Dough
In a large mixing bowl, whisk together the 1 whole Large Egg, 0.5 cup Unsalted Butter (melted and cooled to room temperature), and 1 tsp Pure Vanilla Extract. Pour in the yeast mixture and stir to combine. The butter should be cool enough that it doesn’t cook the egg—test it on your wrist like a baby bottle.
The mixture will look slightly curdled at this stage, but that’s completely normal. What matters is that all the wet ingredients are fully incorporated before you add the dry components. This creates a uniform base for your dough.
Step 3: Incorporate Dry Ingredients to Form the Dough
In a separate bowl, whisk together the 4 cups Bread Flour, 0.5 cup All-Purpose Flour, and 1 tsp Fine Sea Salt (reserve the remaining 0.5 tsp Fine Sea Salt for later use). Gradually add this dry mixture to the wet ingredients, about 1 cup at a time, mixing with a wooden spoon until a shaggy dough forms.
Here’s the thing—you may not need all the flour. Stop adding when the dough starts pulling away from the sides of the bowl. The All-Purpose Flour is your insurance policy for adjusting consistency if the dough feels too sticky. It’s better to start with less and add more as needed.
Step 4: Knead Until Smooth and Elastic
Turn the dough out onto a lightly floured surface (use some of the reserved Bread Flour for dusting) and knead for 8-10 minutes by hand. You’re looking for a smooth, elastic dough that springs back when poked. I press my thumb into the dough—if it bounces back slowly, it’s ready.
Don’t be tempted to add too much flour during kneading. The dough should be slightly tacky but not sticky. If it’s sticking to your hands, dust with a little more flour, but remember that too much flour will make your rolls dense instead of light and fluffy.
Step 5: First Rise Until Doubled in Size
Lightly grease a large bowl with the 2 tbsp Vegetable Shortening, then place the dough in the bowl and turn to coat all sides. Cover with a clean kitchen towel and let rise in a warm, draft-free place for 1 to 1.5 hours or until doubled in volume.
I like to turn my oven on to its lowest setting for 2 minutes, then turn it off and place the dough inside to rise. The residual heat creates the perfect environment. The dough is ready for the next step when it’s puffy and an indent made with your finger remains visible rather than springing back immediately.
Pro Tips For Making Sweet Roll Dough
- Activate the yeast: Blooming yeast in warm whole milk (110°F, no hotter) with a pinch of sugar guarantees a strong rise—skip this and your rolls will be dense.
- Use room-temp butter: Softened unsalted butter blends evenly into the dough; cold butter tears the gluten, and melted butter makes greasy rolls.
- Don’t over-flour: Bread flour is sticky, but adding too much extra during kneading toughens the dough—I learned this the hard way with hockey puck rolls.
- Double the rise: Let the dough rise until truly doubled, about 1-2 hours in a warm spot, or your sweet rolls will be heavy instead of light and fluffy.
Pro Cooking Tips for Great sweet roll dough
Yeast Activation Secrets
Always proof your yeast in the warm 110°F milk with a pinch of sugar first. I wait for a thick, bubbly foam that smells slightly sweet and yeasty. If it doesn’t foam within 5-7 minutes, your yeast is likely expired. 🌡️
Perfect Kneading Technique
Knead the dough for 8-10 minutes by hand until it passes the windowpane test: stretch a small piece thin enough to see light through without tearing. This develops the gluten properly for that perfect chew.
Temperature Control
For the first rise, I create a warm environment by turning my oven on to its lowest setting for 2 minutes, then turning it off. The residual heat helps the dough double in 1-1.5 hours without drying out.
Flour Adjustments
Start with 4 cups Bread Flour but keep the 0.5 cup All-Purpose Flour ready for adjustments. The dough should be slightly tacky but not sticky. Too much flour makes dense rolls.
Resting Time Matters
After shaping, let the dough rest for 15 minutes before the final rise. This relaxes the gluten, making it easier to roll out and preventing the rolls from shrinking during baking.
Butter Temperature
Ensure your 0.5 cup Unsalted Butter is melted and cooled to room temperature before mixing. Hot butter can cook the egg, while cold butter won’t incorporate properly into the dough. 🧈
Nutrition Facts
Frequently Asked Questions
Can I use all-purpose flour instead of bread flour?
Yes, but add 1 tbsp vital wheat gluten per cup to compensate. Bread flour’s higher protein creates better structure for soft rolls. All-purpose alone may yield slightly denser results.
Why didn’t my dough rise?
Most likely expired yeast or liquid too hot. Always proof yeast in 110°F milk first. If it doesn’t foam in 5-7 minutes, start over with fresh yeast. Drafts or cold rooms can also slow rising.
How long can I refrigerate the dough?
Up to 2-3 days in an airtight container. The flavor actually improves with time. Let it come to room temperature before shaping and baking for best results.
Can I make this dough in a stand mixer?
Use the dough hook on medium speed for 6-8 minutes. Watch for the windowpane test—stretch a piece thin enough to see light through. Avoid overmixing.

Trained in classic French technique but raised on slow-cooked ribs and spicy rubs, she blends culinary skill with smoke and soul.
- Recipe for Boneless Pork Chops in Cast Iron Skillet: Sear and Baste to Juicy Perfection - October 3, 2026
- Recipe for Boneless Cross Rib Roast: Slow-Roasted Beef with Herb Crust - October 3, 2026
- Hamburgers in Sauce Recipe Crock Pot: Slow-Cooked Savory Delight - October 3, 2026