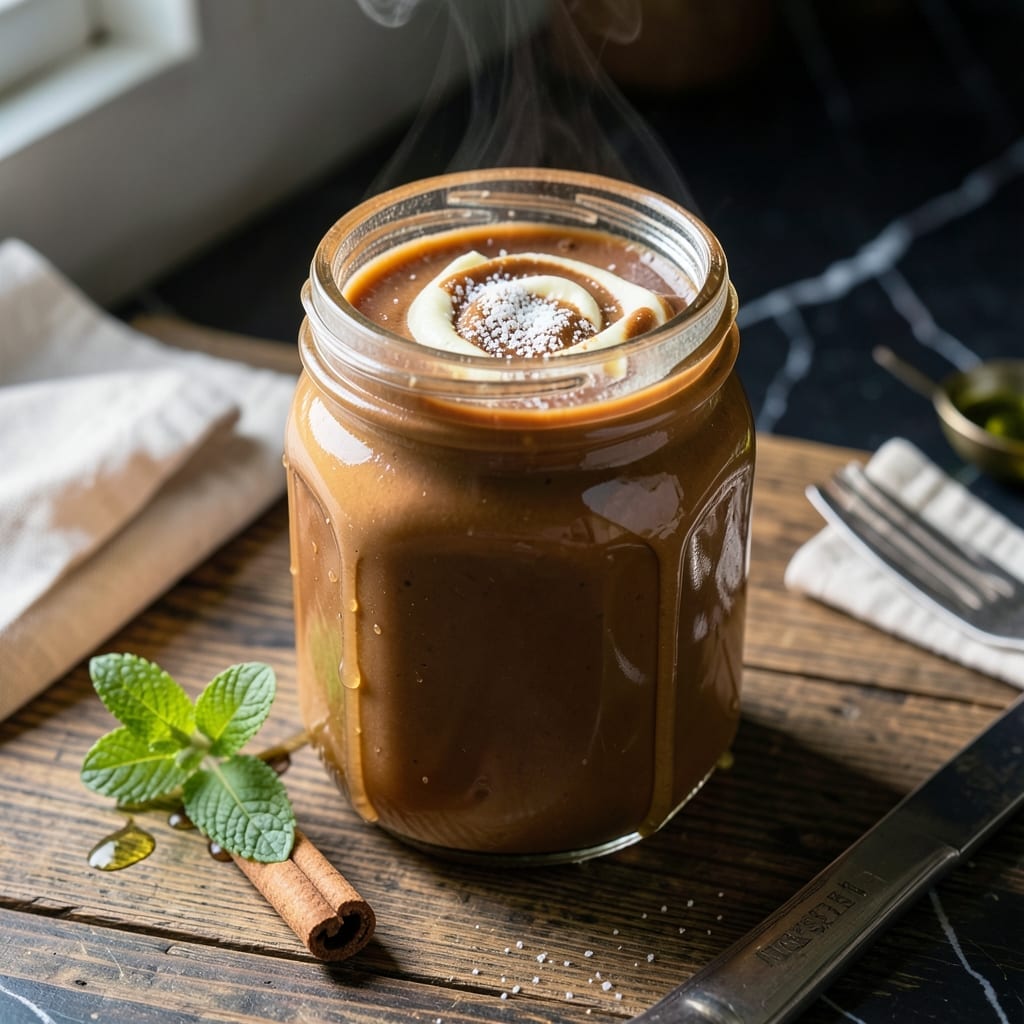
I’ve perfected a way to make coffee creamer at home that rivals anything store-bought. This version delivers a rich and velvety texture without artificial additives.
Using just a few simple ingredients, you’ll create a smooth, sweet base that elevates every cup. It keeps well in the fridge, so you can always have it on hand.
Ingredients for Sweetened Condensed Milk Coffee Creamer
Seven simple ingredients for a creamy, dreamy homemade coffee upgrade you’ll reach for daily.
| Ingredient | Amount | Notes |
|---|---|---|
| Sweetened Condensed Milk 🥛 | 1 can | 14 oz can, full-fat |
| Whole Milk 🥛 | 1 cup | Or 2% for lighter option |
| Heavy Cream 🥛 | ½ cup | For extra richness |
| Granulated Sugar 🍚 | ¼ cup | Adjust to taste preference |
| Vanilla Extract 🌿 | 2 tsp | Pure vanilla for best flavor |
| Almond Extract 🌰 | ¼ tsp | Optional for depth |
| Salt 🧂 | 0.125 tsp | Balances sweetness |
[recipe_ingredient_scaler]
The sweetened condensed milk is the star here—Eagle Brand or Borden are my go-tos. Full-fat is non-negotiable for that velvety texture (the low-fat versions just don’t cut it). Whole milk adds body, but 2% works if that’s what you’ve got. Heavy cream pushes it over the top—Organic Valley if you want to splurge. Don’t skip the vanilla; pure extract makes a difference you can taste.
No condensed milk? Evaporated milk plus sugar gets close but won’t be as thick. Swap vanilla for maple syrup or almond extract if you want to switch it up. The sugar can be reduced, but this is meant to be a treat. For a dairy-free version, coconut milk plus sugar works surprisingly well (use full-fat canned).
Stays fresh in the fridge for 7-10 days in a sealed bottle. Shake before using—it’ll separate a bit. Freeze extras in ice cube trays for up to 3 months (thaw in fridge overnight).
Why You’ll Love This Recipe
- Five Minute Mix: I just stir everything together—no cooking, no waiting. Honestly, it’s faster than running to the store for creamer.
- Velvety Sweetness: The condensed milk and heavy cream blend into this rich, caramel-like swirl that turns even instant coffee into a café treat.
- Batch & Forget: I make a big jar Sunday night and it keeps perfectly in the fridge all week for my daily iced coffee.
- Pennywise Luxury: Costs a fraction of fancy coffeehouse creamers and tastes way better—plus I control the sweetness.
Step-by-Step Instructions for Homemade Coffee Creamer
Here’s the method I’ve perfected for creamy, dreamy homemade creamer that beats store-bought every time.
Step 1: Combine the Dairy Base
In a medium saucepan, pour in the 1 can Sweetened Condensed Milk, 1 cup Whole Milk, and 0.5 cup Heavy Cream. I like to use a whisk to gently combine them as they warm, which helps prevent any separation.
Set the pan over medium-low heat and warm the mixture for 3-4 minutes, stirring frequently. You want it to reach just 160°F—hot enough to dissolve the sugar but not so hot it scalds. Watch for tiny bubbles forming at the edges; that’s your cue to move on.
Step 2: Sweeten and Flavor the Mixture
Once the dairy is warm, stir in the 0.25 cup Granulated Sugar. Keep the heat at medium-low and continue stirring until the sugar is completely dissolved—this usually takes 2-3 minutes. You’ll notice the mixture becomes slightly glossy as the sugar melts.
Remove the pan from heat and add the 2 tsp Vanilla Extract, 0.25 tsp Almond Extract, and 0.125 tsp Salt. Stir well to distribute the flavors evenly. The almond extract adds a subtle depth that pairs beautifully with the vanilla, but if you prefer a simpler flavor, you can omit it.
Step 3: Cool and Store
Pour the creamer into a clean, airtight container—glass jars or bottles work perfectly. Let it cool to room temperature, which usually takes about 30 minutes. I place mine in a shallow dish of cold water to speed up the process if I’m in a hurry.
Once cooled, seal the container and refrigerate for at least 2 hours before using. This chilling time allows the flavors to meld together and the creamer to thicken slightly. It will keep in the fridge for up to 2 weeks, though I doubt it’ll last that long!
Step 4: Use and Enjoy
When ready to use, give the creamer a good shake or stir before adding to your coffee. Start with 1-2 tablespoons per cup and adjust to taste. The rich, velvety texture blends seamlessly into hot coffee, creating a smooth, sweet finish without any graininess.
I love how this creamer transforms my morning coffee into a special treat. The flavors are balanced—sweet but not overpowering, with just the right amount of creaminess. For an extra indulgent touch, froth it before adding to your coffee for a café-style experience.
Pro Tips For Making Sweetened Condensed Milk Coffee Creamer
- Warm the Mixture: Heat the milk and cream gently over medium-low—about 110°F—before mixing with condensed milk. I learned this the hard way after ending up with a grainy texture from cold ingredients.
- Use Full-Fat Dairy: Skip the low-fat milk or half-and-half; whole milk and heavy cream give the creamer that rich, velvety body that makes it worth the calories.
- Dissolve Sugar First: Stir the granulated sugar into the warm milk until fully dissolved before adding the condensed milk. Sounds tedious, but it prevents that annoying sandy texture at the bottom of your coffee.
- Add Vanilla Last: Fold in the vanilla extract after the mixture cools slightly to preserve its flavor—high heat can dull its aroma. My grandmother swore by this, and she was right.
Essential Equipment for This Dish
Saucepan Selection
For this creamer, I use a 2-quart stainless steel saucepan with a heavy bottom. The All-Clad D3 is my go-to—it distributes heat evenly, preventing hot spots that could scorch the dairy. Avoid nonstick pans, as the high sugar content can damage the coating over time.
Whisking Tool
A balloon whisk is essential for combining the ingredients smoothly. I prefer a 10-inch whisk from OXO—it reaches the pan’s edges without splattering. The fine wires help incorporate the sugar fully into the warm dairy mixture.
Temperature Control
An instant-read thermometer is non-negotiable to hit that perfect 160°F. I trust my ThermoWorks Thermapen for accuracy—it gives me confidence I won’t overheat the mixture. This ensures the sugar dissolves without curdling the dairy.
Storage Containers
Glass is ideal for storage—I use 16-ounce mason jars with airtight lids. They’re easy to clean, won’t absorb odors, and let me see the creamer’s rich color. For single servings, small swing-top bottles from IKEA work beautifully. 💛
Optional Frothing
If you love café-style coffee, a handheld milk frother adds a luxurious touch. The Bamix Immersion Blender with frothing attachment creates silky microfoam in 20 seconds. It’s a small investment that elevates your morning routine.
Cleaning Supplies
Have a silicone spatula ready to scrape every last drop from the pan—it’s the cook’s reward! I also keep dish soap and warm water nearby to clean tools immediately. Sugar residue hardens quickly, making cleanup tougher later. 💡
Nutrition Facts
Frequently Asked Questions
Can I use low-fat milk instead of whole?
You can, but the texture won’t be as rich. Whole milk adds body that 2% or skim can’t match. For best results, stick with whole milk or add extra heavy cream.
Why does my creamer separate in the fridge?
This is normal! Simply shake or stir before using. To minimize separation, ensure the mixture is fully cooled before refrigerating.
How can I make this dairy-free?
Swap in full-fat coconut milk for the dairy and use coconut sugar. The flavor will differ slightly but still taste delicious.
Can I reduce the sugar content?
Yes, but the creamer may be less sweet. Start by halving the sugar and adjust to taste. Remember, condensed milk is already sweetened.

Trained in classic French technique but raised on slow-cooked ribs and spicy rubs, she blends culinary skill with smoke and soul.
- Recipe for Boneless Pork Chops in Cast Iron Skillet: Sear and Baste to Juicy Perfection - October 3, 2026
- Recipe for Boneless Cross Rib Roast: Slow-Roasted Beef with Herb Crust - October 3, 2026
- Hamburgers in Sauce Recipe Crock Pot: Slow-Cooked Savory Delight - October 3, 2026