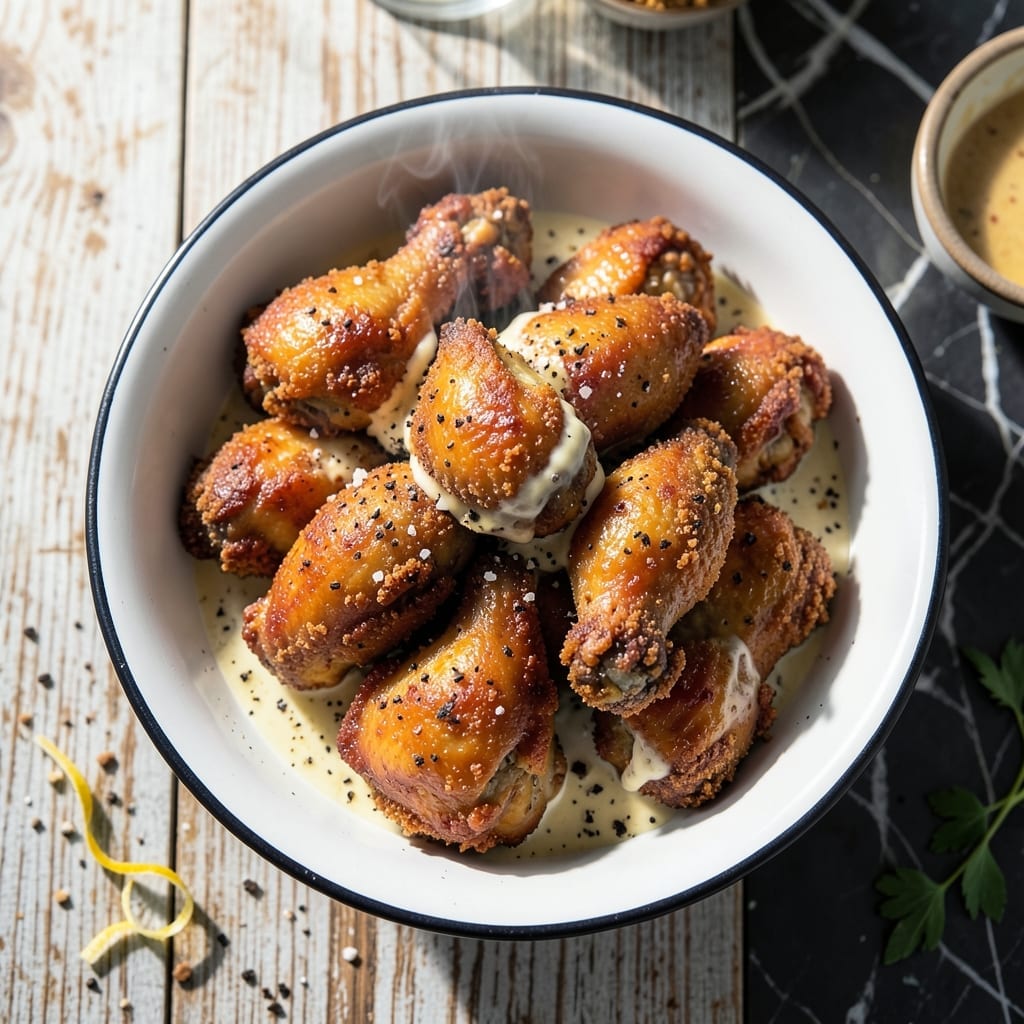
This recipe delivers on the promise of crispy, golden-brown perfection with every bite. The buttermilk marinade ensures tender, juicy meat beneath a shatteringly crispy crust.
I’ve refined this method through years of testing, focusing on precise temperatures and timing. The result is consistently the best fried chicken you’ll make at home.
Ingredients for The Best Fried Chicken
Boneless thighs, buttermilk bath, and a secret double-dredge for that golden crunch everyone loves.
| Ingredient | Amount | Notes |
|---|---|---|
| Chicken Thighs 🍗 | 3 lb | Boneless, skin-on preferred |
| Buttermilk 🥛 | 2 cups | Full-fat for best results |
| All-Purpose Flour 🌾 | 2 ½ cups | Divided for dredging and crust |
| Cornstarch 🌽 | ½ cup | For extra crispiness |
| Kosher Salt 🧂 | 1 ½ tbsp | Diamond Crystal preferred |
| Black Pepper 🌶️ | 1 tbsp | Freshly ground for best flavor |
| Garlic Powder 🧄 | 1 tbsp | Not garlic salt |
| Onion Powder 🧅 | 1 tbsp | Balances the seasoning blend |
| Paprika 🌶️ | 1 tbsp | Sweet or smoked variety |
| Cayenne Pepper 🔥 | ½ tsp | Adjust for heat preference |
| Large Eggs 🥚 | 2 whole | For binding the crust |
| Vegetable Oil 🫒 | 4 cups | For deep frying, peanut oil works too |
| Baking Powder 🧂 | ½ tsp | Keeps coating light and crisp |
[recipe_ingredient_scaler]
The chicken thighs are non-negotiable here—bone-in, skin-on yields the juiciest meat, though boneless works too (adjust cook time). Source them from Whole Foods or Costco for consistent quality. The buttermilk should be full-fat; low-fat versions lack the acidity needed to tenderize properly. For the flour, King Arthur all-purpose is a professional kitchen standard, but any unbleached variety will do.
Out of buttermilk? Whole milk plus 1 tbsp vinegar per cup works in a pinch. For a gluten-free version, swap the all-purpose flour for rice flour (it fries up extra crispy). No cayenne? Red pepper flakes at half the amount. The oil must hit 350°F—use a thermometer. Peanut oil has a higher smoke point if you’re frying in batches.
The marinade can sit overnight for maximum tenderness. Fried chicken stays crispy for 1 day at room temperature (uncovered, on a rack) or 3 days refrigerated. Reheat in a 375°F oven for 10-12 minutes to revive the crunch—microwaving is a last resort.
Why You’ll Love This Recipe
- I’ll be real: the cold pieces from the fridge might be my favorite part of this recipe.
- One Bowl Magic: I just toss everything in one dish—no fancy prep, no mess.
- Crispy Outside, Juicy Inside: That buttermilk soak keeps the thighs tender while the cornstarch gives it a ridiculous crunch.
- Feeds My Picky Crowd: Honestly, even my nephew who “doesn’t like chicken” asks for seconds.
Step-by-Step Instructions for Buttermilk-Soaked Crispy Chicken
Achieve perfect crunch and juiciness with this tested method for exceptional fried chicken.
Step 1: Brine the Chicken Thighs in Buttermilk
Place the 3 lb chicken thighs in a large bowl and pour over all 2 cups buttermilk. The buttermilk acts as a tenderizing brine, breaking down proteins while adding moisture and subtle tang.
Ensure all pieces are fully submerged. Cover and refrigerate for 12-24 hours—this extended soak guarantees maximum flavor penetration and tenderness. The longer the brine, the more pronounced the buttermilk’s effect on the meat’s texture.
Step 2: Prepare the Seasoned Dredging Mixture
In a large shallow dish, whisk together 2.5 cups all-purpose flour, 0.5 cup cornstarch, 1.5 tbsp kosher salt, 1 tbsp black pepper, 1 tbsp garlic powder, 1 tbsp onion powder, 1 tbsp paprika, 0.5 tsp cayenne pepper, and 0.5 tsp baking powder.
The cornstarch creates an ultra-crispy crust, while the baking powder helps the coating puff slightly during frying. Use a fork to break up any lumps in the flour mixture, ensuring even distribution of all seasonings.
Step 3: Create the Egg Wash and Dredge the Chicken
In a separate bowl, whisk the 2 whole large eggs until well combined. Remove the chicken thighs from the buttermilk, allowing excess to drip off, then dip each piece in the egg wash, coating completely.
Transfer each piece to the seasoned flour mixture, pressing firmly to adhere the coating to all surfaces. For maximum crunch, repeat the dredging process—dip in egg wash again, then coat in flour mixture a second time. Place coated pieces on a wire rack to rest for 10 minutes while you heat the oil.
Step 4: Deep-Fry to Golden Perfection
In a heavy-bottomed pot or Dutch oven, heat all 4 cups vegetable oil to 350°F over medium-high heat. Use a deep-fry thermometer for accuracy. The proper temperature is crucial—too low and the chicken will absorb oil; too high and the outside will burn before the inside cooks.
Working in batches to avoid crowding, carefully lower the coated chicken into the hot oil. Fry for 12-15 minutes, turning occasionally, until the coating is deep golden brown and the internal temperature reaches 165°F. The crust should be crisp enough to audibly crack when touched.
Step 5: Drain and Rest for Optimal Crispiness
Transfer the fried chicken to a wire rack set over a baking sheet or paper towels. This elevation prevents the crust from steaming and becoming soggy. Allow the chicken to rest for 5-10 minutes before serving.
The resting period lets the juices redistribute throughout the meat while the crust maintains its crispness. Serve immediately while hot for the ultimate combination of juicy interior and shatteringly crisp exterior. The coating should maintain its crunch for up to 20 minutes after frying.
Pro Tips For Making The Best Fried Chicken
- Brining Time Matters: Give the chicken thighs at least 4 hours in the buttermilk—overnight if you can swing it. I learned this the hard way when my first batch came out dry and bland.
- Double Dredge: Dip the chicken in the flour-cornstarch mix, back into the buttermilk, then dredge again for that extra-crispy crust. Sounds tedious, but it’s the only way to get that perfect crunch.
- Skip Cold Oil: Make sure your oil is rippling hot (about 350°F) before adding the chicken. After burning three batches, I finally figured out that cold oil just makes greasy, sad chicken.
- Rest Before Serving: Let the fried chicken rest on a wire rack for 5 minutes after frying—yes, even if you’re starving. My grandmother swore by this, and she was right: it keeps the coating crisp instead of soggy.
Perfect Pairings for This the best fried chicken
Classic Southern Sides
I always pair my fried chicken with creamy mashed potatoes—the smooth texture contrasts beautifully with the crispy crust. Use Yukon Gold potatoes and fold in ½ cup buttermilk for extra tang. 💛
Fresh and Crunchy
A vinegar-based slaw cuts through the richness perfectly. I shred 1 head green cabbage and 1 large carrot, then toss with a dressing of ½ cup apple cider vinegar, 2 tbsp sugar, and 1 tsp celery seeds. It stays crisp for days.
Beer Pairings
Nothing beats an ice-cold lager with fried chicken. I love Shiner Bock—its smooth, slightly malty flavor complements the seasoning. For craft beer fans, try a hazy IPA like New England Brewing Co’s Fuzzy Baby Ducks. 🍺
Biscuits and Honey
Warm buttermilk biscuits are a must. I use White Lily flour for the lightest texture. Serve with local wildflower honey for dipping—sweet and savory in one bite. My family has been making this combo for generations.
Pickled Veggies
Quick-pickled cucumbers and red onions add a bright, tangy crunch. Slice thin, then soak in 1 cup white vinegar, 1 cup water, 1 tbsp salt, and 1 tbsp sugar for 30 minutes. They keep in the fridge for up to 2 weeks.
Sweet Finish
End the meal with peach cobbler—the juicy fruit and buttery crust feel like home. I use Georgia peaches when they’re in season. A scoop of vanilla ice cream on top never hurts.
Nutrition Facts
Frequently Asked Questions
What’s the secret to extra crispy coating?
Double-dredging in flour mixture with cornstarch and baking powder creates maximum crunch. Press firmly during dredging to help coating adhere.
Can I use chicken breasts instead of thighs?
Yes, but thighs stay juicier. If using breasts, reduce frying time to 10-12 minutes to prevent dryness. Always check internal temp reaches 165°F.
How do I keep it crispy after cooking?
Place on a wire rack, not paper towels. Rest 5-10 minutes before serving. To reheat, use a 375°F oven for 10-12 minutes.
Why did my coating fall off during frying?
Likely the oil wasn’t hot enough or pieces were crowded. Maintain 350°F and fry in batches. Drying pieces before dredging also helps coating stick.

Trained in classic French technique but raised on slow-cooked ribs and spicy rubs, she blends culinary skill with smoke and soul.
- Recipe for Boneless Pork Chops in Cast Iron Skillet: Sear and Baste to Juicy Perfection - October 3, 2026
- Recipe for Boneless Cross Rib Roast: Slow-Roasted Beef with Herb Crust - October 3, 2026
- Hamburgers in Sauce Recipe Crock Pot: Slow-Cooked Savory Delight - October 3, 2026