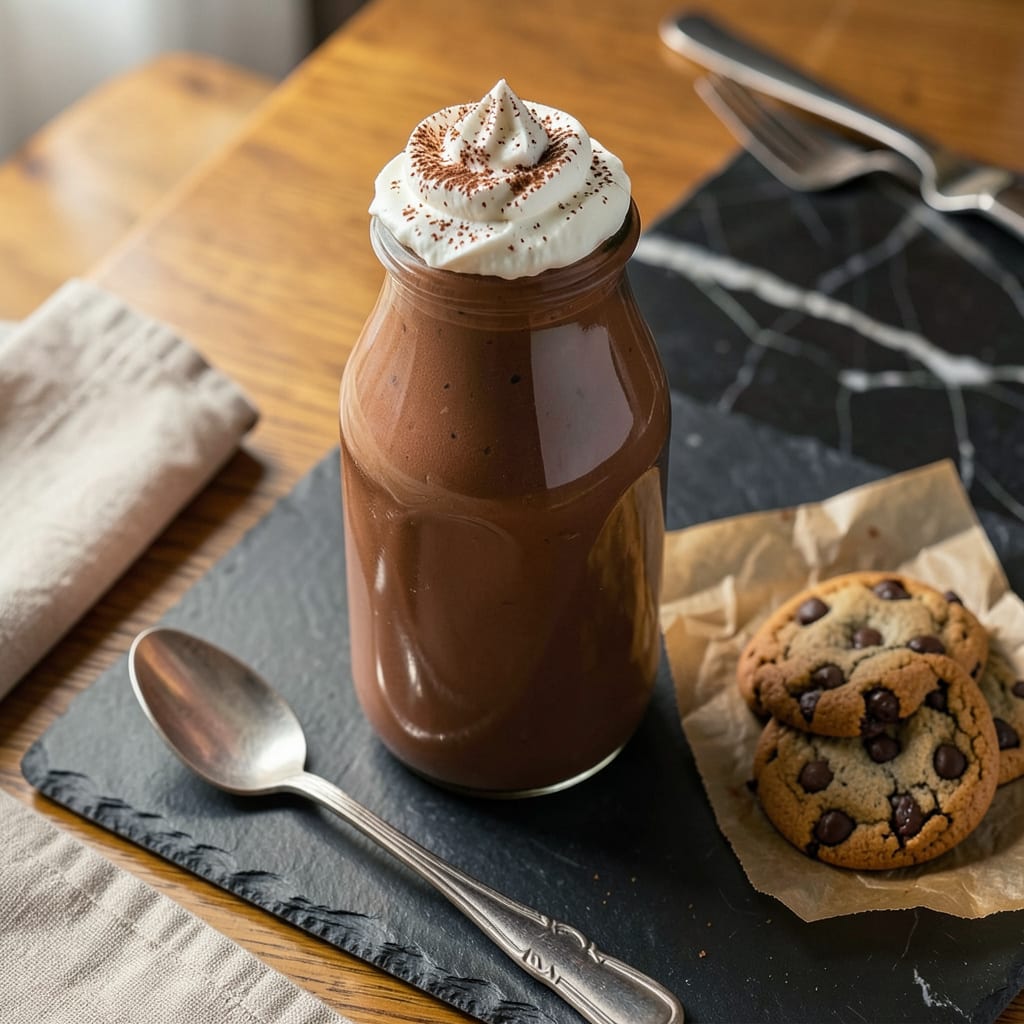
Thick chocolate milk is a rich, velvety beverage made by blending milk with cocoa or chocolate, then adding thickeners like cornstarch, heavy cream, or even ice cream. It’s creamier and more indulgent than regular chocolate milk, often served chilled or as a dessert drink.
This isn’t your average childhood drink—it’s a decadent upgrade that plays with texture and depth. 🔥 The magic happens when you balance fat content (like whole milk or cream) with starches or emulsifiers, creating that signature spoon-coating consistency. I love experimenting with different chocolates—Dutch-process cocoa gives a smoother flavor, while melted dark chocolate adds complexity. Temperature control is key: too hot and the starches break down, too cold and the fats won’t emulsify properly.
What sets this apart from standard chocolate milk is its versatility as both a drink and a dessert base. ✨ You can serve it over ice for a milkshake-like experience, layer it in parfaits, or even use it as a dip for fruit. The thickness level can be adjusted based on your preference—some like it pourable but rich, while others prefer a near-pudding consistency. My pro tip? A pinch of salt enhances the chocolate flavor without adding sweetness.
💡 In This Article
- How Thick Chocolate Milk Gets Its Creamy Texture
- Best Recipes and Ingredients for Homemade Thick Chocolate Milk
How Thick Chocolate Milk Gets Its Creamy Texture
The secret lies in the interplay between fat and starch molecules. Whole milk or heavy cream provides the fat base (typically 8-12% fat content), while ingredients like cornstarch or arrowroot act as thickeners. When heated to 160-180°F, the starch granules absorb liquid and swell, creating a gel-like network that traps fat molecules.
This is why proper temperature control is crucial—too hot and the starches break down, too cool and they won’t activate properly.
Commercial versions often use emulsifiers like lecithin or carrageenan to stabilize the mixture. These compounds bind water and fat molecules together, preventing separation during storage. In homemade versions, egg yolks or melted chocolate can serve as natural emulsifiers.
The chocolate’s cocoa butter (about 30% fat in dark chocolate) contributes significantly to mouthfeel, creating that signature velvety coating sensation.
Texture variations come from different starch sources. Cornstarch gives a glossy, pudding-like consistency, while tapioca starch creates a more elastic, chewy texture. For a dairy-free version, coconut cream’s 20% fat content mimics heavy cream’s richness, though it requires slightly more starch to achieve the same thickness.
The key is balancing fat percentage with starch quantity—typically 1-2 tablespoons of starch per 2 cups of liquid.
Temperature plays a dual role in texture development. Heating activates the starches while also melting the cocoa butter in chocolate. When cooled to 40°F, the fats begin to recrystallize, creating a denser mouthfeel. This is why commercial products often recommend shaking before serving—the recrystallization can cause slight separation during storage.
For homemade versions, serving immediately after chilling (but before full recrystallization) gives the smoothest texture.
Here’s what most people overlook: the cocoa processing method affects thickness. Dutch-process cocoa (alkalized) disperses more evenly in liquids than natural cocoa, requiring less starch for the same consistency. A simple test? Mix 1 tablespoon of each in 1/4 cup of milk—you’ll see the Dutch-process creates a smoother mixture with fewer lumps.
This small difference can mean 20-30% less thickener needed in your final recipe.
The blending method impacts texture too. High-speed blending incorporates air, creating a lighter, frothier consistency, while gentle whisking maintains density. For restaurant-quality results, some chefs use an immersion blender at low speed for 30-45 seconds—just enough to emulsify without aerating.
This technique works particularly well when using melted chocolate as the base, as it prevents the cocoa butter from separating during cooling.
Pro tip: A pinch of salt (1/8 teaspoon per 2 cups) doesn’t just enhance flavor—it actually strengthens the protein network in milk, helping maintain thickness over time. This is why salted chocolate milk often holds its consistency better than unsalted versions, especially when stored for more than 24 hours. 💫

Trained in classic French technique but raised on slow-cooked ribs and spicy rubs, she blends culinary skill with smoke and soul.
- Recipe for Boneless Pork Chops in Cast Iron Skillet: Sear and Baste to Juicy Perfection - October 3, 2026
- Recipe for Boneless Cross Rib Roast: Slow-Roasted Beef with Herb Crust - October 3, 2026
- Hamburgers in Sauce Recipe Crock Pot: Slow-Cooked Savory Delight - October 3, 2026