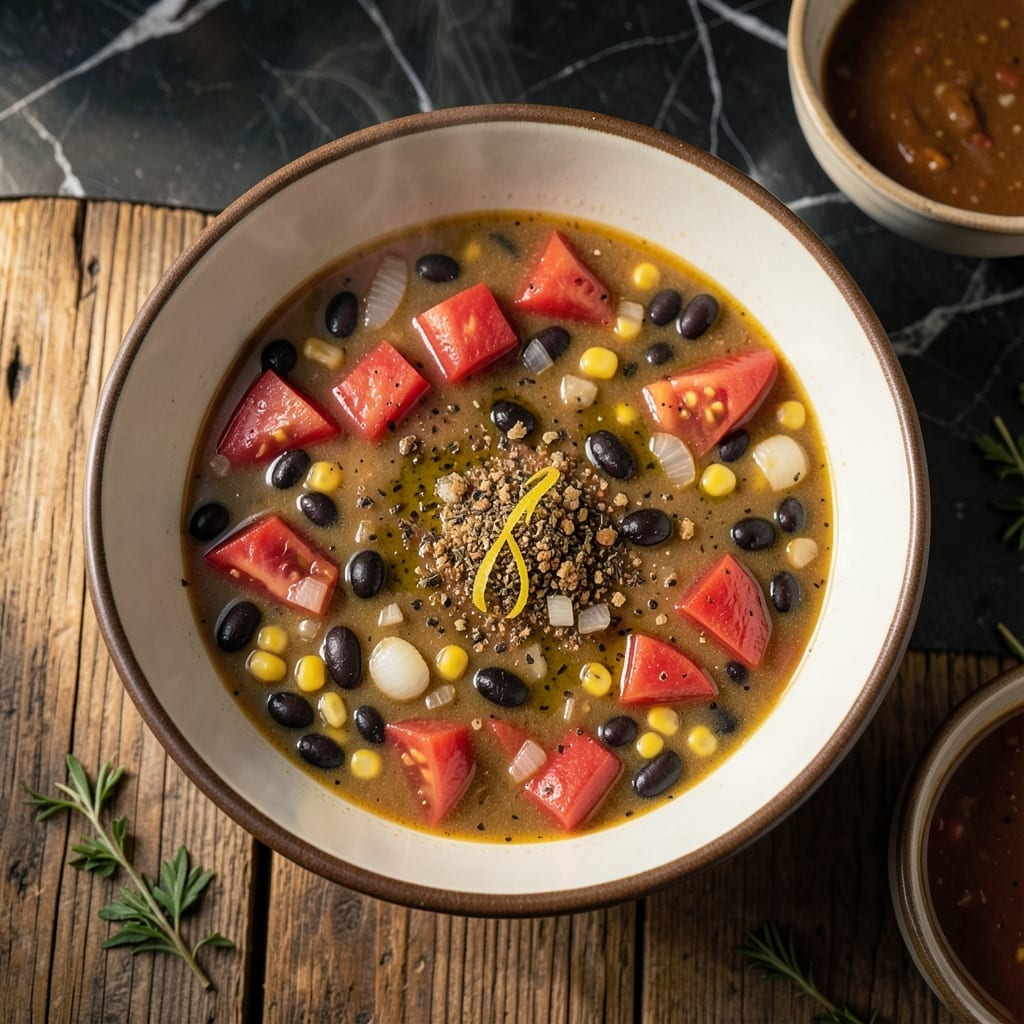
There’s something deeply satisfying about creating a hearty meal from humble pantry staples. This method transforms simple ingredients into a warm, comforting soup that’s perfect for chilly days or busy nights.
I developed this approach after testing it in my tiny Boston kitchen, where space and resources were limited. The beauty lies in its simplicity—just layer your ingredients, seal the can, and let the heat work its magic.
The result is a rich, flavorful soup that’s as practical as it is delicious. It’s a testament to how creativity in the kitchen can turn basic items into something truly special.
Whether you’re camping, in a pinch, or just seeking a no-fuss meal, this delivers every time. Here’s how to make it safely and effectively.
Ingredients for Tin Can Soup
Pantry raid time. Canned staples plus a few fresh touches make magic happen here.
| Ingredient | Amount | Notes |
|---|---|---|
| Canned Diced Tomatoes 🍅 | 2 cans | 14.5 oz each, undrained |
| Canned Black Beans 🫘 | 1 can | 15 oz, drained and rinsed |
| Canned Corn Kernels 🌽 | 1 can | 15.25 oz, drained |
| Canned Chicken Broth 🥫 | 2 cups | Low-sodium preferred |
| Onion 🧅 | 1 whole | Medium, finely diced |
| Garlic Cloves 🧄 | 3 cloves | Minced for depth of flavor |
| Olive Oil 🫒 | 2 tbsp | Extra-virgin for richness |
| Dried Oregano 🌿 | 1 tsp | Mediterranean variety preferred |
| Ground Cumin 🌿 | 1 tsp | Toasted for deeper aroma |
| Smoked Paprika 🌶️ | ½ tsp | Adds subtle smokiness |
| Bay Leaf 🍃 | 1 whole | Removed before serving |
| Salt 🧂 | 1 tsp | Kosher or sea salt preferred |
| Black Pepper 🌶️ | ½ tsp | Freshly ground for best flavor |
| Canned Green Chilis 🌶️ | 1 can | 4 oz, diced, optional for heat |
[recipe_ingredient_scaler]
The canned goods are the backbone here. San Marzano tomatoes if you can swing them (sweeter, less acidic), but any diced tomatoes work. For beans, Goya or Progresso hold their shape well. The broth—Swanson’s or College Inn are reliable. I grab mine from Market Basket in Boston (cheaper than Whole Foods). Look for cans without dents or swelling—that’s a sign they’re past their prime.
No black beans? Kidney or pinto beans swap in seamlessly. Fresh tomatoes instead of canned? Use 2 cups chopped and add a pinch of sugar. Skip the green chilis if you’re heat-averse—a dash of hot sauce at the end works too. The spices are flexible: one-third the amount of fresh herbs if you’ve got them. And if you’re missing cumin, chili powder adds similar warmth (just go easy).
This keeps like a dream. Fridge for 4-5 days—flavors deepen overnight. Freezer? 3 months easy (leave room for expansion). Pro tip: portion into freezer bags laid flat. Thaws fast, saves space (worth the extra minute).
Why You’ll Love This Recipe
- Minimal Chopping: Just one onion to dice—the rest comes straight from the can.
- Hearty & Bright: The tomatoes and corn give it that fresh pop, while the black beans make it filling.
- Weeknight Hero: I throw it together between soccer practice and bedtime stories.
- Pennywise Favorite: Five cans and an onion feed my family for under $10.
Step-by-Step Instructions for Tin Can Soup
This pantry staple comes together quickly with simple, hands-off cooking and rich, layered flavors.
Step 1: Sauté the Aromatics for Depth
Heat the 2 tbsp olive oil in a large pot over medium heat. Add the finely diced onion and cook for 4-5 minutes, stirring occasionally, until it turns translucent and fragrant.
Add the minced 3 cloves garlic cloves and cook for an additional 30-60 seconds until golden and aromatic. Be careful not to let the garlic burn—it should sizzle gently, not brown aggressively. This base layer builds the foundation of flavor for the entire soup.
Step 2: Toast the Spices and Bloom the Flavors
Stir in the 1 tsp dried oregano, 1 tsp ground cumin, and 0.5 tsp smoked paprika. Toast the spices in the hot oil for 30 seconds until they become deeply fragrant.
This step is critical for unlocking the full potential of the spices. You’ll notice the aroma shift from raw to warm and earthy. Add the 1 whole bay leaf, 1 tsp salt, and 0.5 tsp black pepper to the pot and stir to combine.
Step 3: Add Liquids and Canned Goods
Pour in the 2 cups canned chicken broth and scrape the bottom of the pot to release any browned bits. Add the 2 cans canned diced tomatoes (with their juices), 1 can canned black beans (drained and rinsed), 1 can canned corn kernels (drained), and 1 can canned green chilis.
Stir well to combine all the ingredients. The liquid should just cover the solids—if it looks too thick, the broth and tomato juices will create the perfect consistency as it simmers. Bring the mixture to a gentle boil over medium-high heat.
Step 4: Simmer and Marry the Flavors
Once boiling, reduce the heat to low and let the soup simmer uncovered for 15-20 minutes. This allows the flavors to meld together beautifully.
Stir occasionally and taste as it cooks. You’ll know it’s ready when the broth has deepened in color and the onion and spices have infused their richness throughout. The bay leaf should be easy to spot and remove at this point.
Step 5: Adjust and Serve
Remove the bay leaf and discard it. Taste the soup and adjust the seasoning if needed—though the salt and black pepper should already be well-balanced from earlier.
Ladle the soup into bowls while it’s hot. The flavors will continue to develop as it sits, but it’s at its best fresh from the pot. Serve with crusty bread or a sprinkle of fresh herbs if you have them on hand.
Pro Tips For Making Tin Can Soup
- Drain the Beans: Rinse and drain the black beans to remove excess sodium and starch—this prevents a metallic taste and keeps the broth from turning cloudy. I learned this the hard way after a batch tasted like canned saltwater.
- Sauté the Onion: Cook the diced onion in a little oil until soft before adding the canned ingredients. It adds depth to the soup that raw onion just can’t deliver, even if it’s tempting to skip.
- Simmer 15 Minutes: After combining everything, let it simmer uncovered for at least 15 minutes. This melts the flavors together and takes the edge off the canned tomato acidity.
- Use Low-Sodium Broth: Since the tomatoes and beans already pack salt, low-sodium broth keeps the soup from tasting like a salt lick. My grandmother swore by this, and she was right.
Storing and Reheating Leftovers
Refrigerator Storage
After cooking, let your soup cool for no more than 2 hours before transferring to airtight containers. I use glass Pyrex with snap-on lids from my local Market Basket. Store at 40°F or below for up to 4-5 days. The flavors actually deepen overnight. ❄️
Freezer Storage
This soup freezes beautifully for up to 3 months without losing quality. I recommend quart-sized freezer bags laid flat—they stack efficiently and thaw faster. Leave 1 inch of headspace for expansion and squeeze out excess air to prevent freezer burn.
Stovetop Reheating
My preferred method: pour soup into a heavy-bottomed pot, add ¼ cup water or broth to prevent sticking, and heat over medium-low for 10-15 minutes. Stir occasionally and taste—it often needs a pinch of salt after reheating. 🔥
Microwave Reheating
For quick lunches, microwave individual portions covered with a damp paper towel. Heat on 70% power for 2-3 minutes, stir, then continue in 1-minute intervals until reaching 165°F. Add a splash of water if it looks dry.
Portioning Pro Tip
When freezing, portion into single-serving containers for easy grab-and-go meals. I use 16-ounce mason jars—perfect for lunch portions and they’re microwave-safe. Just
Nutrition Facts
Frequently Asked Questions
Can I use fresh vegetables instead of canned?
Use 2 cups diced fresh tomatoes, 1 cup cooked black beans, and 1 cup corn kernels. Sauté them slightly longer to soften before adding liquids.
Why remove the bay leaf before serving?
The bay leaf is for flavor infusion only—it’s too tough to eat. Leaving it in could pose a choking hazard or unpleasant texture. Always check and discard before serving.
Can this soup be made in a slow cooker?
Yes! Combine all ingredients except olive oil in the slow cooker. Cook on low for 6-7 hours or high for 3-4 hours. Stir occasionally for even cooking.
What if my soup is too thick?
Add ½ to 1 cup of hot water or additional broth until it reaches your preferred consistency. Stir well and adjust seasoning as needed.

Trained in classic French technique but raised on slow-cooked ribs and spicy rubs, she blends culinary skill with smoke and soul.
- Recipe for Boneless Pork Chops in Cast Iron Skillet: Sear and Baste to Juicy Perfection - October 3, 2026
- Recipe for Boneless Cross Rib Roast: Slow-Roasted Beef with Herb Crust - October 3, 2026
- Hamburgers in Sauce Recipe Crock Pot: Slow-Cooked Savory Delight - October 3, 2026