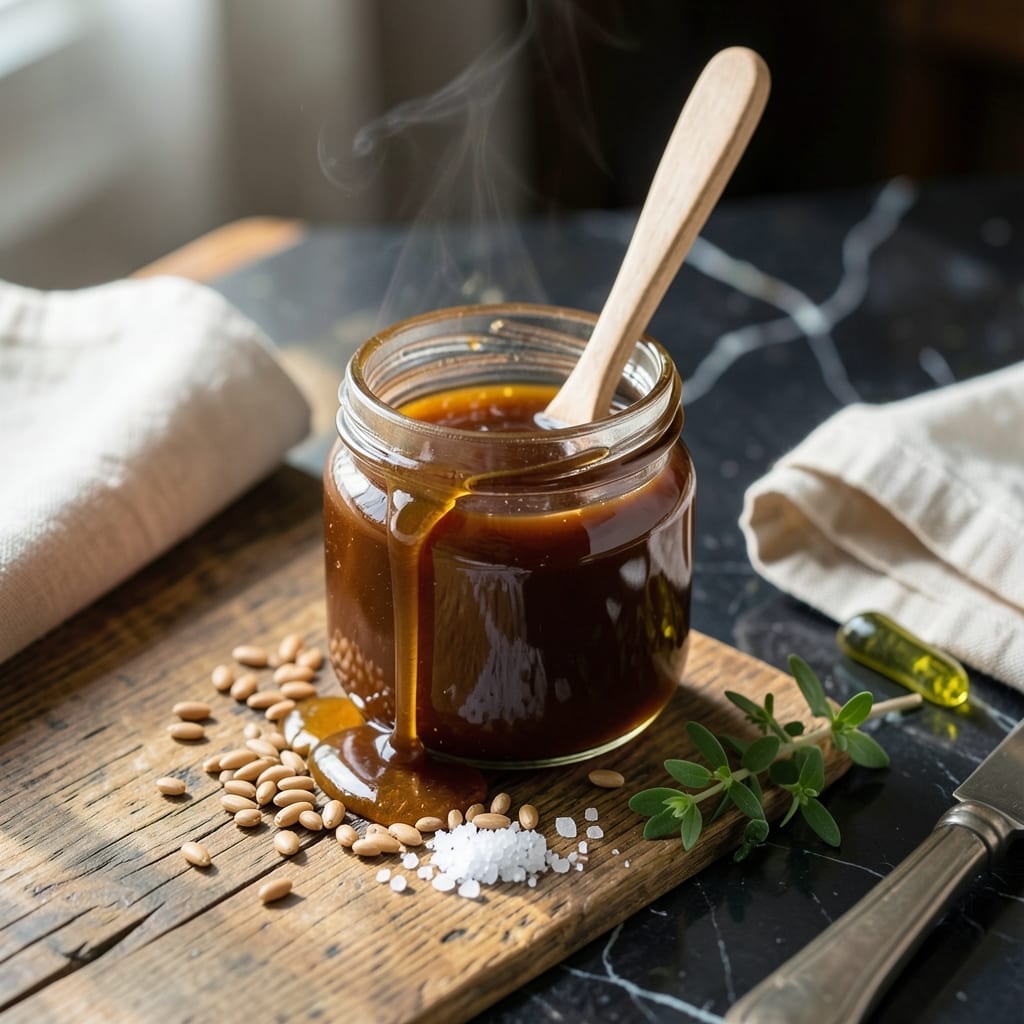
I developed this brown rice syrup after years of searching for a natural sweetener with real depth of flavor. The slow reduction process transforms simple ingredients into a rich, amber liquid with a distinctive nutty undertone.
Unlike refined sweeteners, this version maintains the complex character of whole grain rice. The key is patience—allowing the mixture to cook down slowly ensures the perfect balance between sweetness and that signature toasted note.
You’ll end up with a versatile syrup that works beautifully in baking, beverages, or as a topping. Its smooth texture and caramel-like finish make it a standout alternative to traditional sweeteners.
Store it in an airtight container for up to a month. The flavor continues to develop over time, becoming even more nuanced.
Ingredients for Brown Rice Syrup
Seven simple ingredients transform into a rich, amber syrup with nutty depth.
| Ingredient | Amount | Notes |
|---|---|---|
| Brown Rice 🍚 | 2 cups | Short-grain preferred for creaminess |
| Water 💧 | 6 cups | Filtered for best flavor |
| Brown Sugar 🍚 | ¼ cup | Light or dark, packed |
| Vanilla Extract 🌿 | 1 tsp | Pure extract, not imitation |
| Sea Salt 🧂 | ¼ tsp | Fine grain for even distribution |
| Lemon Juice 🍋 | 1 tsp | Freshly squeezed for brightness |
| Cinnamon Stick 🌿 | 1 whole | Optional for warm spice note |
[recipe_ingredient_scaler]
The brown rice matters most here. Short-grain (like sushi rice) breaks down better than long-grain, giving you that creamy consistency. I grab mine from Whole Foods bulk bins—cheaper and you can get exactly 2 cups. The water should be filtered (tap water with chlorine can affect flavor). Bob’s Red Mill short-grain works great if you’re grabbing a bag.
No short-grain rice? Arborio works in a pinch but cook it a few minutes longer. Swap brown sugar for coconut sugar at the same amount—slightly different flavor but still good. Vanilla is optional but adds depth; skip the imitation stuff. The cinnamon stick is my secret—removes it after cooking, leaves just a hint of warmth.
This keeps up to 1 month in a clean glass jar in the fridge. The flavor deepens over time—taste before using if it’s been a few weeks. Freezes beautifully for 6 months in ice cube trays for single-serving portions.
Why You’ll Love This Recipe
- Five Ingredients Only: I love that this comes together with just brown rice, water, brown sugar, vanilla, and sea salt—no fancy stuff.
- Rich Caramel Notes: The brown sugar and vanilla create this deep, warm sweetness that’s way better than plain sugar.
- Endless Uses: Honestly, I drizzle it on oatmeal, stir it into coffee, even use it in marinades.
- Pantry Stable: Makes a big batch that keeps for weeks, so I always have a natural sweetener on hand.
Step-by-Step Instructions for Brown Rice Syrup
This method transforms simple ingredients into a rich, natural sweetener with minimal effort.
Step 1: Cook the Brown Rice Until Tender
Combine the 2 cups Brown Rice and 6 cups Water in a large, heavy-bottomed pot. I prefer short-grain brown rice for its natural creaminess, but any variety works. Bring to a rolling boil over high heat, then reduce to low and cover tightly.
Simmer for 45-50 minutes until the rice is completely soft and the water is mostly absorbed. You should see no resistance when piercing the grains with a fork. If it’s still firm, add ½ cup more water and cook longer. This step breaks down the starches, which is essential for the syrup’s texture.
Step 2: Blend the Cooked Rice with Sweetener and Spices
Once the rice is fully cooked, remove it from heat and let it cool slightly for 5 minutes. Transfer the warm rice to a high-speed blender. Add the 0.25 cup Brown Sugar, 1 tsp Vanilla Extract, 0.25 tsp Sea Salt, 1 tsp Lemon Juice, and 1 whole Cinnamon Stick.
The vanilla and cinnamon add depth, while the lemon juice brightens the flavor. The sea salt balances the sweetness, so don’t skip it. Blend on high speed for 2-3 minutes until the mixture is completely smooth, scraping down the sides as needed.
Step 3: Strain for a Silky Finish
Line a fine-mesh strainer with cheesecloth or a clean kitchen towel and set it over a large bowl or pitcher. Pour the blended mixture into the strainer. The cinnamon stick will catch in the cloth, but its flavor will have already infused the liquid.
Let it strain undisturbed for 30-45 minutes. Resist the urge to press or squeeze the pulp—this ensures a clear, smooth syrup. If it’s too thick, thin it with a splash of water, but it should naturally drip through at a steady pace.
Step 4: Reduce to Your Desired Consistency
Transfer the strained liquid to a medium saucepan and bring to a gentle simmer over medium heat. Cook for 15-20 minutes, stirring occasionally, until the syrup thickens to your preferred texture. For a lighter syrup, aim for a consistency similar to maple syrup. For something richer, reduce it further until it coats the back of a spoon.
Watch for small bubbles and a slight deepening in color. Remove from heat once it reaches your ideal thickness—it will thicken slightly as it cools. Store in an airtight jar in the refrigerator for up to 2 weeks.
Pro Tips For Making Brown Rice Syrup
- Simmer Low and Slow: Keep the heat at a gentle simmer—too high and the sugars will caramelize too fast, leaving you with a burnt, bitter syrup. I learned this the hard way after ruining a batch by cranking the heat to speed things up.
- Rinse the Rice: Always rinse the brown rice thoroughly before cooking to remove excess starch, which can make your syrup cloudy. A quick rinse under cold water takes 30 seconds and makes a real difference in clarity.
- Skip the Boiling: Resist the urge to boil the mixture vigorously; it can cause the syrup to crystallize or separate. A steady, low heat is the thing that matters most for smooth, even consistency.
- Strain While Hot: Strain the syrup through a fine-mesh sieve while it’s still warm—waiting until it cools makes it thicker and harder to filter. Sounds weird, but it works: the heat keeps it flowing smoothly.
Serving Suggestions for This Recipe
Drizzling Delights
This syrup shines drizzled over vanilla ice cream or Greek yogurt—the nutty depth pairs beautifully with creamy textures. I love it over a scoop of Market Basket vanilla with a sprinkle of sea salt. 💛
Baking Boost
Replace honey or maple syrup in muffins or granola bars with this version for a more complex flavor. Use ¾ cup of this syrup for every 1 cup of liquid sweetener in recipes. It adds moisture and a subtle toasted note to oatmeal cookies.
Beverage Enhancer
Stir 1-2 tbsp into hot coffee or tea for a natural sweetener with character. It’s especially good in chai tea, where the warm spices complement the syrup’s nutty undertones. Cold brew coffee with a splash of this is my summer go-to.
Savory Glaze
Brush onto roasted vegetables like carrots or sweet potatoes during the last 10 minutes of cooking for a caramelized finish. I toss 1 lb baby carrots with 2 tbsp of this syrup and 1 tbsp olive oil before roasting.
Breakfast Topping
Drizzle over pancakes, waffles, or French toast instead of traditional syrup. It’s less cloying than maple syrup, so the flavors of your dish come through. A little goes a long way—I use about 2 tsp per stack. 🍯
Cocktail Creation
Use in place of simple syrup in cocktails for added complexity. It’s fantastic in an Old Fashioned or whipped into a whiskey sour. The nutty notes add depth that simple syrup can’t match.
Nutrition Facts
Frequently Asked Questions
What can I use if I don’t have short-grain rice?
Use Arborio rice as a substitute—it blends smoothly but needs 5-10 minutes extra cooking. Long-grain works too, though the texture may be thinner.
Why add lemon juice to a sweet syrup?
The 1 tsp Lemon Juice brightens the rich, nutty flavor and prevents it from tasting flat. It balances the sweetness without adding sourness.
Can I make this without a high-speed blender?
Yes, but blend in small batches and strain twice for smoothness. A food processor works in a pinch, though the texture may be slightly grainier.
How do I fix syrup that’s too thin?
Return it to the saucepan and simmer over medium-low heat for 5-10 minutes. Stir frequently to prevent burning until it thickens.

Trained in classic French technique but raised on slow-cooked ribs and spicy rubs, she blends culinary skill with smoke and soul.
- Recipe for Boneless Pork Chops in Cast Iron Skillet: Sear and Baste to Juicy Perfection - October 3, 2026
- Recipe for Boneless Cross Rib Roast: Slow-Roasted Beef with Herb Crust - October 3, 2026
- Hamburgers in Sauce Recipe Crock Pot: Slow-Cooked Savory Delight - October 3, 2026