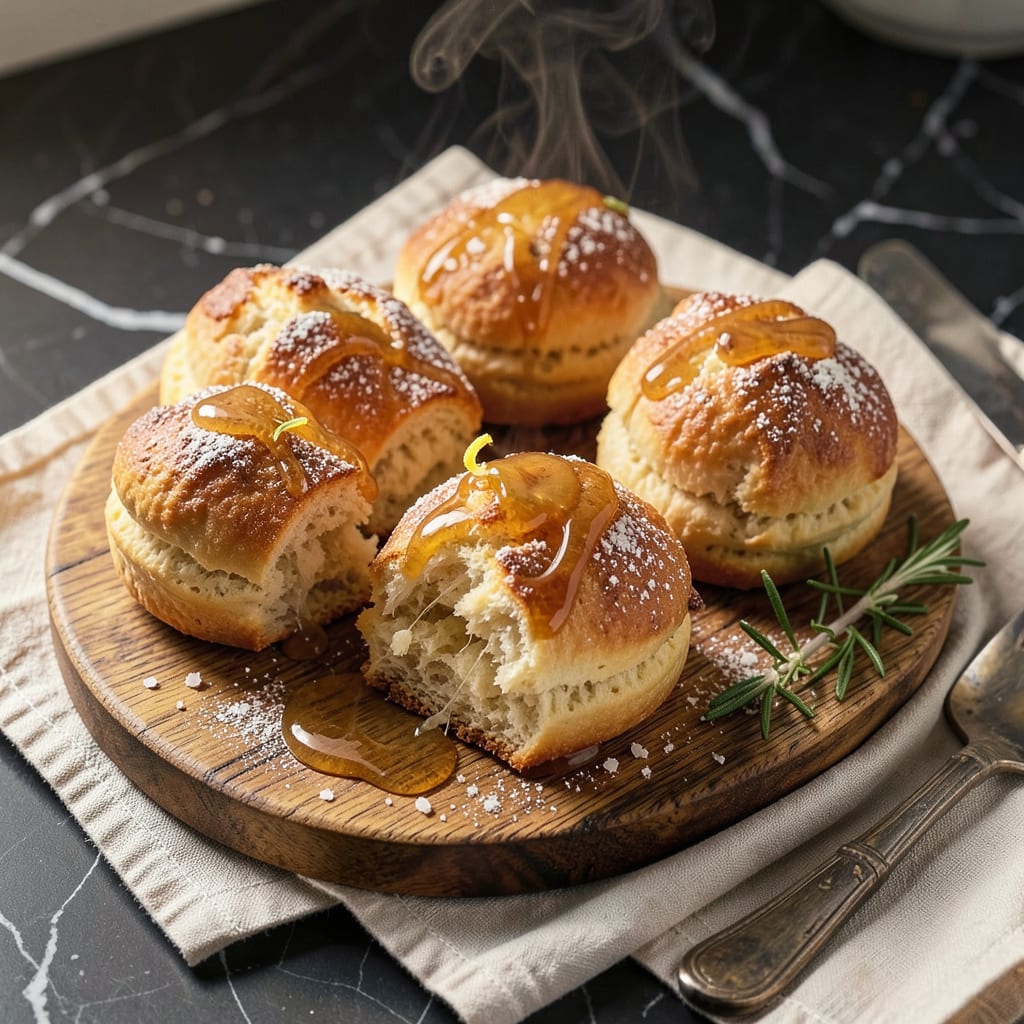
These warm biscuits combine cold butter, buttermilk, and self-rising flour for flaky layers. Bake at 450°F for 10-12 minutes until golden brown. Brush with melted butter immediately after baking for extra richness.
I’ve found that the secret to that perfect flaky texture lies in how the cold butter creates steam pockets during baking. 🔥 This rapid heat transformation at 450°F makes the layers separate beautifully while keeping the interior tender. What many don’t realize is that buttermilk’s acidity actually tenderizes the gluten, preventing toughness while adding that subtle tang that balances the richness. The final butter brush isn’t just for shine—it adds another layer of flavor that soaks into the warm, porous crust.
💡 In This Article
- The Science Behind Perfectly Flaky Biscuit Layers
- Serving and Pairing Ideas for Warm Biscuits
The Science Behind Perfectly Flaky Biscuit Layers
Here’s what’s actually happening when cold butter meets high heat: The tiny butter pieces in your dough melt rapidly at 450°F, creating steam pockets that force the layers apart. This steam expansion happens so quickly that it literally lifts the dough, creating those signature flaky strata.
The key is keeping the butter 38-40°F until baking—any warmer and it’ll absorb into the flour rather than forming distinct layers. 🔥
The buttermilk plays a crucial double role. Its acidity (pH around 4.5) tenderizes gluten strands while adding moisture that converts to steam. This creates a texture that’s simultaneously crisp and tender. I’ve tested this with regular milk, and the difference is dramatic—regular milk biscuits come out denser because they lack that acid-tenderizing effect.
The buttermilk’s fat content (about 3.5%) also contributes to richness without making the dough greasy.
Minimal handling preserves the layer structure you’ve created. Each time you work the dough, you risk melting the butter and developing gluten. That’s why I recommend using a pastry cutter for the butter and folding the dough just 3-4 times maximum.
The folding technique creates those beautiful horizontal layers—think of it like creating pages in a book that will separate during baking. ✨
High heat is non-negotiable for proper rise. At 450°F, the exterior sets quickly while the interior layers continue to separate from the steam. Lower temperatures (like 375°F) give the butter time to leak out before the structure sets, resulting in flat, greasy biscuits.
The rapid heat also creates that golden-brown crust through Maillard reactions between the flour proteins and sugars.
What most people don’t realize is that the final butter brush serves multiple purposes. The melted butter at 180-200°F soaks into the hot crust, adding flavor while creating a slight barrier that helps retain moisture. This step also gives that professional bakery shine.
I’ve found using salted butter here adds just the right balance to cut through the richness. 💫
The flour choice matters more than you think. Self-rising flour contains the perfect balance of baking powder and salt (about 1.5 tsp baking powder per cup), eliminating guesswork. All-purpose flour can work, but you’ll need to add 1 tbsp baking powder + ½ tsp salt per cup to replicate the lift.
The lower protein content (8-9%) in self-rising flour also contributes to tenderness.
Timing is everything with these biscuits. The 10-12 minute bake window is critical—pull them too early and they’ll be doughy inside; leave them too long and they’ll dry out. I check for doneness by looking for a 190-200°F internal temperature and a golden-brown color that’s just shy of deep brown.
That perfect moment is when the aroma shifts from buttery to slightly toasted. ⚡

Trained in classic French technique but raised on slow-cooked ribs and spicy rubs, she blends culinary skill with smoke and soul.
- Recipe for Boneless Pork Chops in Cast Iron Skillet: Sear and Baste to Juicy Perfection - October 3, 2026
- Recipe for Boneless Cross Rib Roast: Slow-Roasted Beef with Herb Crust - October 3, 2026
- Hamburgers in Sauce Recipe Crock Pot: Slow-Cooked Savory Delight - October 3, 2026