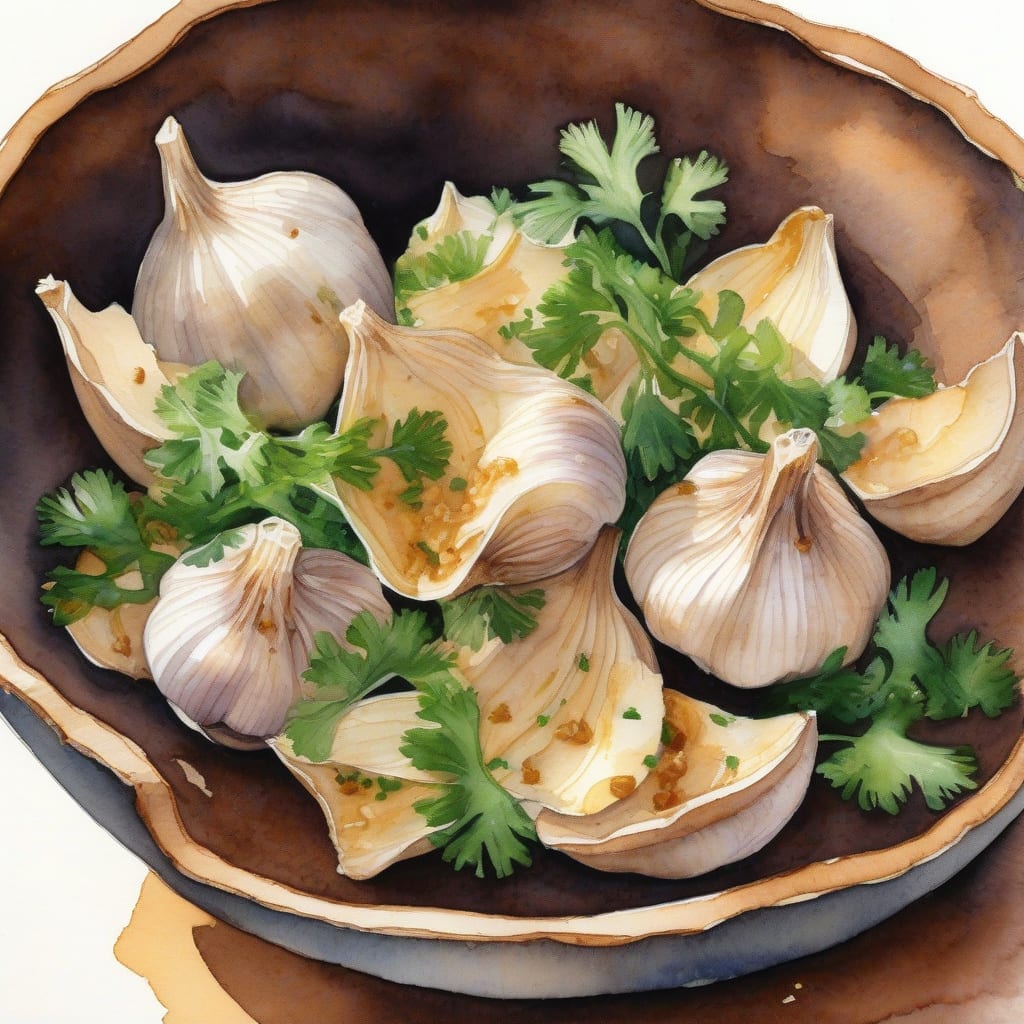
Have you ever craved a snack that’s both delicious and incredibly easy to make? This recipe for whole garlic chips is just what you need! In just 30 minutes, you’ll create perfectly crispy, flavorful chips that elevate any dish. Your taste buds will thank you!
What makes this dish special is its simplicity. Using just a few ingredients, you’ll achieve a crunch that’s hard to resist. These chips are perfect for snacking or as a topping for salads, soups, and more, adding a burst of flavor and texture to your meals.
By the end of this process, you’ll have golden, crispy garlic chips that are utterly addictive. They’ll be a delightful addition to your culinary repertoire. Ready to make your own? Let’s dive into the details and get cooking!
Ingredients for Whole garlic chips
Gather these simple ingredients to create delicious and crispy garlic chips in no time.
| Ingredient | Amount | Notes |
|---|---|---|
| Whole Garlic Cloves 🧄 | 12 cloves | Peeled and left whole |
| Olive Oil 🫒 | ½ cup | Extra-virgin for best flavor |
| Sea Salt 🧂 | 1 tsp | Kosher or flaky salt preferred |
| Black Pepper 🌶️ | ½ tsp | Freshly ground for seasoning |
| Fresh Parsley 🌿 | ¼ cup | Chopped, for garnish |
[recipe_ingredient_scaler]
You can find all these ingredients at your local grocery store. Look for fresh garlic cloves that are firm and free of any soft spots. Extra-virgin olive oil from brands like Colavita or California Olive Ranch offers great flavor. For sea salt, Diamond Crystal is a popular choice among chefs for its texture and ease of use.
If you prefer a milder flavor, substitute half the garlic cloves with shallots. You can also add spices like paprika or cayenne for an extra kick. Fresh parsley can be replaced with cilantro or basil if desired. For a nutty twist, drizzle with toasted sesame oil instead of olive oil.
Store leftover garlic chips in an airtight container at room temperature for up to 1 week. To maintain their crispiness, avoid refrigerating them. If they lose their crunch, reheat in a low oven for a few minutes before serving.
Step-by-Step Instructions for Whole Garlic Chips
Let me guide you through this simple process to achieve crispy, flavorful garlic chips in just 30 minutes.
👨🍳 Step 1: Prepare the Garlic Cloves
Start by peeling the 12 cloves of whole garlic. I find using the flat side of a chef’s knife to gently crush each clove makes peeling easier. This method releases the skin without damaging the garlic. Once peeled, leave the cloves whole; this helps them fry evenly and maintain their flavor during cooking.
You’ll want to ensure the garlic is dry before frying. Any moisture will cause the oil to splatter, so give them a quick pat with a paper towel if necessary. This step is crucial for achieving that perfect crispiness!
🍳 Step 2: Heat the Oil
In a medium saucepan, pour in 0.5 cup of olive oil and heat it over medium-low heat. I prefer using extra-virgin olive oil for its rich flavor, which enhances the garlic chips significantly. Allow the oil to warm gently; you’ll know it’s ready when small bubbles start to form around the edges.
Be careful not to heat the oil too quickly; if it gets too hot, the garlic will burn instead of becoming golden brown and crispy. It’s all about maintaining that perfect frying temperature throughout the cooking process.
🔥 Step 3: Fry the Garlic Cloves
Once your oil is hot enough, carefully add the whole garlic cloves. Fry them for about 8-10 minutes, stirring occasionally to ensure they cook evenly. Watch closely as they begin to turn golden brown; this is your visual cue for doneness.
You’ll notice a delightful aroma filling your kitchen as they cook. If you see any cloves getting darker than a light golden brown, remove them immediately to prevent bitterness. The goal is to achieve a perfect crisp without burning.
⏰ Step 4: Drain and Season
After frying, use a slotted spoon to transfer the garlic chips to a plate lined with paper towels. This will help absorb any excess oil, keeping them crisp. While they’re still warm, sprinkle on 1 tsp of sea salt and 0.5 tsp of black pepper. Toss gently to coat.
Let them cool completely; they’ll continue to crisp up as they cool down. Once cooled, you can garnish them with 0.25 cup of chopped fresh parsley for an extra pop of color and freshness.
🥘 Step 5: Serve and Enjoy!
Your garlic chips are now ready to be enjoyed! They make a fantastic snack on their own or can be used as a crunchy topping for salads, soups, or pasta dishes. Store any leftovers in an airtight container at room temperature, where they should stay crispy for a few days.
Enjoy the satisfying crunch and robust flavor of these homemade garlic chips—perfect for snacking or adding a special touch to your meals!
Elevate Your Snack Game with Whole Garlic Chips
Whole garlic chips are not just a tasty snack; they also offer some surprising health benefits! Garlic is known for its antioxidant properties and can boost your immune system. By incorporating these crispy delights into your diet, you may help reduce inflammation and improve heart health. 🧄
When preparing these chips, I recommend using extra-virgin olive oil for frying. This oil not only enhances flavor but also provides healthy fats. I’ve found that brands like California Olive Ranch deliver great taste and quality, making them perfect for this recipe. Plus, the 0.5 cup you’ll use adds richness without overpowering the garlic’s natural flavor.
Don’t forget to season with sea salt and freshly ground black pepper as they come out of the oil. The simple seasoning elevates the chips’ flavor while keeping the focus on the delicious garlic. I always opt for Diamond Crystal sea salt because of its flaky texture that adheres beautifully to the chips. 🌶️
These garlic chips make a fantastic garnish, too! Try sprinkling them over salads, soups, or pasta dishes for an added crunch and burst of flavor. They’re versatile enough to pair with a variety of meals, so keep a batch on hand for spontaneous snacking or as a topping to elevate your culinary creations! 🌿
Nutrition Facts
150kcal

Trained in classic French technique but raised on slow-cooked ribs and spicy rubs, she blends culinary skill with smoke and soul.
- Recipe for Boneless Pork Chops in Cast Iron Skillet: Sear and Baste to Juicy Perfection - October 3, 2026
- Recipe for Boneless Cross Rib Roast: Slow-Roasted Beef with Herb Crust - October 3, 2026
- Hamburgers in Sauce Recipe Crock Pot: Slow-Cooked Savory Delight - October 3, 2026