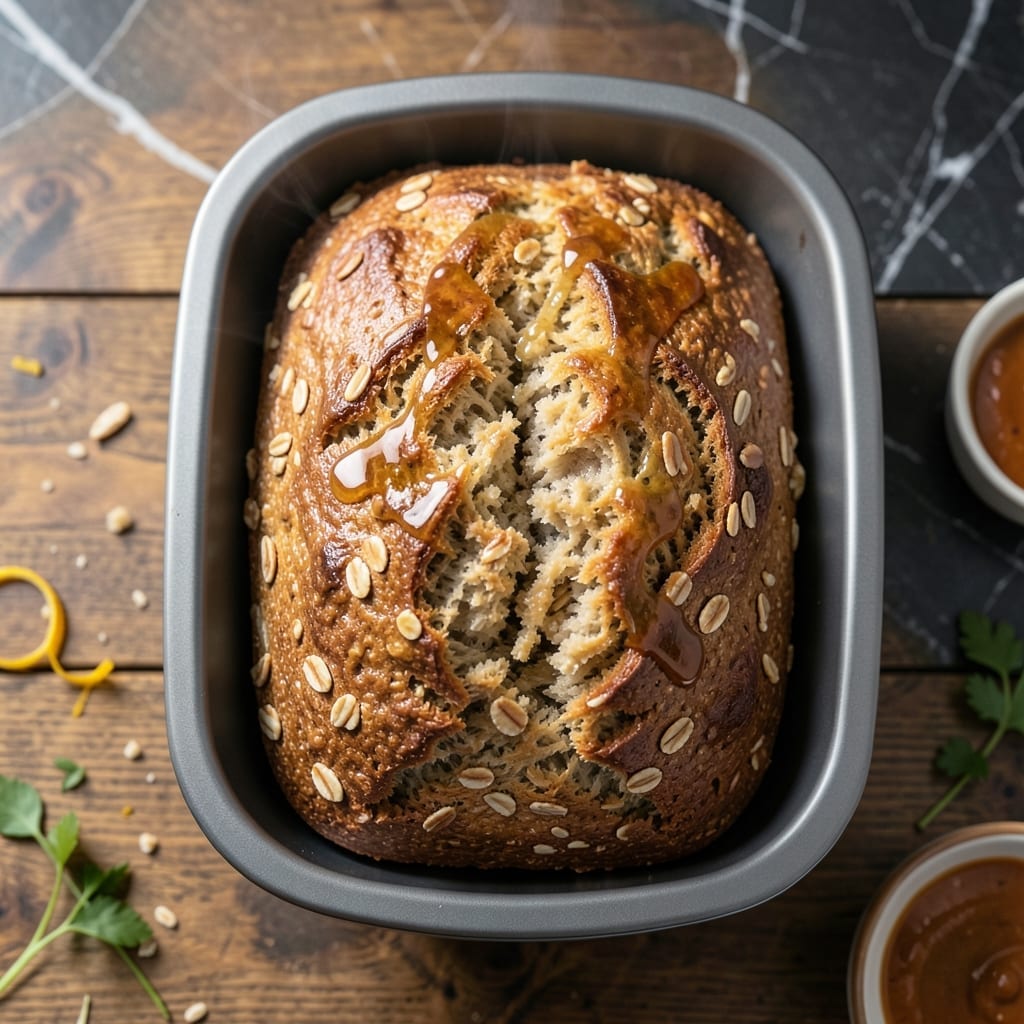
This bread machine recipe delivers whole grain goodness with minimal effort. The process transforms simple ingredients into a loaf with nutty flavor and perfect texture.
I’ve refined this method to ensure consistent results every time. The machine handles the mixing and baking while you enjoy the aroma of fresh-baked bread filling your kitchen.
Ingredients for Whole Grain Bread Recipe for Bread Machine
Whole grains and simple pantry staples create this nutty, textured loaf effortlessly.
| Ingredient | Amount | Notes |
|---|---|---|
| Whole Wheat Flour 🌾 | 3 cups | Finely ground, bread flour quality |
| Bread Flour 🌾 | 1 cup | All-purpose as substitute |
| Old-Fashioned Rolled Oats 🌾 | ½ cup | Uncooked, not instant |
| Honey 🍯 | 3 tbsp | Or maple syrup for vegan option |
| Unsalted Butter 🧈 | 2 tbsp | Melted and cooled |
| Warm Water 💧 | 1 ¼ cups | 110°F to 115°F |
| Active Dry Yeast 🍞 | 2 ¼ tsp | One 0.25 oz package |
| Kosher Salt 🧂 | 1 ½ tsp | Fine grain for even distribution |
| Ground Flaxseed 🌿 | ¼ cup | Optional for extra nutrition |
| Vital Wheat Gluten 🌾 | 1 tbsp | Improves texture in whole grain |
| Milk 🥛 | ¼ cup | Whole or 2%, warmed |
| Brown Sugar 🍚 | 1 tbsp | Light or dark variety |
[recipe_ingredient_scaler]
The whole wheat flour is the foundation here. King Arthur or Bob’s Red Mill are reliable brands with consistent grind quality. Look for fine-ground whole wheat—coarse textures can make the loaf dense. The oats add that signature nutty depth, so don’t skip them. Trader Joe’s has great rolled oats at a fair price. Vital wheat gluten might sound fancy, but it’s just the stuff that gives whole grain bread that light, airy crumb (worth hunting down at Whole Foods).
No honey? Maple syrup or agave work in a pinch (use the same amount). Out of bread flour? All-purpose in a 1:1 swap—the loaf will be slightly less chewy but still delicious. The butter can be swapped for coconut oil if you’re avoiding dairy. For the yeast, instant yeast works too—just skip the proofing step. Milk powder can replace the fresh milk (use 1/4 cup powder + 1 cup water).
Store flour and oats in airtight containers in a cool, dark place for up to 6 months. The loaf itself stays fresh for 3-4 days at room temperature, wrapped tightly. For longer storage, slice and freeze for up to 3 months—revive slices in a toaster.
Why You’ll Love This Recipe
- Set and Forget: I just dump everything in the bread machine and let it do the work while I tackle my to-do list.
- Nutty Sweetness: The honey and oats give it this warm, toasty flavor that’s way better than store-bought.
- Meal Prep Hero: I slice and freeze it, then toast slices all week for sandwiches or avocado toast.
- Budget Friendly: A loaf costs me pennies compared to artisanal whole grain bread at the bakery.
Step-by-Step Instructions for Whole Grain Bread Machine Bread
Here’s the method. Straightforward, tested, works every time.
Step 1: Activate the Yeast and Prepare Wet Ingredients
In the bread machine pan, start by adding the 1.25 cups Warm Water followed by the 0.25 cup Milk. I always ensure both liquids are at the correct temperature—110°F to 115°F—to activate the yeast properly without killing it.
Next, sprinkle the 2.25 tsp Active Dry Yeast evenly over the surface of the liquids. Do not stir. Let it sit for 5 minutes until the yeast becomes foamy and active. This step ensures your bread will rise properly and develop that perfect texture.
Once the yeast is activated, add the 3 tbsp Honey, 2 tbsp Unsalted Butter (melted and cooled), and 1 tbsp Brown Sugar. These sweeteners will enhance the nutty flavor and contribute to a beautifully browned crust.
Step 2: Add Dry Ingredients in the Correct Order
In a separate bowl, whisk together the 3 cups Whole Wheat Flour, 1 cup Bread Flour, 0.5 cup Old-Fashioned Rolled Oats, 1.5 tsp Kosher Salt, 0.25 cup Ground Flaxseed, and 1 tbsp Vital Wheat Gluten. The vital wheat gluten is crucial here—it strengthens the dough structure, compensating for the lower gluten content in whole wheat flour.
Once combined, carefully add the dry mixture to the bread machine pan on top of the wet ingredients. Use a spatula to gently level the top, ensuring all dry ingredients are submerged in the liquid. Avoid packing down the flour, as this can lead to dense bread.
This layering technique prevents the yeast from coming into direct contact with the salt, which could inhibit its activity. The bread machine’s paddle will incorporate everything during the kneading cycle.
Step 3: Select the Correct Bread Machine Settings
Secure the bread pan in the machine and select the “Whole Grain” or “Whole Wheat” setting if available. If your machine doesn’t have this option, use the “Basic” or “White Bread” setting but adjust the crust to medium for best results.
Set the loaf size to 1.5 or 2 pounds, depending on your machine’s capacity. The cycle should take approximately 3 to 4 hours, including kneading, rising, and baking. Avoid opening the lid during the first 2 hours to maintain consistent temperature and humidity for proper rising.
Listen for the machine to transition from kneading to rising—you should hear the motor change pitch. If your machine has a window, check that the dough forms a smooth, elastic ball. If it appears too dry, add 1 to 2 tablespoons of warm water; if too sticky, sprinkle in 1 to 2 tablespoons of bread flour.
Step 4: Monitor and Remove at the Perfect Time
As the bread nears the end of the baking cycle, observe the crust color through the machine’s window. You’re aiming for a deep golden brown hue. If the top browns too quickly, tent a piece of aluminum foil over the pan to prevent over-browning.
Once the cycle completes, immediately remove the pan from the machine. Let the bread cool in the pan for 5 minutes, then transfer it to a wire rack. This prevents the crust from becoming soggy due to trapped steam.
Resist the temptation to slice into it right away. Allow the bread to cool for at least 1 hour to ensure the crumb sets properly. Slicing too soon can result in a gummy texture. The finished loaf should have a firm crust, a slightly nutty aroma, and a tender, moist interior with a fine crumb.
Pro Tips For Making Whole Grain Bread Recipe For Bread Machine
- Warm Your Liquids: Use room temperature water and honey—cold ingredients can shock the yeast and leave your loaf dense. I learned this the hard way after pulling out a brick of bread.
- Toast the Oats: Lightly toast the rolled oats in a dry pan for 2-3 minutes before adding. Sounds weird, but it brings out a nuttiness that raw oats just can’t match.
- Weigh Your Flours: Scooping whole wheat flour directly from the bag packs it down—1 cup can weigh 130g or 180g. Use a scale for 140g per cup to avoid a dry, crumbly mess.
- Soften Butter Right: The butter should be soft enough to dent with a finger but not melted. If it’s shiny or greasy, your loaf will collapse in the machine.
Make-Ahead Tips for This Dish
Overnight Dough Prep
Mix all wet ingredients the night before and store in the fridge. In the morning, add dry ingredients to the bread machine and start the cycle. This saves 10-15 minutes of prep time and lets flavors meld overnight.
Freezer-Friendly Loaves
Bake the bread, cool completely, then slice before freezing. Use heavy-duty freezer bags with parchment between slices. This keeps the loaf fresh for up to 3 months without freezer burn. 💡
Dough Cycle for Later
Use the dough setting to prepare the mixture, then remove and shape into rolls or smaller loaves. Bake later in a conventional oven at 375°F for 20-25 minutes for fresh bread on demand.
Room Temperature Storage
Keep the cooled loaf in an airtight container or wrapped in beeswax wrap at room temperature. It stays fresh for 3-4 days—perfect for daily sandwiches or toast.
Reviving Stale Bread
Sprinkle slices with a little water and warm in a 350°F oven for 5-10 minutes. This brings back that just-baked texture and aroma. I do this whenever my loaf sits too long. ❄️
Pre-Portioning for Meals
Slice the loaf into serving sizes before storing. This makes it easy to grab exactly what you need for lunchboxes or quick breakfasts, reducing waste and saving time.
Nutrition Facts
Frequently Asked Questions
Can I use all whole wheat flour instead of mixing with bread flour?
Yes, but add 1-2 tbsp vital wheat gluten per 3 cups flour to prevent a dense loaf. The gluten compensates for whole wheat’s lower elasticity.
Why does my loaf have a dense texture?
This usually means too much liquid or not enough kneading. Check your machine’s paddle moves freely. Also, whole grains absorb more moisture—add 1-2 tbsp water if dough looks dry.
How do I know when the bread is done?
Internal temperature should reach 190°F-200°F. If unsure, tap the bottom—it should sound hollow. Overbaking dries it out, so check at 3.5 hours.
Can I make this without a bread machine?
Use the same ingredients, knead for 8-10 minutes by hand, let rise 1-2 hours, then bake at 375°F for 30-35 minutes.

Trained in classic French technique but raised on slow-cooked ribs and spicy rubs, she blends culinary skill with smoke and soul.
- Recipe for Boneless Pork Chops in Cast Iron Skillet: Sear and Baste to Juicy Perfection - October 3, 2026
- Recipe for Boneless Cross Rib Roast: Slow-Roasted Beef with Herb Crust - October 3, 2026
- Hamburgers in Sauce Recipe Crock Pot: Slow-Cooked Savory Delight - October 3, 2026