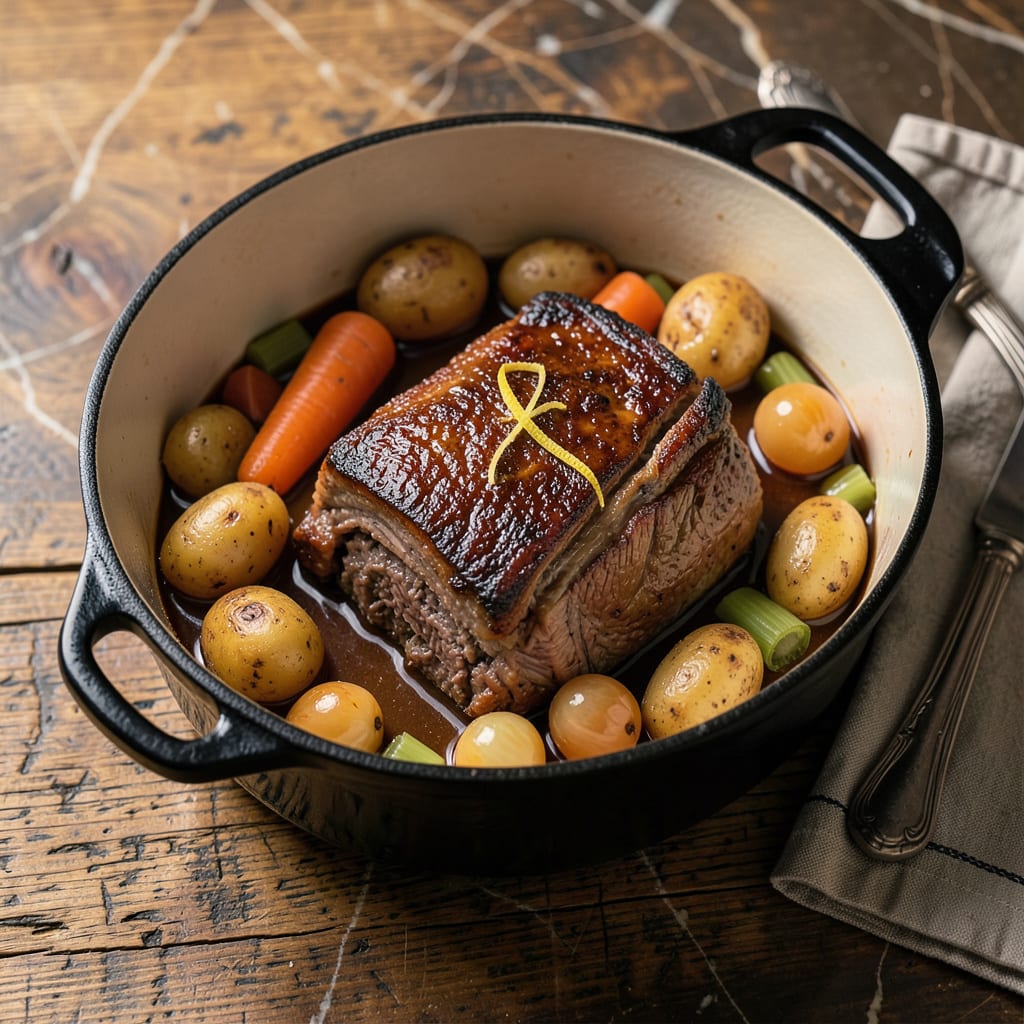
Your pot roast likely isn’t falling apart because it either didn’t cook long enough at a low temperature or lacked sufficient moisture. Tough cuts like chuck need 3-4 hours of slow cooking to break down collagen properly.
This happens more often than you’d think, especially with budget-friendly cuts that rely on slow cooking to transform. 🔥 The magic lies in that collagen breakdown—when heated gently over time, it melts into gelatin that lubricates the muscle fibers. I’ve seen many home cooks rush the process by cranking up the heat, which actually tightens the fibers instead of relaxing them. The liquid in your pot isn’t just for flavor; it creates the steam environment that prevents the meat from seizing up while it tenderizes.
💡 In This Article
- How Collagen Breakdown Affects Pot Roast Texture
- Fixing and Preventing Tough Pot Roast Issues
How Collagen Breakdown Affects Pot Roast Texture
That perfect fall-apart pot roast relies on a fascinating transformation happening at the molecular level. Collagen—the tough connective tissue in cuts like chuck roast—begins breaking down around 160°F, but the real magic happens between 195-205°F. At these temperatures, collagen converts to gelatin, which acts like a natural lubricant between muscle fibers.
This process takes time: about 1-2 hours per pound of meat for complete conversion. 🔥
Moisture plays a critical role in this alchemy. The liquid in your pot creates steam that keeps the meat fibers relaxed while they cook. Without enough liquid (aim for 1-2 cups of broth or water), the collagen can’t properly dissolve.
I’ve found that adding acidic ingredients like 1/4 cup vinegar or wine helps speed up the breakdown by lowering the pH, making the collagen more soluble. The result? Meat that practically melts at the touch of a fork.
Temperature control is everything. Too high (above 220°F), and the muscle fibers contract and squeeze out moisture, making the roast tough. Too low (below 180°F), and the collagen won’t convert properly. A 300°F oven or slow cooker on low hits that sweet spot where collagen melts gradually without drying out the meat.
The difference between a 3-hour and 4-hour cook can mean tender perfection versus chewy disappointment. ✨
Here’s what most home cooks miss: the collagen-to-gelatin conversion continues even after you remove the roast from heat. That’s why resting for 15-20 minutes before slicing is crucial. During this time, the gelatin redistributes throughout the meat, ensuring every bite stays moist and tender.
Skipping this step means losing that final 10% of tenderness you worked so hard to achieve.
Different cuts require different approaches. While chuck roast needs that long, slow treatment, leaner cuts like round roast benefit from being cooked to a lower internal temperature (145°F) to prevent drying. The fat marbling in chuck provides both flavor and a built-in moisture system during the long cook.
That’s why it’s my go-to for pot roast—it’s practically designed for this transformation. 💫
Pro tip: If you’re using a slow cooker, resist the urge to peek! Every time you lift the lid, you lose 20-30 minutes of cooking time as the temperature recovers. The steady, uninterrupted heat is what guarantees that perfect, fork-tender result.
I learned this the hard way after ruining more than one Sunday dinner by being too impatient.
The science doesn’t lie: that tough cut you bought for $5/lb can taste like a $20 steak with proper technique. The collagen breakdown is what turns economical cuts into showstopping meals. Once you understand this process, you’ll never fear a tough pot roast again. ⚡

Trained in classic French technique but raised on slow-cooked ribs and spicy rubs, she blends culinary skill with smoke and soul.
- Recipe for Boneless Pork Chops in Cast Iron Skillet: Sear and Baste to Juicy Perfection - October 3, 2026
- Recipe for Boneless Cross Rib Roast: Slow-Roasted Beef with Herb Crust - October 3, 2026
- Hamburgers in Sauce Recipe Crock Pot: Slow-Cooked Savory Delight - October 3, 2026