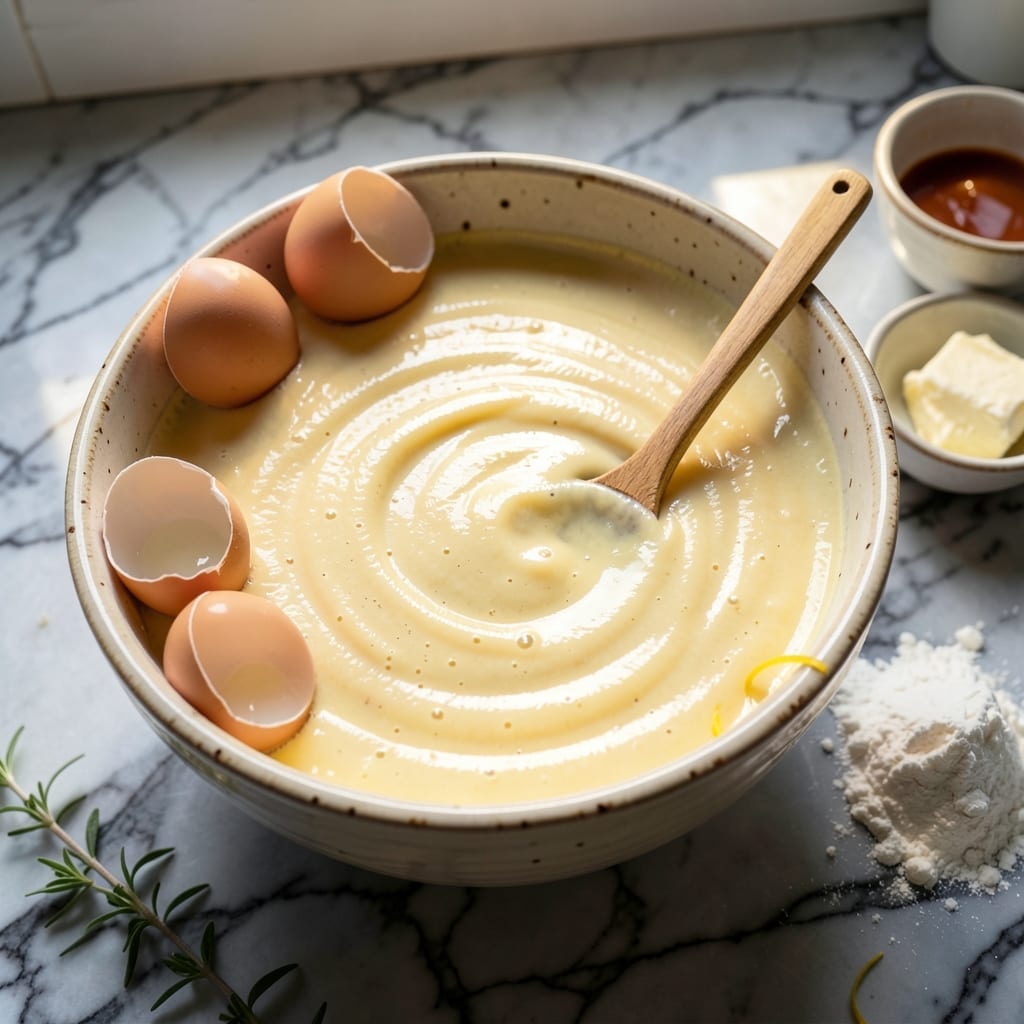
There’s something special about baking a yellow cake from scratch that store-bought versions simply can’t match. The rich, buttery vanilla flavor and tender crumb make it a timeless favorite for any celebration.
This recipe delivers homemade charm with simple ingredients and straightforward steps. The result is a moist, golden cake that serves as the perfect canvas for your favorite frosting or fresh berries.
Ingredients for Yellow Cake Recipe from Scratch
Ten pantry staples for a cake that tastes like love and childhood combined.
| Ingredient | Amount | Notes |
|---|---|---|
| All-Purpose Flour 🌾 | 2 ½ cups | Sifted for light texture |
| Granulated Sugar 🍚 | 1 ½ cups | Fine grain for even distribution |
| Unsalted Butter 🧈 | 1 cup | Room temperature, softened |
| Large Eggs 🥚 | 4 whole | Room temperature preferred |
| Whole Milk 🥛 | 1 cup | Full-fat for richness |
| Pure Vanilla Extract 🌿 | 2 tsp | High-quality for best flavor |
| Baking Powder 🧂 | 2 ½ tsp | Fresh for optimal rise |
| Baking Soda 🧂 | ½ tsp | Balances acidity in batter |
| Salt 🧂 | ½ tsp | Fine sea salt preferred |
| Vegetable Oil 🫒 | 2 tbsp | Neutral flavor, for greasing |
[recipe_ingredient_scaler]
The butter is the soul of this cake. Plugra or European-style gives that rich, velvety crumb—skip the margarine. King Arthur Flour is my go-to for all-purpose, but any unbleached works. Vanilla matters too; Nielsen-Massey or Rodelle are worth the splurge. Don’t skimp on the eggs—room temp whips up fluffier (just soak in warm water 10 minutes if you forget).
No buttermilk? Milk plus 1 tbsp vinegar or lemon juice does the trick. Out of vanilla? Vanilla bean paste adds speckles and depth. Cake flour can sub the all-purpose at 1:1 ratio, but it’ll be slightly denser. For a richer taste, replace 2 tbsp milk with sour cream. The oil in the pan? Any neutral one works—coconut oil spray is my lazy hack.
Baked layers keep wrapped at room temp for 2 days, or freeze unfrosted for 3 months. Always cool completely before wrapping (trapped steam = soggy cake). Leftovers? Toast slices for a killer French toast base (don’t knock it till you try it).
Why You’ll Love This Recipe
- I’ll be real: leftovers (if there are any) stay tender for days, which means I can bake ahead and still impress.
- One Bowl Wonder: I love that I can mix everything—flour, sugar, butter, eggs, and milk—in a single bowl and still get a perfectly moist crumb.
- Buttery Richness: The unsalted butter and whole milk give it that classic, deep vanilla-forward taste that box mixes just can’t replicate.
- Birthday Ready: Honestly, it’s my go-to for celebrations, but it’s just as good with a cup of coffee on a random afternoon.
Step-by-Step Instructions for Yellow Cake Layers
Here’s the method. Straightforward, tested, works every time.
Step 1: Cream Butter and Sugar to Light Perfection
In a large mixing bowl, beat the 1 cup unsalted butter and 1.5 cups granulated sugar together on medium-high speed until the mixture turns pale yellow and fluffy. This takes about 3-4 minutes with an electric mixer.
You’re looking for a texture that holds its shape when you lift the beaters. The butter should be fully softened but not melted—room temperature is key here. This creaming process incorporates air, which gives your cake that light, tender crumb we’re after.
Step 2: Incorporate Eggs and Vanilla for Richness
Add the 4 whole large eggs one at a time, beating well after each addition. I wait until each egg is fully incorporated before adding the next—this prevents the batter from curdling.
Once all eggs are in, add the 2 tsp pure vanilla extract. Beat for another 30 seconds until the mixture is smooth and glossy. The vanilla should be fully distributed, and you’ll start to see the batter take on a beautiful golden hue.
Step 3: Alternate Dry Ingredients and Milk for Perfect Texture
In a separate bowl, whisk together the 2.5 cups all-purpose flour, 2.5 tsp baking powder, 0.5 tsp baking soda, and 0.5 tsp salt. Sifting the flour first, as noted in the ingredients, ensures a light texture.
With the mixer on low speed, add about a third of the dry ingredients to the butter mixture. Mix just until combined, then pour in half the 1 cup whole milk. Repeat, ending with the last third of dry ingredients. Mix just until the flour disappears—overmixing develops gluten and makes the cake tough.
Step 4: Prepare Pans and Divide Batter Evenly
Preheat your oven to 350°F. Grease two 9-inch round cake pans with the 2 tbsp vegetable oil, then line the bottoms with parchment paper for easy removal. This oil has a neutral flavor that won’t compete with the vanilla.
Divide the batter evenly between the prepared pans, smoothing the tops with a spatula. For even layers, I weigh the batter—each pan should have about the same amount. Tap the pans gently on the counter to release any air bubbles.
Step 5: Bake to Golden Perfection and Cool Properly
Bake for 25-30 minutes, or until the cakes are golden brown and a toothpick inserted in the center comes out clean. Rotate the pans halfway through baking for even browning.
Let the cakes cool in their pans for 10 minutes, then turn them out onto a wire rack to cool completely. This cooling step is crucial—try to frost warm cakes and your frosting will melt right off. The layers should be light, moist, and perfectly flat for stacking.
Pro Tips For Making Yellow Cake Recipe From Scratch
- Room Temp Ingredients: Take your eggs, butter, and milk out 30-60 minutes before baking—cold butter won’t cream properly, and cold eggs can make the batter curdle.
- Cream Butter Right: Beat the butter and sugar for a full 3-5 minutes until it’s pale and fluffy. I learned this the hard way—skipping this step gives you a dense cake, not a light one.
- Don’t Overmix: Once you add the flour, mix just until it disappears. Overworking the batter develops gluten, and that’s how you end up with a tough cake instead of a tender one.
- Check Early: Start testing for doneness 2-3 minutes before the recipe’s suggested time. My grandmother swore by this, and she was right: overbaking dries it out fast.
Essential Equipment for Great yellow cake recipe from scratch
Mixing Bowls
Start with a large, heavy-duty mixing bowl—I swear by my 4-quart stainless steel one with a pouring spout. The size matters because this batter needs room to expand as it incorporates air during creaming. Avoid plastic; it can retain odors and doesn’t conduct heat well. 💛
Electric Mixer
A stand mixer is ideal, but a handheld electric mixer works perfectly fine. I recommend KitchenAid’s Artisan Series with the paddle attachment for even mixing. The creaming step requires consistent speed, so don’t attempt this with just a whisk and elbow grease.
Cake Pans
Two 9-inch round cake pans with 2-inch sides are standard for layer cakes. I use Fat Daddio’s anodized aluminum pans—they heat evenly and release cakes beautifully. Dark pans can cause over-browning, so stick with light-colored metal. Always line with parchment for easy removal.
Cooling Rack
A wire cooling rack is non-negotiable for proper airflow. I keep mine slightly elevated by placing it over a baking sheet. This prevents condensation from forming underneath, which could make your layers soggy. Cool completely before frosting—this takes about 2 hours at room temperature.
Measuring Tools
Accurate measurements make all the difference. I use OXO’s stainless steel measuring cups and spoons with clear markings. For the flour, use the spoon-and-level method—never scoop directly from the bag. A kitchen scale is even better for precision, especially with baking powder and soda.
Spatulas and Scrapers
A silicone spatula is perfect for folding batter and scraping every last bit from the bowl. I also keep a bench scraper handy for dividing batter evenly between pans. These tools help ensure consistent layers that bake uniformly.
Nutrition Facts
Frequently Asked Questions
Can I use cake flour instead of all-purpose?
Yes! Cake flour will give you an even lighter texture. Use the same 2.5 cups but reduce by 2 tablespoons since it’s finer. The result will be slightly more delicate but equally delicious.
Why did my cake sink in the middle?
This usually means underbaking or opening the oven too early. Check at 25 minutes with a toothpick—if it comes out clean, it’s done. Avoid overmixing the batter too, as it can weaken the structure.
How do I know when it’s fully cooled?
The layers should feel room temperature to the touch. Press lightly on the top—if it springs back without warmth, it’s ready. Rushing this step can melt your frosting.
Can I make this into cupcakes?
Fill liners 2/3 full and bake at 350°F for 18-22 minutes. This yields about 24 cupcakes. Test with a toothpick for doneness.

Trained in classic French technique but raised on slow-cooked ribs and spicy rubs, she blends culinary skill with smoke and soul.
- Recipe for Boneless Pork Chops in Cast Iron Skillet: Sear and Baste to Juicy Perfection - October 3, 2026
- Recipe for Boneless Cross Rib Roast: Slow-Roasted Beef with Herb Crust - October 3, 2026
- Hamburgers in Sauce Recipe Crock Pot: Slow-Cooked Savory Delight - October 3, 2026