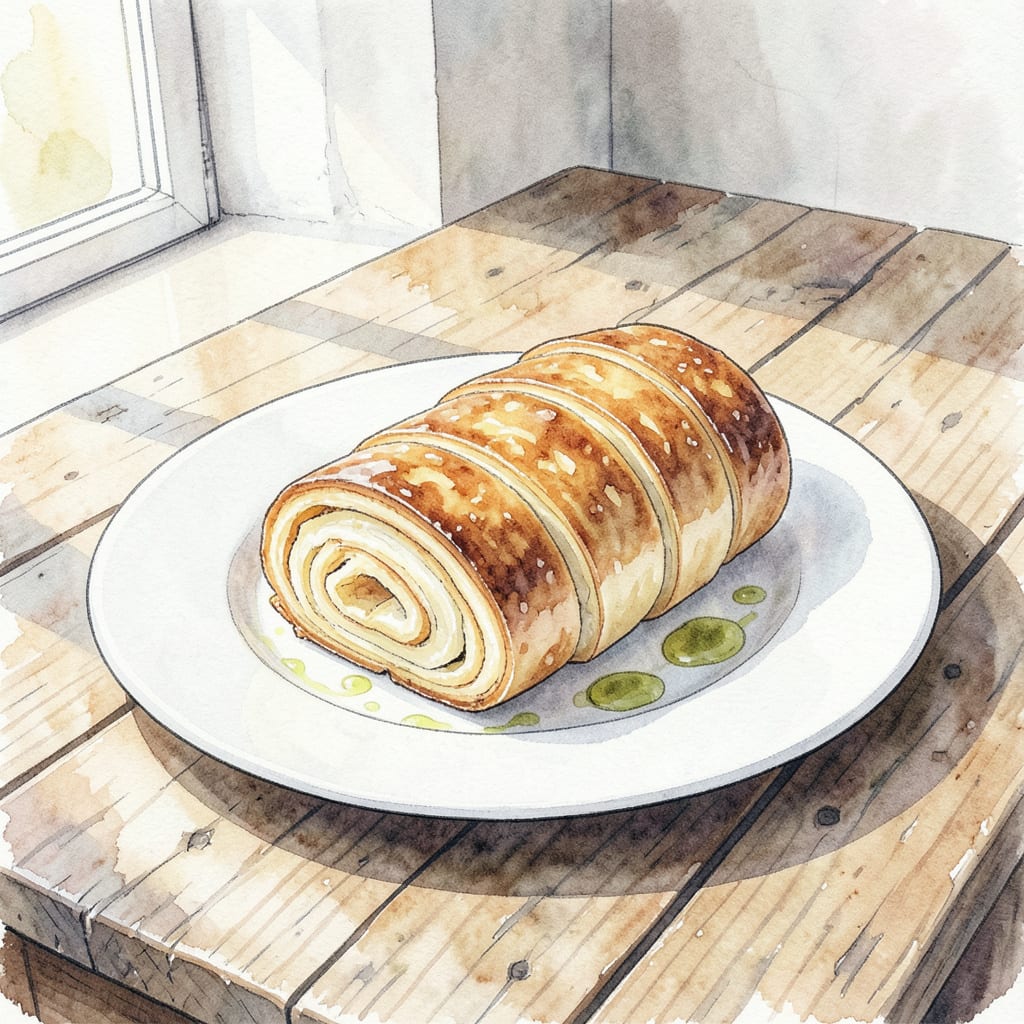
I’ve perfected my yufka recipe over years of experimenting with traditional Turkish flatbread techniques. This flaky pastry is surprisingly easy to make at home, requiring just a few simple ingredients and some patience during the resting process.
With this recipe, you’ll be able to create authentic yufka that’s perfect for wrapping around your favorite fillings – try spiced lamb, roasted vegetables, or tangy cheese for a delicious meal. The result is a tender and crispy flatbread that’s sure to become a staple in your kitchen.
Ingredients for Yufka
Simple ingredients come together to create authentic Turkish yufka flatbread at home.
| Ingredient | Amount | Notes |
|---|---|---|
| All-Purpose Flour 🌾 | 2 cups | Unbleached, unbromated preferred |
| Salt 🧂 | 1 tsp | Kosher or sea salt |
| Olive Oil 🫒 | ½ cup | Extra-virgin for richness |
| Water 💧 | ¾ cup | Warm, not hot |
| Unsalted Butter 🧈 | ½ cup | Melted, for layering |
[recipe_ingredient_scaler]
For the best yufka, use high-quality all-purpose flour with good gluten content. You can find Turkish or Italian flour at most international markets or specialty Middle Eastern stores. The water should be warm but not hot—just comfortable to touch.
No unsalted butter? You can substitute with ghee or clarified butter for an even more authentic flavor. If you’re out of olive oil, any neutral oil works fine for brushing. The key is to keep the dough moist and pliable during the resting process.
Yufka dough keeps well wrapped in plastic at room temperature for 2 days or frozen for up to 3 months. Let it come to room temperature before rolling. The finished flatbread freezes beautifully too—just thaw and reheat in a dry skillet.
Step-by-Step Instructions for Yufka
Mastering yufka is easier than you think. Let’s create this flaky Turkish flatbread together.
🔥 Step 1: Mix the Dough
Combine the 2 cups All-Purpose Flour and 1 tsp Salt in a large mixing bowl. I like to use a wooden spoon for this initial mix. Create a well in the center and pour in the 0.5 cup Olive Oil and 0.75 cup Water. Mix until the dough comes together in a shaggy mass.
Don’t worry if it looks rough at this stage. The dough will come together during kneading. If the mixture feels too dry, add a splash more water – just enough to make it cohesive.
👨🍳 Step 2: Knead to Perfection
Transfer the dough to a lightly floured surface and knead for 10 minutes until it becomes smooth and elastic. You’ll know it’s ready when the dough springs back when pressed gently. I like to use a stand mixer with a dough hook attachment for this step – it makes the process easier.
During kneading, pay attention to the dough’s texture. If it’s too sticky, add a sprinkle of flour. If it’s too dry, give it a tiny drizzle of water. The goal is a dough that’s tender but not sticky.
🥘 Step 3: Rest and Prepare the Butter
Form the dough into a ball and let it rest in a lightly oiled bowl, covered, for at least 1 hour. While the dough rests, prepare the 0.5 cup Unsalted Butter by melting it gently. I prefer to use a microwave-safe bowl in 10-second bursts, stirring between each heating, until fully melted.
The resting period allows the gluten to relax, making the dough easier to roll out later. Don’t skip this step – it’s crucial for achieving those beautiful, flaky layers.
🔥 Step 4: Roll and Layer
Divide the rested dough into 4 equal pieces. Working with one piece at a time, roll it out into a thin circle, about 1/16 inch thick. Brush the surface with some of the melted butter, making sure to cover it evenly.
Fold the dough into quarters, brushing more melted butter between the layers. Repeat this process with the remaining dough pieces. The layering is what creates the flaky texture, so be generous with the butter.
🔥 Step 5: Cook the Yufka
Heat a non-stick skillet or griddle over medium-high heat. Roll out one of the folded dough pieces into a thin circle again. Place it in the hot skillet and cook for 1-2 minutes on each side, until golden spots appear.
You’ll see the yufka start to puff and develop those beautiful golden brown spots. That’s your sign that it’s cooking properly. Repeat with the remaining dough pieces, brushing with more melted butter as needed.
Wine and Beer Pairings for These Flavors
Turkish Wine Pairings
For yufka, Turkish wines work beautifully. I recommend a crisp Assos Yapim Sangiovese or Öküzgözü red from southeastern Turkey. These wines complement the rich butter layers in the yufka perfectly. For a white wine, try Boğazkere from the Aegean region – its citrus notes pair nicely with herb-infused fillings. 🍷
Beer Options
If you prefer beer, Turkish Efes Pilsen is a classic choice that pairs well with the crispy texture. For craft beer lovers, a Turkish wheat beer like Ülker’s Efes Wheat Beer cleanses the palate between bites. The subtle bitterness works well with both savory and slightly sweet fillings. The colder the beer, the better it complements the warm yufka. ❄️
Non-Alcoholic Pairings
For a non-alcoholic option, Turkish apple tea provides a nice contrast to the richness. The slight bitterness cuts through the butter beautifully. Alternatively, a salep (Turkish hot milk drink) with its creamy texture and cinnamon notes complements the flaky pastry nicely. These traditional drinks are perfect for a cozy meal. ☕️
Regional Considerations
The region where you’re enjoying yufka influences the beverage choice. In Istanbul, you’ll often find yufka paired with raki (anise-flavored spirit) or Turkish coffee. In more rural areas, simple ayran (yogurt drink) is common. These traditional pairings add to the authentic experience. For a modern twist, try a pomegranate spritzer – the fruity notes work well with spiced lamb fillings.
Serving Suggestions
When serving yufka, consider the filling you’re using. For spiced lamb or beef, a full-bodied red wine or strong Turkish coffee works well. For cheese or herb fillings, a lighter white wine or herbal tea is more appropriate. The key is to balance the flavors without overpowering the delicate yufka. Experiment with different beverage pairings to find your favorite combinations.
Final Tips
Remember that the beverage should complement, not overpower, the yufka. The drink’s temperature matters too – cold beverages for hot yufka and warm drinks for a more comforting experience. Whether you choose wine, beer, or tea, the most important thing is to enjoy your yufka with good company and conversation.
Nutrition Facts

Trained in classic French technique but raised on slow-cooked ribs and spicy rubs, she blends culinary skill with smoke and soul.
- Recipe for Boneless Pork Chops in Cast Iron Skillet: Sear and Baste to Juicy Perfection - October 3, 2026
- Recipe for Boneless Cross Rib Roast: Slow-Roasted Beef with Herb Crust - October 3, 2026
- Hamburgers in Sauce Recipe Crock Pot: Slow-Cooked Savory Delight - October 3, 2026