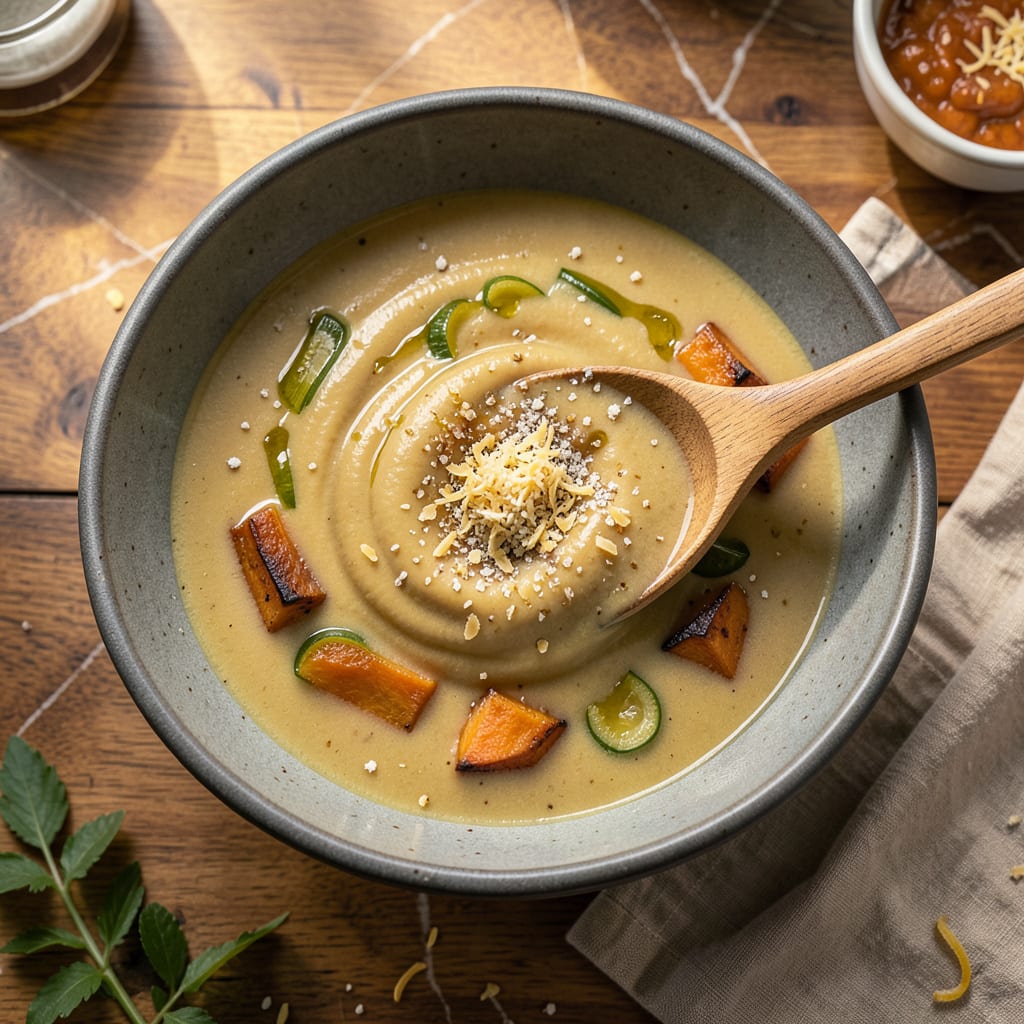
I’ll be real with you: nutritional yeast is the secret weapon I reach for when my soups need that something extra. No, it’s not just for vegans—this golden powder packs a serious umami punch that makes creamy soups richer and brothy ones more complex. I first discovered its magic when trying to recreate a restaurant-style butternut squash soup at home, and now I keep a jar in my pantry at all times.
The key is knowing when to add it. For creamy soups like potato or cauliflower, I whisk it in during the final 5 minutes of simmering—it dissolves beautifully and adds a subtle cheesy depth. With broth-based soups (think lentil or minestrone), sprinkle it on as a garnish so it stays bright and nutty. Just avoid delicate consommé-style broths where its bold flavor might overpower.
Here’s the thing—nutritional yeast isn’t just about flavor. It naturally thickens creamy soups slightly (thanks to its soluble fibers) and brings B vitamins to the table. I love using the B12-fortified version in vegan soups to boost nutrition without changing texture. One pro tip: bloom it in a little warm oil first to deepen its savory notes before adding to your pot.
Whether you’re making a quick weeknight soup or prepping for a dinner party, this technique takes your bowl from good to “how’d you make this so rich?” territory. The best part? A little goes a long way—start with 1 tablespoon per quart and adjust to taste. Trust me, your soups will never be the same.
📚 In This Guide
- What You’ll Need
- Instructions
- Tips and Common Mistakes
What Youll Need
- ● Nutritional yeast – 1–2 tbsp per serving (look for fortified varieties for extra B vitamins 💪).
- ● Prepared soup – 1–2 cups of hot (not boiling) broth, cream-based, or blended soup (homemade or store-bought works!).
- ● Mixing spoon – Wooden or silicone to stir without scratching pots.
- ○ Small bowl (optional) – For pre-mixing yeast with a splash of broth to avoid clumping.
- ○ Cheese grater (optional) – If using flaked yeast, a fine grater helps it dissolve faster.
- ● Taste test spoon – Because adjusting seasoning is key! Add yeast gradually—start with ½ tbsp.
- ○ Optional boosters: 1 tsp soy sauce or tamari (for extra umami 🌱).
- ● ½ tsp garlic powder or onion powder (pairs perfectly!).
- ● Pinch of smoked paprika (for depth in creamy soups).
- ● Storage container – Airtight for leftover yeast (keeps it fresh for months!).
Instructions for Adding Nutritional Yeast to Soup
Here’s how to transform your soup with that perfect savory depth—simple steps, big flavor.
Choose the Right Moment to Add
For creamy soups, I add nutritional yeast during the final 10-15 minutes of cooking. This gives it just enough time to dissolve completely and infuse the broth with its cheesy, umami flavor without losing potency from prolonged heat exposure.
With brothy soups, sprinkle it in right at the end—just before serving. The heat from the hot liquid will bloom the flavor immediately. I like to stir it in and let it sit for 2-3 minutes before tasting to adjust seasoning.
Determine the Perfect Amount
Start with 1 tablespoon per serving (so 4 tablespoons for this recipe) and whisk it in thoroughly. Nutritional yeast has a strong flavor, so it’s better to add gradually than to overpower your soup.
Taste after each addition—you’re looking for a subtle cheesiness that enhances rather than dominates. I’ve found that creamy soups like potato or butternut squash can handle a bit more, while delicate broths benefit from a lighter touch.
Incorporate for Maximum Flavor
For creamy soups, whisk the nutritional yeast into the hot liquid until completely dissolved. You’ll notice the color deepen slightly—that’s the yeast activating. Let it simmer for 5 minutes to meld the flavors.
With brothy soups, sprinkle it over individual bowls and stir at the table. This preserves the texture while letting everyone adjust to taste. I love watching it swirl into hot broth, creating little flavor eddies.
Adjust and Balance the Flavors
After adding, taste and adjust your seasoning. Nutritional yeast can make soups taste slightly saltier, so you might need less additional salt. I often find a squeeze of lemon or splash of vinegar helps balance the richness.
If the flavor seems too intense, don’t worry—it mellows as it sits. Let the soup rest for 5-10 minutes before final tasting. The yeast’s umami quality will harmonize with the other ingredients beautifully.
Garnish for Extra Impact
For a final flourish, I like to sprinkle an extra pinch of nutritional yeast on top of each serving. The heat from the soup will toast it slightly, creating a wonderful aroma. Pair it with fresh herbs or a drizzle of olive oil for contrast.
Watch how it transforms the surface of creamy soups into a golden, flavorful crust. In broths, it creates little flavor pockets that burst with each spoonful. This simple garnish makes every bowl feel special.
Tips and Common Mistakes
Adding nutritional yeast to soup is simple, but these small details make all the difference in flavor and texture.
Timing Precision: For creamy soups, those final 10-15 minutes of cooking are crucial. Adding nutritional yeast too early can cause the flavor to dissipate with prolonged heat, while too late won’t give it time to fully dissolve. I set a timer to catch that sweet spot where it melts seamlessly into the broth. With brothy soups, the 2-3 minutes of resting after stirring lets the yeast bloom without overpowering.
Gradual Addition: Starting with 1 tablespoon per serving (so 4 tablespoons total) prevents over-seasoning. I whisk in one tablespoon at a time, tasting between additions. Nutritional yeast intensifies as it sits, so what tastes perfect at first might become too strong after 5 minutes of simmering. Trust me, it’s easier to add more than to fix an over-seasoned pot.
Flavor Balancing: After adding nutritional yeast, I always reach for acid. A squeeze of lemon or splash of vinegar cuts through the richness and brightens the umami. This is especially helpful in creamy soups where the yeast can make the texture feel heavier. The 5-10 minutes of resting time lets all the flavors marry beautifully.
Garnish Technique: That final sprinkle of nutritional yeast on top isn’t just for looks. The heat from the soup lightly toasts it, creating a nutty aroma that enhances each bite. I use my fingers to dust it evenly over the surface—this way, every spoonful gets that extra layer of flavor.
Pro Tips for Adding Nutritional Yeast To Soup
- Adding nutritional yeast to soup is simple, but these small details make all the difference in flavor and texture.
- Timing Precision: For creamy soups, those final 10-15 minutes of cooking are crucial. Adding nutritional yeast too ea…
- Gradual Addition: Starting with 1 tablespoon per serving (so 4 tablespoons total) prevents over-seasoning. I whisk in…
Frequently Asked Questions
Can I add nutritional yeast directly to hot soup?
Yes! Nutritional yeast dissolves easily in hot liquids, so sprinkle it in while your soup simmers. Stir well to avoid clumping—this ensures even distribution and maximizes that cheesy, umami flavor. For best results, add it toward the end of cooking (last 5–10 minutes) to preserve its nutrients.
How much nutritional yeast should I use per bowl of soup?
Start with 1–2 teaspoons per serving (or 1–2 tablespoons for a whole pot). Taste as you go—nutritional yeast is potent! For creamy soups (like potato or butternut squash), you can use a bit more; brothy soups (like miso or chicken noodle) need less to avoid overpowering.
What’s a good substitute if I don’t have nutritional yeast?
For a similar umami kick, try:
- Parmesan cheese (grated, for non-vegan options)
- White miso paste (½ tsp per serving)
- Soy sauce or tamari (a few dashes)
- Dried mushrooms (rehydrated and blended)
Why does my soup taste bitter after adding nutritional yeast?
Bitterness usually means you’ve used too much or added it too early. Nutritional yeast can overcook and turn bitter if simmered longer than 10–15 minutes. Fix it by balancing with acid (lemon juice, vinegar) or sweetness (a pinch of sugar, carrot purée). Next time, add less and taste frequently!
Does nutritional yeast work in cold soups (like gazpacho)?
Absolutely! For cold soups, whisk it into the base before chilling—this helps it dissolve smoothly. Since cold temps mute flavors slightly, you might need an extra ½ teaspoon per serving. Let the soup sit 10 minutes after adding to let the flavors meld.
Adding nutritional yeast to your soup is a simple yet game-changing way to elevate flavor, boost nutrition, and keep meals plant-friendly. Whether you’re stirring it into creamy blends or sprinkling it over brothy bowls, this umami-packed ingredient delivers depth without the guilt. 🥄✨
Ready to try it? Start with a teaspoon in your next batch—then tweak to taste! For more easy upgrades, explore our favorite soup recipes or dive into vegan cooking tips.

Trained in classic French technique but raised on slow-cooked ribs and spicy rubs, she blends culinary skill with smoke and soul.
- Recipe for Boneless Pork Chops in Cast Iron Skillet: Sear and Baste to Juicy Perfection - October 3, 2026
- Recipe for Boneless Cross Rib Roast: Slow-Roasted Beef with Herb Crust - October 3, 2026
- Hamburgers in Sauce Recipe Crock Pot: Slow-Cooked Savory Delight - October 3, 2026