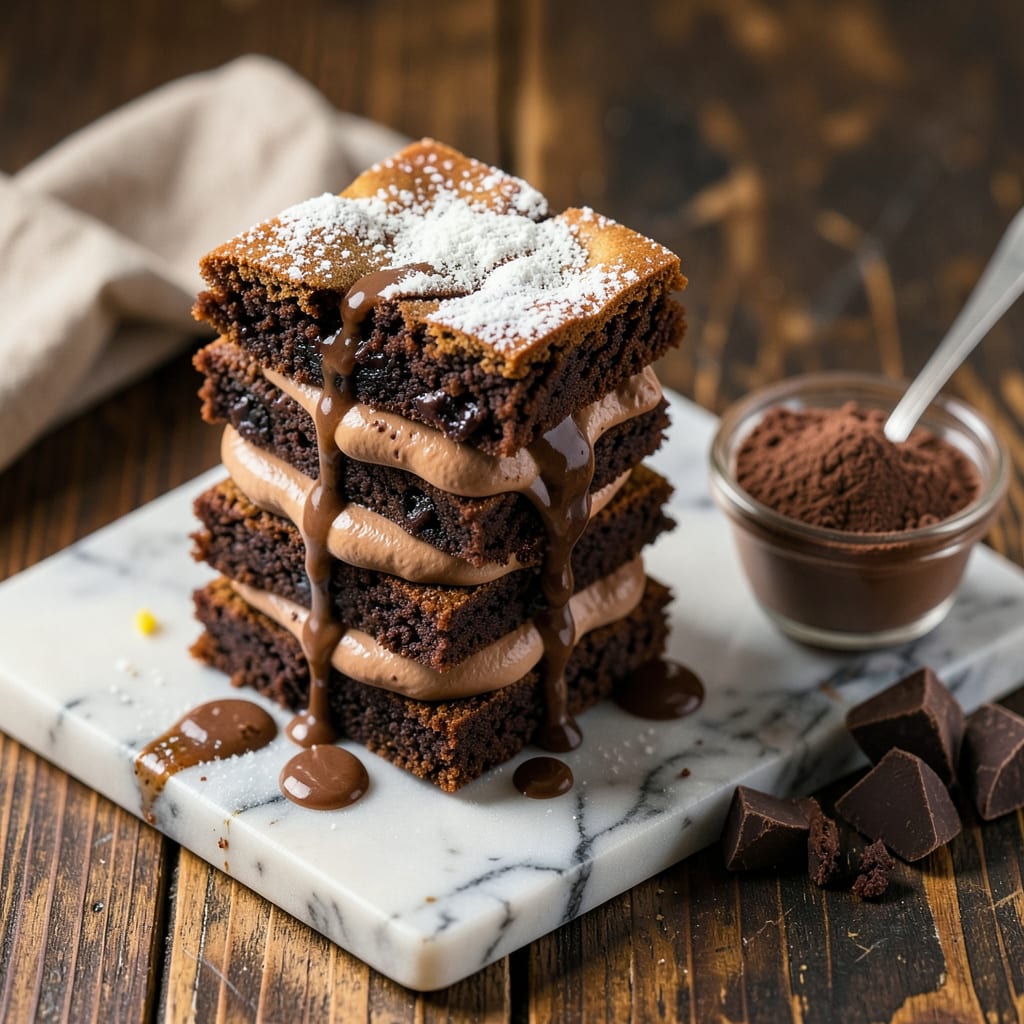
I’ll be real with you—adding protein powder to brownie mix can go horribly wrong if you don’t know the tricks. Too much powder and you get hockey pucks. Too little and you’re just wasting good protein. After burning through three batches (and nearly giving up), I cracked the code for fudgy, high-protein brownies that actually taste like dessert.
Here’s the thing—protein powder sucks moisture like nobody’s business. The fix? For every scoop of powder, add 2 tablespoons of Greek yogurt or almond milk to keep things luscious. I use chocolate protein powder for double the richness, but vanilla works too if you’re feeling adventurous. The key is mixing just until combined—overwork that batter and you’ll end up with dense bricks instead of tender brownies.
What you get is a pan of brownies that’s packed with 20+ grams of protein per serving but still delivers that crackly top and gooey center we all crave. They bake up in 30 minutes at 350°F, and honestly? My gym buddies ask for the recipe more than my famous ribs. That’s saying something coming from a pitmaster.
Fair warning: These disappear fast. I like folding in dark chocolate chunks for extra decadence, or walnuts if I’m feeling virtuous. Either way, you’re getting a treat that satisfies sweet cravings while actually fueling your body. No sad, dry protein brownies here—just rich, fudgy perfection.
📚 In This Guide
- What You’ll Need
- Instructions
- Tips and Common Mistakes
What Youll Need
- ● 1 box (18–20 oz) of brownie mix – Your favorite brand (check for “fudgy” style for best results).
- ● 1–2 scoops (30–60g) of protein powder – Whey, casein, or plant-based (vanilla or chocolate blends best).
- ● ½ cup (120ml) water or milk – Adjust for desired texture (almond milk works too!).
- ● ⅓ cup (80ml) vegetable oil or melted butter – For that rich, moist crumb.
- ● 1 large egg – Room temperature for even mixing.
- ● ¼ cup (45g) chocolate chips or chunks – For extra gooeyness. 🍫
- ● 1 tsp vanilla extract – Enhances flavor depth.
- ● Pinch of sea salt – Balances sweetness.
- ● 1 tbsp instant coffee granules – Deepens chocolate flavor (trust us!).
- ● 8×8-inch (20x20cm) baking pan – Greased or lined with parchment.
- ● Mixing bowl + whisk or spatula – For smooth batter.
- ● Measuring cups/spoons – Precision matters!
- ● Oven – Preheated to 350°F (175°C).
Step-by-Step Instructions for Adding Protein Powder to Brownie Mix
Here’s the simple method I use to transform regular brownies into protein-packed treats without sacrificing texture.
Choose the Right Protein Powder
Start by selecting a high-quality protein powder that complements chocolate flavors. I recommend using either chocolate or vanilla whey protein isolate for best results. The isolate form blends more smoothly than concentrate, preventing a gritty texture in your finished brownies.
Avoid casein protein as it doesn’t dissolve as well when baked. For a plant-based option, pea protein works better than rice protein in this application. You’ll want about 1 scoop (30-35g) of protein powder for every 4 servings of brownie mix.
Adjust the Liquid Ingredients
Protein powder absorbs moisture differently than flour, so you’ll need to modify the liquid components. For every scoop of protein powder added, increase the liquid ingredients by 2-3 tablespoons. This could be water, milk, or even brewed coffee for enhanced chocolate flavor.
If your brownie mix calls for oil, reduce it by 1 tablespoon per scoop of protein powder. The powder adds density, so we want to maintain the right moisture balance. Mix the dry ingredients first before adding any liquids to ensure even distribution of the protein powder.
Combine and Mix Thoroughly
In a large bowl, whisk together your brownie mix and protein powder until completely combined. Make sure there are no clumps of protein powder remaining. Then add your adjusted liquid ingredients and any called-for eggs or oil.
Mix until just combined – don’t overmix. The batter will be slightly thicker than normal brownie batter, which is exactly what you want. Let the batter rest for 5 minutes before baking to allow the protein powder to fully hydrate.
Bake with Careful Monitoring
Pour the batter into your prepared baking dish and spread evenly. Protein-enhanced brownies typically need 2-3 minutes less baking time than the package instructions suggest. Start checking for doneness at the 20-minute mark.
You’ll know they’re done when the edges are set but the center still looks slightly underbaked. A toothpick inserted in the center should come out with a few moist crumbs – not wet batter. The protein makes them firm up more as they cool, so don’t overbake.
Cool Completely Before Cutting
This is the most important step – let the brownies cool in the pan for at least 30 minutes before attempting to cut them. The protein powder needs this time to set properly, otherwise your brownies may crumble or fall apart.
Once cooled, cut into squares using a sharp knife. You’ll notice the texture is slightly denser than traditional brownies, but still fudgy and rich. Store in an airtight container at room temperature for up to 5 days, or refrigerate for longer storage.
Tips and Common Mistakes
After years of experimenting with protein-packed desserts, I’ve learned these key details make all the difference in achieving fudgy, high-protein brownies that don’t taste like protein powder.
Protein Powder Selection: In Step 1, choosing whey protein isolate over concentrate is crucial. The isolate form dissolves completely during baking, while concentrate can leave a grainy texture. I’ve found chocolate or vanilla flavors blend best with brownie mix – avoid fruity or unflavored varieties that might clash with the chocolate base. For plant-based options, pea protein works surprisingly well, but avoid rice protein which can make brownies crumbly.
Liquid Adjustment Technique: When increasing liquids in Step 2, add the extra 2-3 tablespoons gradually. Start with 2 tablespoons per scoop of protein powder, mix thoroughly, then add the third tablespoon only if the batter seems too thick. This prevents over-thinning the batter. If using brewed coffee as your liquid, let it cool completely first – hot liquid can cause the protein powder to clump.
Baking Time Precision: The 2-3 minute reduction in baking time mentioned in Step 4 is critical. Protein brownies continue cooking from residual heat after you remove them from the oven. I set my timer for exactly 20 minutes, then check every 30 seconds after that. Look for edges that are set but centers that still have a slight jiggle – they’ll firm up perfectly during the 30-minute cooling period.
Cooling Process: That 30-minute cooling time in Step 5 isn’t just a suggestion – it’s when the protein powder fully sets and binds the structure. If you cut too soon, you’ll get crumbly edges. I place the pan on a wire rack to allow air circulation underneath, which prevents the bottom from becoming soggy during cooling.
Pro Tips for Adding Protein Powder To Brownie Mix
- After years of experimenting with protein-packed desserts, I’ve learned these key details make all the difference in …
- Protein Powder Selection: In Step 1, choosing whey protein isolate over concentrate is crucial. The isolate form diss…
- Liquid Adjustment Technique: When increasing liquids in Step 2, add the extra 2-3 tablespoons gradually. Start with 2…
Frequently Asked Questions
Can I add protein powder directly to any boxed brownie mix?
Most boxed mixes work, but start with 1 scoop (25-30g) per batch and adjust. Chocolate protein powder blends best with chocolate mixes, while vanilla works for both. Avoid overmixing—it can make brownies dense. For best results, add an extra 1-2 tbsp of liquid (water, milk, or yogurt) to balance dryness.
When’s the best time to add protein powder—before or after mixing wet ingredients?
Add it with the dry ingredients (before liquids) to prevent clumping. Sift the protein powder first if it’s lumpy. If using a blender or food processor, pulse it with the dry mix for a smoother texture.
What if my protein brownies turn out dry or crumbly?
Protein powder absorbs moisture, so increase fats or liquids: try 1 extra egg, ¼ cup applesauce, or 1-2 tbsp melted butter/coconut oil. Bake for 1-2 minutes less than the box suggests, and let them cool completely before cutting.
Can I use plant-based protein powder instead of whey?
Yes! Plant-based powders (pea, rice, or hemp) work but may alter texture slightly. Add 1-2 tbsp more liquid since they absorb differently. For neutral flavor, opt for unflavored or vanilla plant protein.
Are there alternatives to protein powder for boosting protein in brownies?
Swap in:
- ½ cup black beans (blended, for fudginess)
- ¼ cup Greek yogurt (adds moisture + 5g protein per tbsp)
- 2 tbsp nut butter (peanut or almond for richness)
Adding protein powder to your brownie mix is a game-changer—boosting nutrition without sacrificing that rich, fudgy taste you love! 🍫 With just a few tweaks, you can turn a classic treat into a guilt-free indulgence packed with extra protein. Whether you’re fueling post-workout cravings or just want a smarter dessert, this hack delivers.
Ready to bake? Grab your favorite mix, pick a protein powder, and start experimenting—your taste buds (and muscles) will thank you! For even more high-protein dessert ideas, check out our related recipes next. Happy baking! 😊

Trained in classic French technique but raised on slow-cooked ribs and spicy rubs, she blends culinary skill with smoke and soul.
- Recipe for Boneless Pork Chops in Cast Iron Skillet: Sear and Baste to Juicy Perfection - October 3, 2026
- Recipe for Boneless Cross Rib Roast: Slow-Roasted Beef with Herb Crust - October 3, 2026
- Hamburgers in Sauce Recipe Crock Pot: Slow-Cooked Savory Delight - October 3, 2026