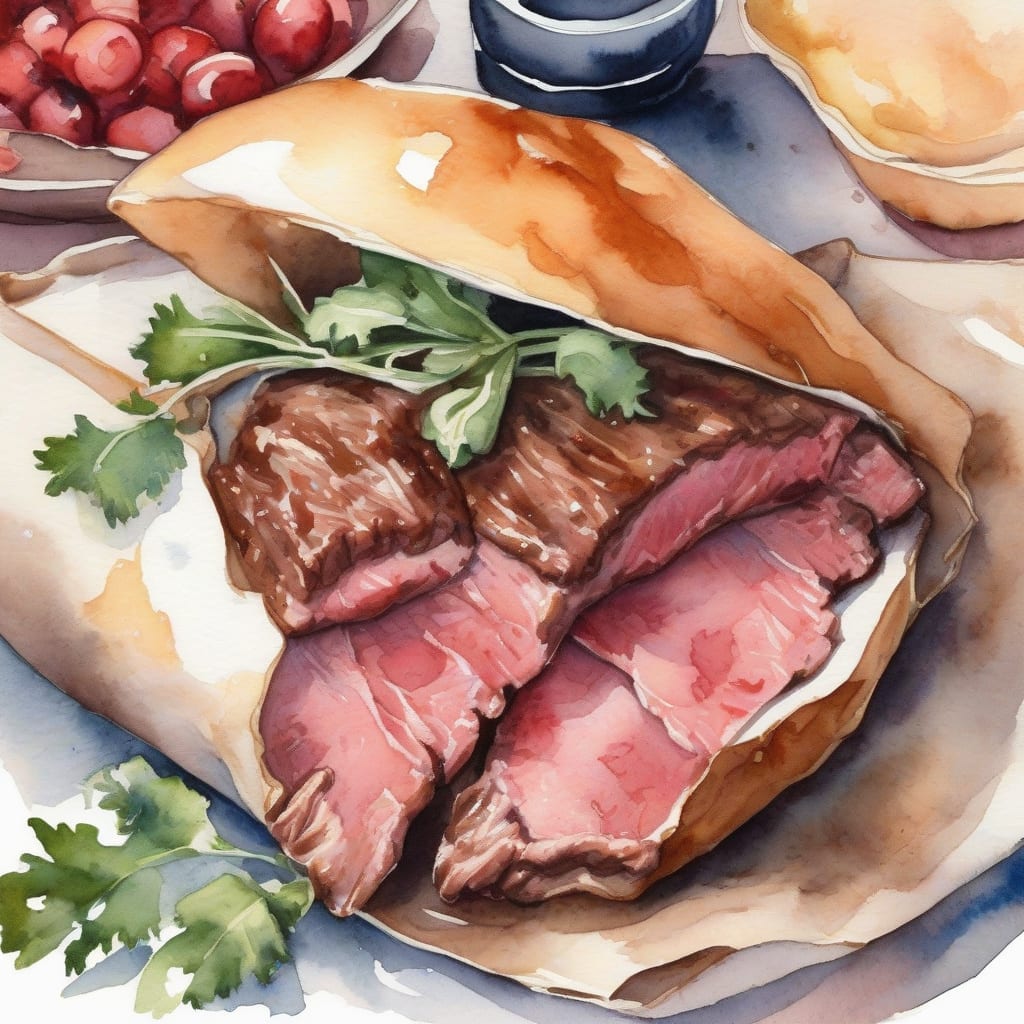
Beef pockets are a culinary delight that combines tender filling with a crispy outside, making them a perfect meal for any occasion. 🔥 I’ve perfected this recipe to ensure that the beef is cooked to perfection, wrapped in a flaky crust that’s both crispy and golden.
The secret to achieving tender beef lies in the slow cooking process, which breaks down the meat to make it juicy and flavorful. Meanwhile, the outside gets a beautiful crispiness from being baked at high temperature.
By following this recipe, you’ll be able to create beef pockets that are not only delicious but also visually appealing. The combination of tender beef and crispy crust is sure to impress your family and friends.
Let’s get started with making these mouth-watering beef pockets that promise to deliver on both texture and flavor.
Ingredients for beef pocket
Here’s everything needed for tender beef pockets with crispy puff pastry crust.
| Ingredient | Amount | Notes |
|---|---|---|
| Beef Chuck Roast 🥩 | 2 lb | Boneless, cut into 1-inch cubes |
| Onion 🧅 | 1 whole | Large, diced |
| Garlic Cloves 🧄 | 4 cloves | Minced |
| All-Purpose Flour 🌾 | 2 tbsp | For thickening |
| Beef Broth 🍲 | 1 cup | Low-sodium |
| Worcestershire Sauce 💧 | 2 tbsp | For flavor |
| Puff Pastry 🥧 | 1 package | Thawed |
| Egg 🥚 | 1 whole | Beaten, for egg wash |
| Salt 🧂 | 1 tsp | Kosher salt |
| Black Pepper 🌶️ | ½ tsp | Freshly ground |
| Fresh Thyme 🌿 | 2 tbsp | Chopped |
[recipe_ingredient_scaler]
You can find beef chuck roast at your local butcher or grocery store. Choose a well-marbled piece for the best flavor. Puff pastry can be found in the freezer section of most supermarkets. For the best results, use high-quality beef broth and fresh thyme.
If you can't find puff pastry, you can substitute with pie dough or phyllo dough. For a gluten-free version, use gluten-free all-purpose flour and gluten-free puff pastry. You can also add other vegetables like carrots or peas to the beef filling for added flavor and nutrition.
Store leftover beef pockets in an airtight container in the refrigerator for up to 3 days. To reheat, bake in a preheated oven at 350°F until crispy and heated through. You can also freeze them for up to 2 months and bake frozen pockets at 375°F for an additional 10-15 minutes.
Step-by-Step Instructions for Beef Pockets
Follow these detailed steps to create perfectly tender beef pockets with a crispy puff pastry crust.
👨🍳 Step 1: Prepare the Beef Filling
Start by browning the 2 lb Beef Chuck Roast cubes in batches over medium-high heat in a large skillet. I use a heavy-bottomed pan for even heat distribution. Cook for 5 minutes per batch until browned on all sides, then transfer the browned beef to a plate.
Reduce the heat to medium and add the 1 whole Onion (diced) to the same skillet. Cook for 8-10 minutes until the onion is softened and lightly browned. Add the 4 cloves Garlic Cloves (minced) and cook for another 1 minute until fragrant.
🍳 Step 2: Create the Filling Sauce
Sprinkle the 2 tbsp All-Purpose Flour over the onion mixture and stir to combine. Cook for 1-2 minutes to remove the raw flour taste. Gradually add the 1 cup Beef Broth and 2 tbsp Worcestershire Sauce, stirring constantly to avoid lumps. Bring the mixture to a simmer and cook until it thickens, about 5 minutes.
Return the browned beef to the skillet and stir to coat with the sauce. Reduce heat to low and simmer, covered, for 1.5 hours until the beef is tender. Season with 1 tsp Salt, 0.5 tsp Black Pepper, and 2 tbsp Fresh Thyme. Let the filling cool completely before assembling the pockets.
🥘 Step 3: Assemble the Beef Pockets
On a lightly floured surface, roll out the 1 package Puff Pastry to a 1/4-inch thickness. Use a large cookie cutter or the rim of a bowl to cut out circles of pastry, about 6 inches in diameter. You should be able to get about 8 circles.
Place a generous spoonful of the cooled beef filling in the center of each pastry circle. Brush the edges with the 1 whole Egg (beaten), then fold the pastry in half over the filling. Press the edges firmly to seal, using a fork to crimp if needed. Brush the tops with the remaining egg wash for a golden finish.
🔥 Step 4: Bake to Golden Perfection
Preheat your oven to 400°F (200°C). Place the assembled beef pockets on a baking sheet lined with parchment paper, leaving about 1 inch of space between each pocket. Bake for 25-30 minutes until the pastry is golden brown and puffed.
Check the pockets after 20 minutes and rotate the baking sheet if needed for even browning. The pastry should be crispy on the outside and flaky on the inside. Serve warm and enjoy the tender beef filling wrapped in the crispy puff pastry crust.
Are you ready to sink your teeth into a deliciously tender beef pocket, wrapped in a crispy, golden crust? 🥘 This mouth-watering treat is sure to become a staple in your household. The best part? It’s incredibly easy to make!
Preparing the Filling 🔪
The heart of this recipe lies in its tender beef filling. To make it, you’ll need to combine 1 pound of ground beef, 1/2 cup of finely chopped onion, and 1/4 cup of chopped fresh parsley in a bowl. Mix everything together until just combined, being careful not to overmix.
- Add 1 tablespoon of Worcestershire sauce and a pinch of salt and pepper to taste.
- Mix well and set the filling aside.
Assembling the Pockets 🥘
To assemble the beef pockets, you’ll need 1 package of puff pastry, thawed. Roll out the pastry on a lightly floured surface to about 1/4 inch thickness. Use a cookie cutter or the rim of a glass to cut out circles of pastry.
- Place a tablespoon of the beef filling in the center of each pastry circle.
- Brush the edges with a little water, then fold the pastry over the filling to form a pocket. Press the edges to seal.
💡 Pro tip: Make sure to seal the edges properly to prevent the filling from escaping during baking. You can use a fork to crimp the edges for extra security.
Baking to Perfection ⏰
Place the beef pockets on a baking sheet lined with parchment paper, leaving about 1 inch of space between each pocket. Brush the tops with a little bit of egg wash (beaten egg mixed with a splash of water).
- Bake in a preheated oven at 375°F (190°C) for about 20-25 minutes, or until golden brown.
Serve hot and enjoy the ooohs and ahhhs from your family and friends! 😋
Tips & Tricks for Perfect Beef Pockets
These professional tips will help you achieve tender beef filling and crispy puff pastry every time.
Filling Preparation: In Step 1, when browning the 2 lb Beef Chuck Roast, make sure to cook in batches to avoid overcrowding the pan. This ensures proper browning and flavor development. 🔥
Pastry Handling: When assembling the pockets in Step 3, keep the puff pastry cold by returning it to the refrigerator for 10-15 minutes if it becomes too soft. This makes it easier to handle and results in a flakier crust.
Baking Technique: For the best results in Step 4, rotate the baking sheet halfway through the baking time to ensure even browning. Brushing the tops with egg wash just before baking gives the pastry a beautiful golden color.
Make-Ahead Strategy: You can prepare the beef filling up to 2 days in advance and store it in the refrigerator. Assemble the pockets just before baking for the best texture. 💡
Nutrition Facts
540kcal
This Beef Pockets recipe provides a satisfying combination of tender beef filling and crispy puff pastry. Each serving offers a balance of protein and moderate calories, making it suitable for a main dish.
The dish is rich in protein from the beef, providing 28g per serving, which is 56% of the Daily Value. It contains moderate fat content, primarily from the puff pastry and beef, totaling 34g per serving. The carbohydrate content is balanced at 34g per serving, mainly from the puff pastry.
When consuming this recipe, consider it as part of a balanced meal. The sodium content is moderate at 520mg per serving. Enjoying this dish in moderation aligns with maintaining a varied diet.
[recipe_ingredient_scaler]

Trained in classic French technique but raised on slow-cooked ribs and spicy rubs, she blends culinary skill with smoke and soul.
- Octopus Recipe Pan Fried: Crispy Edges With Tender Bites - October 3, 2026
- Recipe For Fried Pork Chops In An Iron Skillet: Crispy Crust With Juicy Centers - October 3, 2026
- Recipe for Fully Cooked Spiral Ham: Sweet Glaze and Effortless Elegance - October 3, 2026