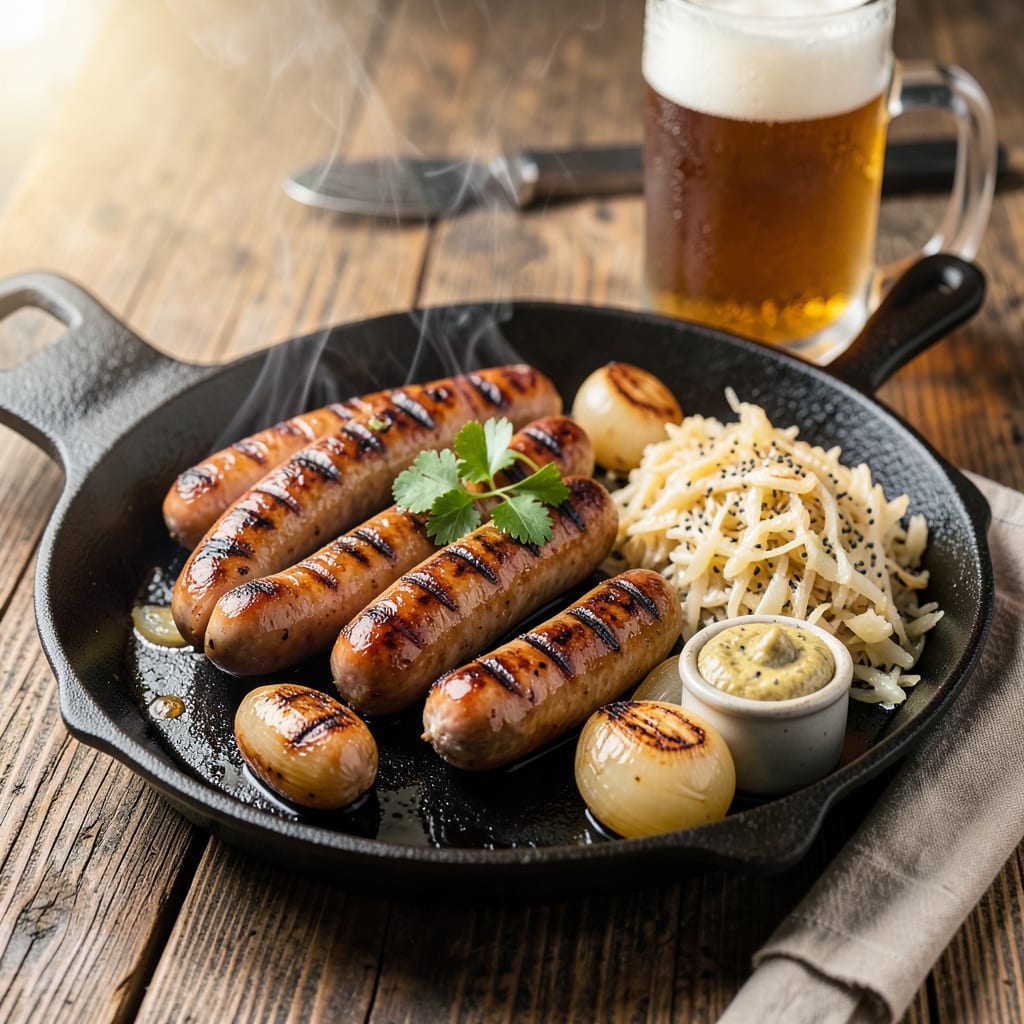
There’s nothing like the sizzle of a brat hitting a hot grill—it’s the sound of summer cookouts and tailgate parties. I’ve cooked more brats than I can count, and the secret to perfect ones is a two-step process: beer braising followed by high-heat grilling. This method guarantees juicy, flavorful sausages with that coveted crispy snap when you bite in.
I learned this technique from a Wisconsin pitmaster who swore by simmering brats in beer and onions before grilling. The beer adds depth while keeping the meat moist, and the onions caramelize into sweet, savory perfection. It’s a simple approach that transforms ordinary brats into something truly special—no fancy equipment required.
What you’ll end up with is a brat that’s tender inside with a crispy, charred exterior. The beer braise infuses every bite with rich, malty flavor, while the grill adds that essential smoky finish. Serve them on toasted buns with mustard and sauerkraut, and you’ve got a meal that’ll have everyone asking for seconds.
This method works for any occasion—backyard BBQs, game day spreads, or even a quick weeknight dinner. The brats stay juicy even if they sit for a while, making them ideal for feeding a crowd. Here’s how to nail this technique every time.
📚 In This Guide
- What You’ll Need
- Instructions
- Tips and Common Mistakes
What Youll Need
- ● Brats (bratwursts): 4–6 fresh, uncooked brats (1 lb total). Look for traditional pork or beef/pork blend—avoid pre-cooked for best flavor. 🍖
- ● Beer: 1 (12 oz) can or bottle of lager, ale, or Oktoberfest-style beer (avoid IPAs—they’re too bitter!).
- ● Onion: 1 medium yellow onion, thinly sliced (for braising).
- ● Butter: 2 tbsp unsalted (or oil for a dairy-free option).
- ● Buns: 4–6 fresh brat or hoagie buns (toasted just before serving).
- ○ Condiments: Mustard (Dijon or yellow), sauerkraut, grilled onions, or relish (optional but highly recommended!).
- ● Grill: Charcoal or gas grill (medium heat, ~350–400°F).
- ● Skillet: Cast-iron or heavy-bottomed pan (10–12″ wide) for braising.
- ● Tongs: Long-handled for safe flipping.
- ● Instant-read thermometer: To check doneness (160°F internal temp).
- ○ Aluminum foil: For resting brats post-grill (optional but keeps them juicy!).
Step-by-Step Instructions for Perfect Beer-Braised Brats
Here’s my foolproof method for juicy, flavorful brats with that ideal charred exterior.
Prep the Brats and Beer Bath
Start by pricking each bratwurst 2-3 times on each side with a fork. This prevents them from bursting while cooking but doesn’t let all the juices escape. I like to use a two-pronged approach—just enough to release pressure without drying them out.
In a large pot or Dutch oven, pour in enough beer to cover the brats by about 1 inch. I prefer a malty amber ale or lager for this—something with body but not too hoppy. Add sliced onions and any other aromatics you like (garlic and peppercorns work beautifully). Bring this to a gentle simmer over medium heat.
Simmer Until Partially Cooked
Once the beer bath is simmering, carefully add the brats. You want to maintain a gentle simmer—not a rolling boil. Cook them for 10-12 minutes, turning occasionally, until they reach an internal temperature of about 140°F.
This beer bath does two things: it infuses the brats with flavor and ensures they cook evenly all the way through. You’ll notice the brats plump up slightly as they absorb some of the beer. Don’t rush this step—it’s what makes them so juicy. The onions should become translucent and sweet during this process.
Transfer to the Grill for Char
Preheat your grill to medium-high heat (about 400°F). Remove the brats from the beer bath and let them drain briefly on a paper towel. The key here is to get them dry enough to develop a good sear but not so dry they lose all that precious beer-infused moisture.
Place the brats on the grill at a 45-degree angle to the grates. This creates those beautiful crosshatch grill marks we all love. Cook for 2-3 minutes per side, rotating them a quarter turn to get those perfect diamond patterns. You’re looking for a deep golden-brown char—almost but not quite burnt.
Rest and Serve with Beer Onions
Transfer the grilled brats to a clean plate and let them rest for 5 minutes before serving. This resting period allows the juices to redistribute throughout the meat instead of running out onto your plate when you cut into them.
While the brats rest, use tongs to transfer those beer-braised onions to a serving bowl. These make the perfect topping. Serve the brats in fresh buns with your favorite mustard and those sweet, beer-kissed onions. The combination of smoky char from the grill and the malty beer flavor is what makes this method so special.
Tips and Common Mistakes
Mastering this method comes down to a few key details that make all the difference between good and exceptional brats.
Beer Bath Technique: In Step 1, when you’re pricking the brats, use a fork to make 2-3 shallow punctures on each side—just enough to prevent bursting but not so deep that you lose all the juices. The beer should cover them by exactly 1 inch to ensure proper flavor infusion without diluting the taste. I learned this the hard way after using too much beer and ending up with watery brats.
Simmering Precision: During Step 2, maintain that gentle simmer at medium heat—you should see small bubbles breaking the surface, not a rolling boil. The 10-12 minutes is crucial: pull them at 140°F internal temperature. This partial cook ensures they stay juicy while developing flavor, and the onions become perfectly sweet and translucent by this point.
Grill Timing Secret: For Step 3, preheat your grill to 400°F and don’t rush the 2-3 minutes per side. Place the brats at that 45-degree angle to the grates, then resist the urge to move them until you see those grill marks forming. The key is getting a deep char without drying them out—you want that smoky crust with juicy interior.
Resting Matters: That 5-minute rest in Step 4 isn’t optional. I used to skip this and wondered why my brats were dry. Now I know it allows the juices to redistribute, so every bite stays moist. While they rest, those beer-braised onions will be at peak flavor—sweet, malty, and ready to top your brats perfectly.
Pro Tips for Best Way To Cook A Brat
- Mastering this method comes down to a few key details that make all the difference between good and exceptional brats.
- Beer Bath Technique: In Step 1, when you’re pricking the brats, use a fork to make 2-3 shallow punctures on each side…
- Simmering Precision: During Step 2, maintain that gentle simmer at medium heat—you should see small bubbles breaking …
Frequently Asked Questions
Got questions about cooking the perfect brat? You’re not alone! Here are the most common queries—answered fast so you can get back to grilling.
How long should I boil brats in beer before grilling?
Aim for 10–15 minutes in a simmering beer bath (never boiling hard!). This plumps them up and infuses flavor. Overcooking here makes them mushy—pull them out when they hit 145°F internally before finishing on the grill.
Can I cook brats without beer? What’s a good substitute?
Absolutely! Swap beer for chicken/vegetable broth + 1 tbsp apple cider vinegar (for tang) or ginger ale (for sweetness). Even water works in a pinch—just add onions, garlic, or mustard seeds for extra oomph.
Why do my brats split open on the grill? How do I prevent it?
Splitting = too much heat too fast! Pro tips:
- Pat brats dry before grilling.
- Use medium-low heat (300–350°F).
- Avoid poking with a fork—use tongs!
What’s the best way to tell when brats are done?
160°F internal temp is the magic number (use a meat thermometer!). No thermometer? Look for:
- Firm texture (not squishy).
- Golden-brown color with light char.
- Clear juices when pierced (no pink!).
Can I cook brats in the oven or air fryer instead of grilling?
Yes! Oven: Bake at 375°F for 20–25 mins (turn halfway). Air fryer: 350°F for 10–12 mins, shake once. For extra crisp, broil or air-fry 2 mins longer. Pro tip: Still simmer in beer first for max flavor!
Mastering the best way to cook a brat is all about balancing juicy tenderness with smoky, caramelized flavor—whether you choose beer-braising, grilling, or a combo of both. With the right technique (and a little patience!), you’ll turn simple brats into a crowd-pleasing centerpiece every time. 🌭✨
Now that you’re armed with the know-how, fire up that grill or stovetop and put your skills to the test! For extra inspiration, try experimenting with different beer styles or toppings—your taste buds (and dinner guests) will thank you.

Trained in classic French technique but raised on slow-cooked ribs and spicy rubs, she blends culinary skill with smoke and soul.
- Recipe for Boneless Pork Chops in Cast Iron Skillet: Sear and Baste to Juicy Perfection - October 3, 2026
- Recipe for Boneless Cross Rib Roast: Slow-Roasted Beef with Herb Crust - October 3, 2026
- Hamburgers in Sauce Recipe Crock Pot: Slow-Cooked Savory Delight - October 3, 2026