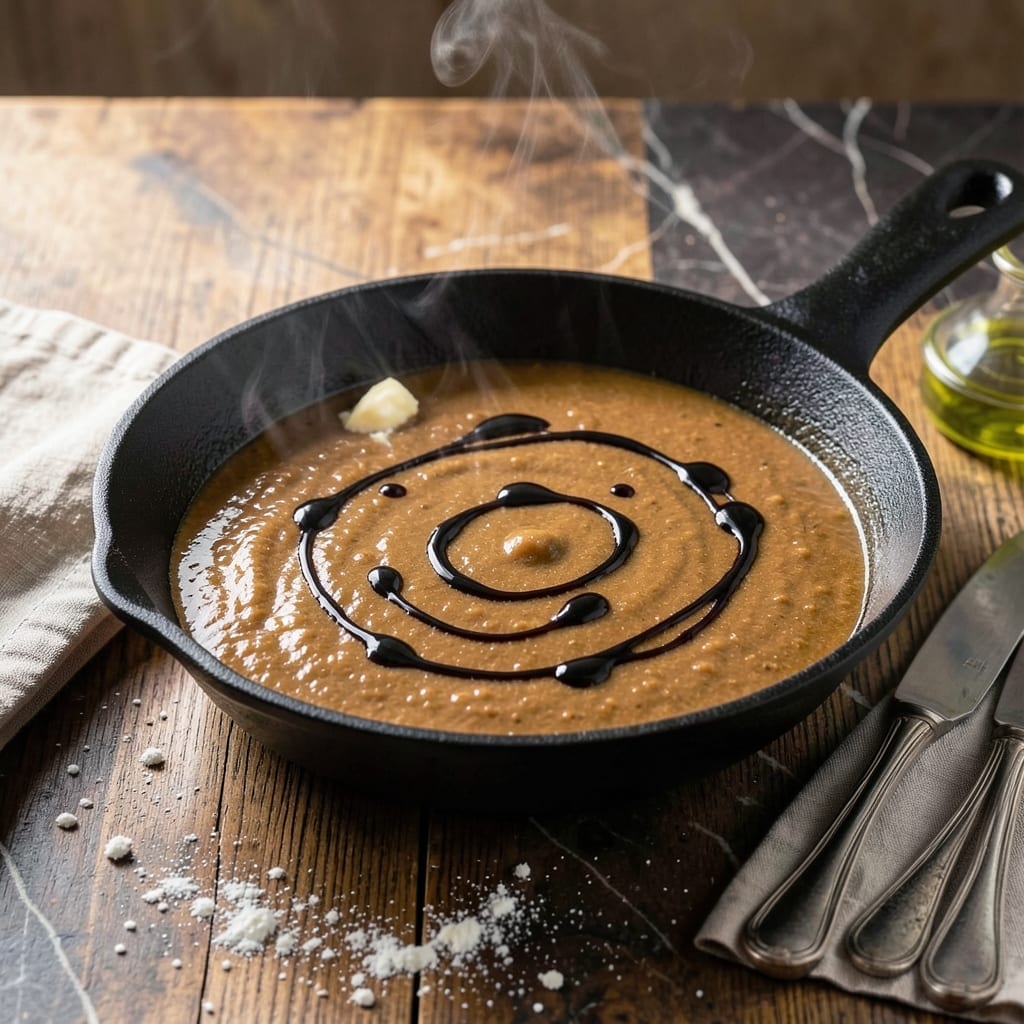
There’s a simple way to create restaurant-quality beef gravy without starting from scratch. This method transforms store-bought bouillon into something deeply flavorful and complex.
By blooming the bouillon base in hot fat, you unlock layers of umami that water alone can’t achieve. The result is a velvety gravy with rich, meaty depth that elevates any dish.
A foolproof technique ensures smooth consistency every time, whether you’re serving it with mashed potatoes or roast beef. The process takes 10 minutes from start to finish.
This gravy delivers professional results with minimal effort. The secret lies in proper reduction and seasoning balance.
Ingredients for Better Than Bouillon Beef Gravy
Transform simple bouillon into restaurant-quality gravy with these carefully selected ingredients.
| Ingredient | Amount | Notes |
|---|---|---|
| Better Than Bouillon Beef Base 🥩 | 2 tbsp | Concentrated paste form preferred |
| Unsalted Butter 🧈 | 3 tbsp | For blooming bouillon base |
| All-Purpose Flour 🌾 | 2 tbsp | For thickening gravy |
| Beef Broth 🍲 | 2 cups | Low-sodium preferred |
| Worcestershire Sauce 🫒 | 1 tsp | For umami depth |
| Soy Sauce 🫒 | 1 tsp | Low-sodium variety |
| Garlic Powder 🧄 | ½ tsp | Freshly ground if possible |
| Onion Powder 🧅 | ½ tsp | Balances savory notes |
| Black Pepper 🌶️ | ½ tsp | Freshly ground for best flavor |
[recipe_ingredient_scaler]
The bouillon base quality is paramount. Better Than Bouillon (available at most Walmart locations) provides superior depth to standard cubes. Use the beef flavor specifically—other varieties won’t deliver the same meaty richness. The butter should be unsalted to control sodium levels precisely. For professional results, opt for European-style with higher fat content.
No Worcestershire? Fish sauce at half the amount works in a pinch, though it’s more potent. Soy sauce can be swapped for tamari or coconut aminos. Garlic and onion powders are essential for the base flavor profile, but fresh minced garlic (1 clove) can be used if preferred. The flour must be all-purpose—cornstarch creates a glossier but less traditional texture.
Prepared gravy keeps 4-5 days refrigerated in an airtight container or can be frozen for 3 months. For best results, reheat gently while whisking to restore smooth consistency. The bouillon paste itself has a 2-year shelf life unopened.
Why You’ll Love This Recipe
- Five-Minute Gravy: I can have this ready before the mashed potatoes even finish boiling—just melt butter, whisk in flour, and stir in the broth and base.
- Umami Bomb: The Worcestershire plus the beef base gives it a deep, savory richness that tastes like it simmered all day.
- Holiday to Weeknight: I drizzle it over roast beef for Sunday dinner, then thin leftovers into soup broth on Tuesday.
- Pantry MVP: Between us, I always keep these ingredients on hand because they turn five cheap staples into restaurant-worthy gravy.
Step-by-Step Instructions for Better Than Bouillon Beef Gravy
Master this technique for a velvety, restaurant-quality gravy with deep, savory complexity.
Step 1: Bloom the Bouillon Base in Butter
Melt the 3 tbsp Unsalted Butter in a medium saucepan over medium heat. As it begins to foam, add the 2 tbsp Better Than Bouillon Beef Base and whisk vigorously for 1-2 minutes until fully dissolved and fragrant.
This blooming process intensifies the beef flavor and prevents lumps in your final gravy. Watch for the mixture to darken slightly and develop a rich aroma—this indicates the paste has fully incorporated into the fat, creating a flavorful foundation for the rest of your sauce.
Step 2: Create a Roux with Flour
Sprinkle the 2 tbsp All-Purpose Flour evenly over the butter-bouillon mixture. Whisk constantly for 2-3 minutes until the mixture turns a light golden color and develops a nutty aroma. This cooking time removes the raw flour taste.
The roux should have the consistency of wet sand and coat the back of a spoon. If it browns too quickly, reduce the heat slightly—you want a blonde roux, not a dark one, for this particular gravy. This step is crucial for proper thickening without a starchy aftertaste.
Step 3: Gradually Incorporate the Broth
Slowly pour in the 2 cups Beef Broth while whisking continuously to prevent lumps from forming. The mixture will thicken immediately upon contact with the hot roux. Continue whisking until all the broth is incorporated and the mixture is smooth.
Bring the mixture to a gentle simmer over medium-high heat, then reduce to medium-low. At this point, the gravy will begin to thicken noticeably. The consistent motion while adding liquid ensures a silky texture rather than a lumpy one.
Step 4: Add Umami Boosters and Seasonings
Stir in the 1 tsp Worcestershire Sauce, 1 tsp Soy Sauce, 0.5 tsp Garlic Powder, 0.5 tsp Onion Powder, and 0.5 tsp Black Pepper. These ingredients work in harmony to create layers of savory depth without overpowering the beef base.
Simmer for 3-5 minutes, stirring occasionally, until the gravy reaches your desired consistency. It should coat the back of a spoon with a velvety texture. Taste and adjust seasoning if needed, though the combination of soy and Worcestershire typically provides sufficient saltiness.
Step 5: Strain and Serve
For the smoothest possible texture, strain the gravy through a fine-mesh sieve into a serving vessel. This removes any potential flour lumps or bouillon bits that didn’t fully dissolve. Press gently on the solids with a spoon to extract all the flavorful liquid.
Serve immediately while hot, as it will thicken slightly upon cooling. If it becomes too thick, whisk in a small amount of warm water to achieve your preferred consistency. This gravy pairs exceptionally well with roasted meats, mashed potatoes, or biscuits.
Pro Tips For Making Better Than Bouillon Beef Gravy
- Brown the Flour: Cook the flour and butter together for 3-4 minutes until golden—this removes the raw taste and deepens the gravy’s flavor. I learned this the hard way after serving pale, floury gravy once too often.
- Bloom the Bouillon: Dissolve the Better Than Bouillon base in hot broth first, not cold, to fully activate its rich, concentrated flavor before adding to the roux.
- Skip the Lumps: Whisk the flour into the melted butter off the heat for 30 seconds to create a smooth paste before adding liquid. After burning three batches, I finally figured out lumps are preventable.
- Finish with Worcestershire: Stir in the Worcestershire sauce at the very end—adding it earlier can make the gravy taste bitter. Sounds weird, but it works: the umami shines when it’s not cooked down.
Storing and Reheating better than bouillon beef gravy
Refrigerator Storage
Let your gravy cool for no more than 2 hours before transferring to an airtight container. I use glass jars with tight lids from my local butcher shop. Store at 40°F or below for up to 4-5 days. The flavors actually deepen overnight. ❄️
Freezer Storage
This gravy freezes beautifully for up to 3 months without quality loss. I recommend portioning into ice cube trays first, then transferring to a freezer bag once solid. This way, you can thaw exactly what you need. Leave ½ inch headspace for expansion.
Stovetop Reheating
My preferred method for maintaining texture. Heat in a small saucepan over medium-low heat for 5-7 minutes, whisking occasionally. If it thickens too much, add 1-2 tbsp water or broth to restore consistency. 🔥
Microwave Reheating
For quick meals, microwave 1-cup portions covered with a damp paper towel. Heat on 70% power for 1-2 minutes, stir, then continue in 30-second intervals until reaching 165°F. This prevents scorching.
Nutrition Facts
Frequently Asked Questions
Can I use chicken bouillon instead of beef?
You can, but the flavor profile will be much milder. For best results, stick with beef base to maintain the rich, meaty depth. If substituting, add an extra ½ tsp soy sauce to boost umami.
Why does my gravy turn out lumpy?
Lumps usually form from adding broth too quickly or not whisking enough. Always pour liquid slowly while whisking constantly. If lumps appear, strain through a fine-mesh sieve.
How can I make it gluten-free?
Replace all-purpose flour with cornstarch or arrowroot powder. Use 1 tbsp for every 1 cup of liquid. Mix with cold water first to create a slurry before adding.
Can I make this in advance?
Prepare up to 2 days ahead. Store in the fridge and reheat gently, adding a splash of water if needed. The flavors actually improve overnight.

Trained in classic French technique but raised on slow-cooked ribs and spicy rubs, she blends culinary skill with smoke and soul.
- Recipe for Boneless Pork Chops in Cast Iron Skillet: Sear and Baste to Juicy Perfection - October 3, 2026
- Recipe for Boneless Cross Rib Roast: Slow-Roasted Beef with Herb Crust - October 3, 2026
- Hamburgers in Sauce Recipe Crock Pot: Slow-Cooked Savory Delight - October 3, 2026