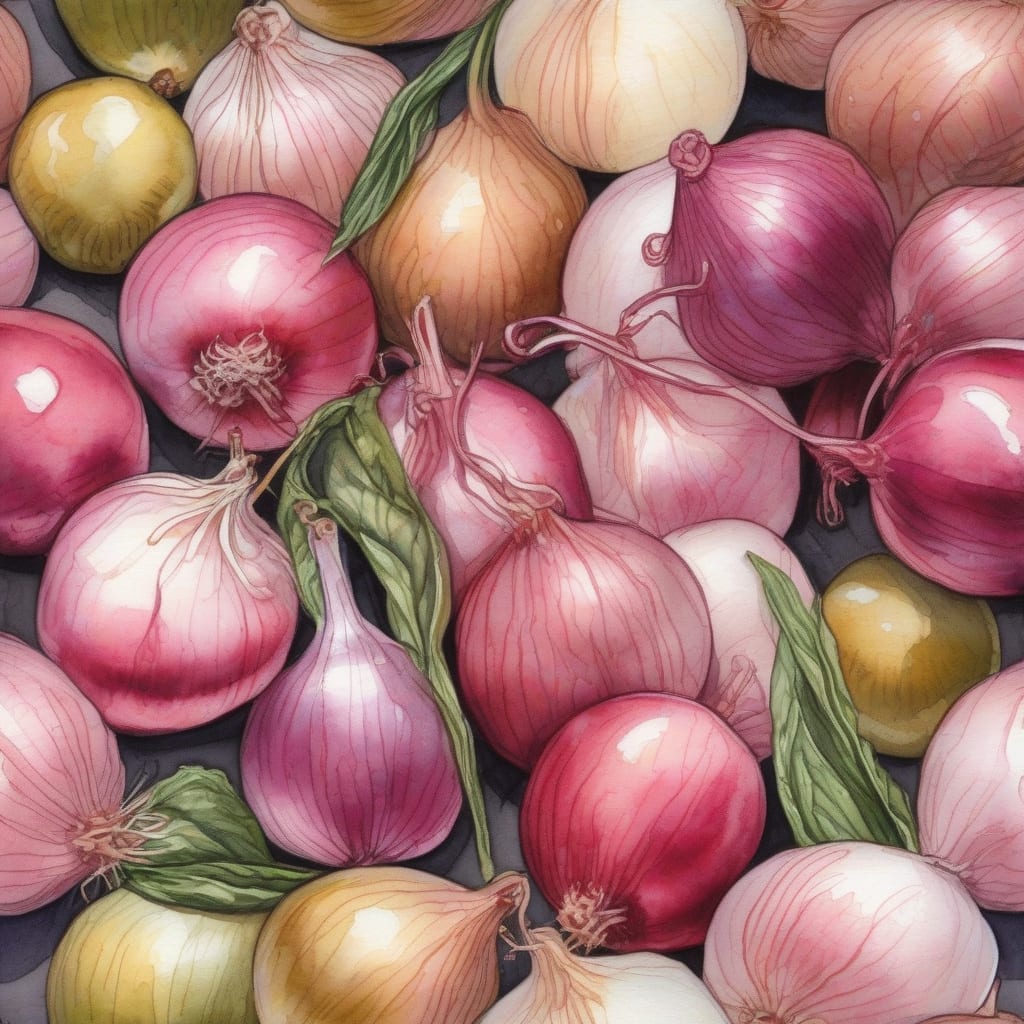
I’ve recreated Bill Miller‘s famous pickled onions recipe, and it’s a game-changer for anyone who loves tangy, crisp condiments. 🔥 The combination of thinly sliced onions, vinegar, and spices creates a flavor that’s both addictive and versatile.
The secret to this recipe lies in the balance of sweet and tangy, achieved through a careful blend of vinegar and sugar. The onions retain their crunch while absorbing the rich flavors, making them perfect for snacking or adding to your favorite dishes.
With this recipe, you’ll get perfectly pickled onions that are ready to enjoy in no time. They store beautifully in the fridge, allowing you to savor that tangy goodness for weeks. Let’s make them!
Ingredients for bill millers pickled onions
These simple ingredients create Bill Miller’s famous pickled onions with perfect tangy crunch.
| Ingredient | Amount | Notes |
|---|---|---|
| Red Onions 🧅 | 1 whole | Thinly sliced |
| White Vinegar 💧 | 1 cup | Distilled white vinegar |
| Water 💧 | ½ cup | Cold water |
| Granulated Sugar 🍮 | ½ cup | White granulated sugar |
| Salt 🧂 | 1 tbsp | Kosher or sea salt |
| Black Peppercorns 🌶️ | 1 tsp | Whole peppercorns |
| Mustard Seeds 🌱 | ½ tsp | Yellow mustard seeds |
| Red Pepper Flakes 🔥 | ¼ tsp | Optional, for heat |
[recipe_ingredient_scaler]
Find red onions at most grocery stores or farmers markets. For the best flavor, use high-quality white vinegar like Heinz. You can adjust the amount of red pepper flakes based on your desired level of spiciness. Look for kosher salt for its pure flavor.
If you don't have black peppercorns, use pre-ground black pepper at half the amount. For a different flavor profile, try using apple cider vinegar instead of white vinegar. You can also add a few cloves of garlic or a bay leaf for extra depth of flavor.
Store the pickled onions in an airtight glass jar in the refrigerator. They will keep for several weeks and develop more flavor over time. Always use clean utensils when serving to maintain freshness.
Step-by-Step Instructions for Bill Miller’s Pickled Onions
Let me guide you through making these tangy, crisp pickled onions that’ll elevate any dish.
👨🍳 Step 1: Prepare the Red Onions
Start by thinly slicing 1 whole red onion. I use a mandoline for consistent, paper-thin slices that pickle evenly. If you don’t have a mandoline, a sharp knife will work—just be patient and cut as evenly as possible. You’ll need to slice against the grain to prevent the onions from falling apart.
Once sliced, separate the onion rings and place them in a large bowl. I like to rinse them briefly under cold water to remove some of the sharp onion flavor, then drain well. This step helps create a milder pickle that’s still full of onion goodness.
👨🍳 Step 2: Create the Pickling Brine
In a medium saucepan, combine 1 cup white vinegar, 0.5 cup water, 0.5 cup granulated sugar, and 1 tablespoon salt. I use a stainless steel or enamel-coated pan—avoid reactive metals like aluminum or copper when working with acidic vinegar.
Bring the mixture to a boil over medium-high heat, stirring occasionally until the sugar and salt dissolve completely. You’ll know it’s ready when the mixture reaches a rolling boil and the liquid is clear. This creates a perfectly balanced brine that’s both tangy and slightly sweet.
🔥 Step 3: Add Spices and Simmer
Reduce the heat to medium-low and add 1 teaspoon black peppercorns, 0.5 teaspoon mustard seeds, and 0.25 teaspoon red pepper flakes (if using). Let the brine simmer gently for 5-7 minutes until the spices release their aroma. You’ll notice the peppercorns will start to float and the mustard seeds will begin to pop slightly.
This simmering step is crucial as it infuses the brine with complex flavors. Be careful not to let it boil too vigorously, as this can cause the brine to reduce too much and become overly salty.
🥘 Step 4: Pickle the Onions
Pour the hot brine over the prepared onions in the bowl. I like to use a heatproof bowl or container that can handle the hot liquid. Let the onions sit at room temperature for at least 30 minutes to allow them to pickle and cool to room temperature.
The onions will continue to pickle and develop flavor as they cool. You’ll notice they’ll start to turn a beautiful pinkish-red color and become slightly tender. For best results, let them pickle for at least 1 hour before serving.
⏰ Step 5: Store and Serve
Once the onions have pickled and cooled, transfer them to an airtight container. I like to use glass jars with tight-fitting lids to keep them fresh. Store them in the refrigerator, where they’ll keep for up to 2 weeks.
The onions will continue to develop flavor over time. They’ll be ready to use in about 1 hour and will be at their best after 24 hours. Use them to top burgers, sandwiches, salads, or any dish that needs a tangy crunch. Enjoy your delicious homemade pickled onions!
Bill Miller’s Pickled Onions Recipe is a treasured gem for many, and we’re excited to dive into the details of this tangy, crisp, and addictive condiment 🥒. The beauty of this recipe lies in its simplicity, using just a few ingredients to create a flavor that complements a wide range of dishes.
🔪 Preparing the Onions
The first step is to prepare the onions. You’ll need to thinly slice 1 large red onion. The key here is to make sure the slices are uniform so that they pickle evenly.
🌟 The Pickling Liquid
The pickling liquid is where the magic happens. In a saucepan, combine 1 cup of vinegar (white or apple cider work well), 1/2 cup of water, 1 tablespoon of sugar, and 1 teaspoon of salt. Bring this mixture to a boil, stirring until the sugar and salt are dissolved.
⏰ Pickling the Onions
Once your onions are sliced and your pickling liquid is ready, it’s time to bring them together. Pack the onion slices into a clean glass jar, and pour the hot pickling liquid over them. Seal the jar and let it cool to room temperature.
💡 Pro Tip: For the best flavor, let the onions pickle for at least 24 hours before serving. The longer they sit, the tangier they’ll become.
- 1 large red onion, thinly sliced
- 1 cup vinegar
- 1/2 cup water
- 1 tablespoon sugar
- 1 teaspoon salt
Bill Miller’s Pickled Onions are versatile and can be used as a topping for burgers, sandwiches, or salads, or served as a side dish. Enjoy experimenting with this recipe and discovering your favorite ways to use it! 😊
Tips & Tricks for Perfect Bill Miller’s Pickled Onions
These simple tips will help you achieve tangy, crisp pickled onions that elevate any dish.
Onion Preparation: For the best results, use a mandoline to slice the red onions thinly and evenly, just like in Step 1. If you don’t have one, a sharp knife will work—just be sure to cut against the grain. Rinsing the sliced onions under cold water helps remove some of the sharp flavor, resulting in a milder pickle.
Brine Perfection: When creating the pickling brine in Step 2, use a stainless steel or enamel-coated pan to avoid reacting with the acidic white vinegar. Bring the mixture to a rolling boil, stirring until the granulated sugar and salt dissolve completely. This ensures a clear, balanced brine.
Spice Infusion: In Step 3, simmer the brine with black peppercorns, mustard seeds, and red pepper flakes over medium-low heat. This allows the spices to release their aroma without boiling too vigorously, which can make the brine too salty. Let it simmer for 5-7 minutes for the best flavor.
Storage Tips: After pickling, store the onions in an airtight container in the refrigerator. They’ll keep for up to 2 weeks and will be at their best after 24 hours. The onions will continue to develop flavor over time, making them perfect for meal prep.
Nutrition Facts
35kcal
[recipe_ingredient_scaler]

Trained in classic French technique but raised on slow-cooked ribs and spicy rubs, she blends culinary skill with smoke and soul.
- Recipe for Boneless Pork Chops in Cast Iron Skillet: Sear and Baste to Juicy Perfection - October 3, 2026
- Recipe for Boneless Cross Rib Roast: Slow-Roasted Beef with Herb Crust - October 3, 2026
- Hamburgers in Sauce Recipe Crock Pot: Slow-Cooked Savory Delight - October 3, 2026