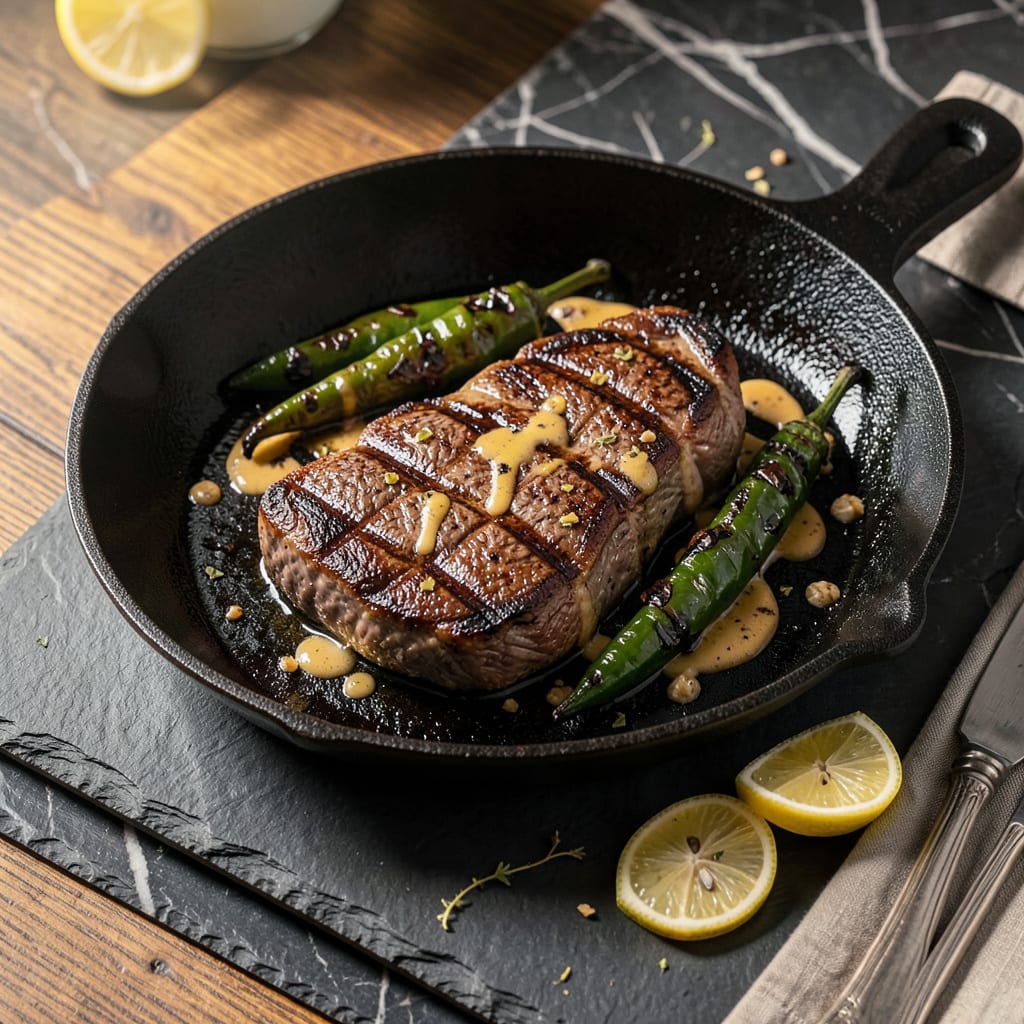
I’ll be real with you—broiling on the stove is the secret weapon I use when I want that perfect sear but don’t feel like firing up the oven. No fancy equipment needed, just a heavy skillet and some know-how. That first sizzle when the meat hits the pan? That’s how you know you’re doing it right.
Here’s the thing—most people don’t realize you can get that same restaurant-quality crust right on your stovetop. I’ve been using this method for years, especially when I’m cooking for two and don’t want to heat up the whole kitchen. The key is getting your pan screaming hot before anything touches it, then controlling the heat like a pro.
The result is worth every second: perfectly charred edges, juicy centers, and that deep caramelized flavor you usually only get from outdoor grilling. Whether it’s a thick steak, salmon fillet, or even crispy tofu, this technique delivers restaurant-quality results without the hassle.
Fair warning though—once you master this, you’ll never want to broil in the oven again. The control you get from stovetop broiling is unmatched, and cleanup is a breeze. Let’s get that pan heating and show you how it’s done.
📚 In This Guide
- What You’ll Need
- Instructions
- Tips and Common Mistakes
What Youll Need
- ● Stove with broil function – A gas or electric stovetop with a high-heat setting (15,000+ BTU for gas recommended).
- ● Heavy-bottomed skillet – Cast iron (10-12″) or stainless steel (preferably oven-safe if finishing in oven).
- ● Cooking oil – 1-2 tbsp high-smoke-point oil (avocado, grapeseed, or refined coconut oil).
- ● Tongs or spatula – Heat-resistant, long-handled for flipping.
- ○ Meat thermometer (optional but recommended) – Instant-read for perfect doneness.
- ● Aluminum foil – 1 sheet for resting meat post-broil.
- ● Kitchen exhaust fan – Must be functional (broiling = smoke!).
- ● Protective gear – Oven mitts + apron (splatter happens!).
- ● Seasonings – Salt, pepper, and your favorite dry rub (1-2 tsp total).
- ○ Butter or herbs (optional) – 1 tbsp for basting (thyme, rosemary, or garlic add flair!).
Step-by-Step Instructions for Broiling on Your Stove
This simple method transforms your stovetop into a high-heat broiler for perfect results every time.
Choose the Right Pan and Heat Source
Select a heavy-bottomed pan that can withstand high heat—I prefer cast iron or stainless steel. The pan should be large enough to accommodate your food without crowding, which is essential for even cooking and proper browning.
Place the pan over your largest burner and crank the heat to maximum. You want the pan to get screaming hot, which typically takes about 5-7 minutes. The pan is ready when you see a faint wisp of smoke or when a drop of water dances across the surface and evaporates instantly.
Step 2: Prepare Your Food for High Heat
While the pan heats, pat your food completely dry with paper towels. Any moisture on the surface will steam instead of sear, preventing that beautiful crust we’re after. For proteins like steaks or chicken, season generously with salt and pepper just before cooking.
If you’re working with vegetables, toss them in just enough oil to lightly coat—about 1 tablespoon per cup of vegetables. The oil should glisten on the surface but not pool in the pan. For meats, brush lightly with oil to prevent sticking while allowing a good sear to form.
Sear with Confidence Using the Broiling Technique
Carefully add your food to the hot pan, placing it away from you to avoid oil splatter. For proteins, press down gently with a spatula for the first 10 seconds to ensure full contact with the pan. This creates an immediate crust that prevents sticking.
Resist the urge to move the food around. Let it cook undisturbed for 2-4 minutes (depending on thickness) until you see a deep golden-brown crust forming. For steaks, you’ll know it’s ready to flip when the edges start to turn opaque and the meat releases easily from the pan. Vegetables should develop charred edges before stirring.
Finish and Rest for Perfect Results
After achieving a good sear on one side, flip your food and cook for another 1-3 minutes for thinner cuts or 3-5 minutes for thicker pieces. The second side will cook faster since the pan is already hot. For vegetables, stir occasionally until they’re tender with crispy edges.
Transfer cooked food to a plate or cutting board and let it rest for at least 5 minutes before serving. This resting period allows juices to redistribute, especially important for meats. The internal temperature will continue to rise by about 5-10°F during this time, so account for this in your cooking.
Deglaze for Extra Flavor (Optional but Recommended)
After removing your food, you’ll notice browned bits stuck to the pan—this is flavor gold. Reduce the heat to medium and add ¼ cup of liquid (water, broth, wine, or even lemon juice works). Scrape up all those browned bits with a wooden spoon as the liquid simmers.
Let the liquid reduce by half, which usually takes about 2-3 minutes. This creates a simple pan sauce that captures all the caramelized flavors from your sear. Pour this sauce over your plated food for an extra layer of richness that takes your dish from good to restaurant-quality.
Tips and Common Mistakes
Mastering this stovetop broiling technique is all about confidence and attention to detail. Here’s what I’ve learned from years of perfecting sears and crusts.
Heat Control: Those 5-7 minutes of preheating in Step 1 aren’t just a suggestion—they’re critical. I’ve found that cast iron retains heat best, but if you’re using stainless steel, you might need the full 7 minutes to reach that perfect searing temperature. The pan should be so hot that a drop of water immediately dances and evaporates on contact. This is your visual cue that you’re ready for Step 3’s searing process.
The Technique That Changed Everything: In Step 3, when you press down on proteins for those first 10 seconds, you’re creating what chefs call the “Maillard reaction foundation.” This initial contact is what prevents sticking and starts building that beautiful crust. I always use a fish spatula for this—its thin edge gets right under the food without disturbing the sear.
Timing Secret: The 2-4 minutes of undisturbed cooking in Step 3 is where most people go wrong. Resist the urge to peek! For steaks, wait until you see the crust forming at the edges and the meat naturally releases from the pan. With vegetables, you want those charred edges before stirring—this is where all the flavor develops. Remember, the second side will cook faster, so adjust your 1-3 minutes or 3-5 minutes accordingly based on thickness.
Resting Wisdom: That 5 minutes of resting in Step 4 isn’t optional—it’s when the magic happens. The internal temperature will rise by about 5-10°F during this time, so pull your food off the heat just before it reaches your target doneness. I always tent my proteins loosely with foil during resting to keep them warm without trapping steam.
Pro Tips for Broil On Stove
- Mastering this stovetop broiling technique is all about confidence and attention to detail. Here’s what I’ve learned …
- Heat Control: Those 5-7 minutes of preheating in Step 1 aren’t just a suggestion—they’re critical. I’ve found that ca…
- The Technique That Changed Everything: In Step 3, when you press down on proteins for those first 10 seconds, you’re …
Frequently Asked Questions
Can I broil on a regular stove without a broiler pan?
Use a heavy skillet (cast iron works best) or a grill pan. Preheat it on high for 5–7 minutes to mimic broiler heat. Just ensure your kitchen is well-ventilated—smoke may appear if oil or fat drips!
How long does it take to broil steak or chicken on the stove?
Timing depends on thickness! For a 1-inch steak, sear 3–4 minutes per side for medium-rare. Chicken breasts (½-inch thick) need 5–6 minutes per side. Always use a meat thermometer: 145°F for steak, 165°F for chicken.
What’s the difference between broiling on a stove vs. an oven?
Stove broiling (or pan-searing) gives a crispier crust due to direct contact with the hot pan, while oven broiling uses radiant heat from above. Stove method is faster for thin cuts but requires more attention to avoid burning.
Why does my food burn when I try to broil on the stove?
Two common culprits: too-high heat or uneven pan temperature. Reduce heat slightly if oil smokes excessively, and preheat the pan gradually. Pat food dry before cooking to prevent steam, which can cause uneven browning.
Can I broil vegetables on the stove like I would in the oven?
Yes! Use a grill pan or skillet on medium-high heat. Toss veggies (like bell peppers or zucchini) in oil, spread in a single layer, and cook 3–5 minutes per side. Stir occasionally for even charring—no flipping needed for small pieces!
Now you’ve got the skills to broil on the stove like a pro—no fancy oven required! 🎯 Whether you’re searing steaks, crisping veggies, or caramelizing fish, this method delivers restaurant-quality flavor with minimal effort. The key? High heat, the right pan, and a watchful eye to avoid overcooking.
Ready to put your new technique to the test? Grab your favorite protein or veggies and fire up that burner—your next meal could be your best one yet! For extra confidence, try experimenting with marinades or dry rubs to level up the flavor even more.

Trained in classic French technique but raised on slow-cooked ribs and spicy rubs, she blends culinary skill with smoke and soul.
- Recipe for Boneless Pork Chops in Cast Iron Skillet: Sear and Baste to Juicy Perfection - October 3, 2026
- Recipe for Boneless Cross Rib Roast: Slow-Roasted Beef with Herb Crust - October 3, 2026
- Hamburgers in Sauce Recipe Crock Pot: Slow-Cooked Savory Delight - October 3, 2026