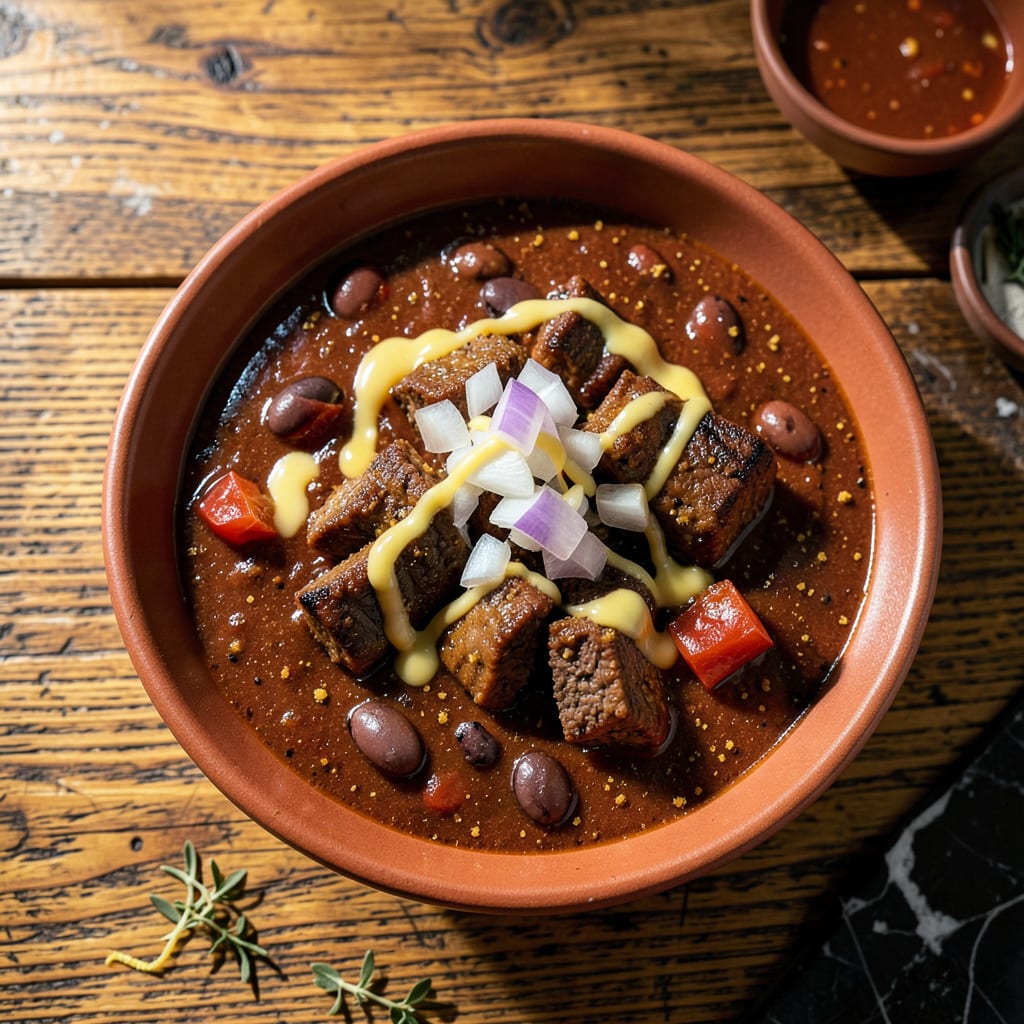
Let me tell you about the secret weapon that transforms good chili into great chili—corn meal. I discovered this trick years ago when I needed to thicken a batch without making it gluey or heavy. A simple sprinkle of corn meal works like magic, giving you that perfect hearty texture without any weird aftertaste or extra effort.
This isn’t your average chili recipe. The corn meal does more than just thicken—it adds a subtle sweetness and earthy depth that makes every bite feel more substantial. Plus, it’s naturally gluten-free, so everyone can enjoy it. I’ve been making this version for years, and it’s become my go-to for cozy nights when I want something filling but not fussy.
What you’ll love most is how easy it is. No complicated techniques, no hard-to-find ingredients—just simple, straightforward cooking that delivers big flavor. The corn meal blends right in during cooking, leaving you with chili that’s rich, thick, and packed with layers of taste. It’s the kind of dish that tastes like it simmered all day but comes together in about an hour.
Whether you keep it vegetarian or add ground meat, this chili adapts to whatever you’re craving. The corn meal makes it versatile enough for any dietary preference while keeping that perfect chili consistency. Ready to make your best pot yet?
📚 In This Guide
- What You’ll Need
- Instructions
- Tips and Common Mistakes
What Youll Need
- ● Ground meat: 1.5 lbs (80% lean beef or a mix of beef and pork for richer flavor 🥩)
- ● Dried beans: 2 cups (pinto, kidney, or black beans—soaked overnight or quick-soaked 🌱)
- ● Corn meal: ¼–½ cup (fine or medium grind for best texture—adjust for thickness!)
- ● Tomatoes: 1 (28 oz) can crushed or diced tomatoes + 1 (6 oz) can tomato paste
- ● Broth: 3 cups (beef, chicken, or vegetable—low-sodium preferred 🥄)
- ● Aromatics: 1 large onion (diced), 4 garlic cloves (minced), 1 bell pepper (chopped)
- ● Spices: 2 tbsp chili powder, 1 tsp cumin, 1 tsp smoked paprika, ½ tsp cayenne (adjust to taste 🌶️)
- ● Oil: 2 tbsp (neutral like vegetable or olive oil)
- ● Large pot or Dutch oven (5–6 quart, heavy-bottomed for even cooking)
- ● Wooden spoon (for stirring without scratching!)
- ● Measuring cups/spoons (precision matters for corn meal ratio!)
- ○ Optional: Immersion blender (for smoother texture), slow cooker (for hands-off simmering)
- ● Beans soaked (if using dried) or 2 (15 oz) cans beans (drained/rinsed for convenience ⏳)
- ○ Spices toasted (optional: dry-toast chili powder/cumin in a pan for 30 sec for deeper flavor)
Instructions for Adding Corn Meal to Chili
This simple technique transforms your chili into something extraordinary—thick, hearty, and full of rich texture.
Choose the Right Corn Meal
Start by selecting fine or medium-ground corn meal for the best results. I’ve found that coarse varieties can create a gritty texture rather than the smooth thickness we’re after. You’ll want to use about 2-3 tablespoons per quart of chili—this is the sweet spot for perfect consistency without overpowering the flavor.
The beauty of corn meal is that it’s naturally gluten-free, making it an excellent thickener for those with dietary restrictions. Plus, it adds a subtle sweetness that balances the bold flavors in chili. Keep your corn meal in an airtight container to prevent moisture absorption, which can affect its thickening power.
Create a Corn Meal Slurry
In a small bowl, whisk together the corn meal with an equal amount of cold water or broth from your chili. I always use cold liquid because it prevents clumping and ensures smooth dispersion. For 2 tablespoons of corn meal, you’ll need 2 tablespoons of liquid—this creates the perfect slurry consistency.
Mix vigorously until completely smooth, with no visible lumps. Here’s the thing—if you skip this step and add dry corn meal directly to your chili, you’ll end up with unappetizing clumps that even prolonged cooking won’t eliminate. The slurry method guarantees even distribution and a velvety texture in your finished chili.
Incorporate the Slurry into Your Chili
Bring your chili to a gentle simmer over medium heat. Stir the simmering chili continuously as you slowly pour in the corn meal slurry. This constant motion prevents the mixture from settling in one spot and creating localized thickening. You’ll notice the chili begin to transform immediately, becoming richer and more substantial.
Continue cooking for at least 10-15 minutes after adding the slurry, stirring occasionally. This cooking time allows the corn meal to fully hydrate and release its starches, creating that perfect thickened consistency. Watch for the chili to develop a glossy sheen—this visual cue tells you the corn meal is working its magic.
Adjust and Perfect the Texture
After the initial cooking time, assess your chili’s consistency. If it’s not quite as thick as you’d like, you can add another 1 tablespoon of corn meal mixed with 1 tablespoon of cold liquid. Remember that chili continues to thicken as it cools, so aim for a consistency that’s slightly thinner than your final preference.
Taste and adjust seasoning if needed—the corn meal might slightly dilute your chili’s flavor intensity. I often find that a pinch of salt or an extra dash of chili powder brings everything back into perfect balance. Let your chili rest for 5-10 minutes off the heat before serving—this final rest allows the flavors to meld beautifully.
Serve and Enjoy the Perfect Bowl
Ladle your beautifully thickened chili into bowls and watch how it holds its shape while still being spoonable. The corn meal creates a luxurious mouthfeel that coats each ingredient perfectly. Notice how the flavors seem more concentrated now that they’re suspended in this rich, velvety base rather than swimming in excess liquid.
Garnish as desired—shredded cheese, sour cream, fresh cilantro, or diced onions all complement the corn meal-thickened chili beautifully. The subtle sweetness from the corn meal enhances the natural flavors of your chili ingredients, creating a harmonious balance in every bite. This technique works equally well with beef, turkey, or vegetarian chili variations!
Tips and Common Mistakes
Let me share what I’ve learned from years of thickening chili—these small details make a world of difference in your final bowl.
Slurry Success: When creating your corn meal slurry in Step 2, use cold liquid straight from the fridge. I’ve tested this with both water and chili broth, and cold temperature is absolutely crucial for preventing clumps. The moment corn meal hits hot liquid, it starts to gelatinize instantly—which is exactly what we want to avoid until it’s properly dispersed in the pot. Mix vigorously until completely smooth, with no visible lumps remaining.
Heat Control: Maintaining that gentle simmer over medium heat in Step 3 is more important than you might think. Too high and you’ll risk scorching the corn meal at the bottom; too low and it won’t properly activate. I find that medium heat creates the perfect environment for the corn meal to gradually release its starches without burning. Stir continuously as you add the slurry—this constant motion prevents localized thickening and ensures even distribution throughout your chili.
Visual Cues: Watch for that glossy sheen mentioned in Step 3—it’s your best indicator that the corn meal is working properly. During those 10-15 minutes of cooking, you’ll notice the chili transforming from liquidy to rich and velvety. The surface should develop a slight shine, almost like it’s been lightly glazed. This visual change happens right before the texture reaches its perfect consistency, so keep an eye out for it!
Resting Period: Don’t skip that final 5-10 minute rest in Step 4! I know it’s tempting to dive right in when your chili smells amazing, but this short wait allows the corn meal to fully hydrate and the flavors to meld. You’ll notice the texture becomes even more luxurious after resting, and the flavors taste more balanced. It’s worth the brief pause, I promise!
Pro Tips for Corn Meal In Chili
- Let me share what I’ve learned from years of thickening chili—these small details make a world of difference in your …
- Slurry Success: When creating your corn meal slurry in Step 2, use cold liquid straight from the fridge. I’ve tested …
- Heat Control: Maintaining that gentle simmer over medium heat in Step 3 is more important than you might think. Too h…
Frequently Asked Questions
How much corn meal should I add to thicken my chili?
Start with 1–2 tablespoons per quart of chili. Stir it in with a splash of cold water (or broth) to avoid clumping. Let it simmer for 10–15 minutes—it’ll thicken as it cooks! Add more gradually if needed, but don’t overdo it or your chili may turn gummy.
When’s the best time to add corn meal to chili?
Add it during the last 20–30 minutes of cooking. This gives it time to absorb liquids and thicken without breaking down. If you add it too early, the corn meal can lose its thickening power or develop a raw taste.
Can I substitute corn meal with something else?
Try these swaps:
- Masa harina (for a richer, corn flavor)
- Crushed tortilla chips (adds texture + thickness)
- Flour or cornstarch slurry (mix with cold water first)
Each alters the taste slightly, so pick based on your goal!
Why did my chili get grainy after adding corn meal?
Graininess usually means the corn meal wasn’t fully dissolved. Whisk it into cold liquid first before stirring into the chili, and simmer uncovered for 10+ minutes, stirring often. If it’s still grainy, blend a cup of chili and mix it back in.
Does corn meal change the flavor of chili?
Yes, but subtly! It adds a mild, sweet corn note and a heartier texture. For a bolder taste, toast the corn meal in a dry pan for 2–3 minutes before adding. If you prefer neutral thickness, opt for a slurry (flour + water) instead.
Adding corn meal to chili is a game-changer for achieving that perfect thick, hearty texture—without the extra fuss! 🍲 Whether you prefer a subtle hint of sweetness or just want a foolproof thickener, this simple trick elevates your bowl every time. Now that you’ve got the know-how, why not test it out with your favorite chili recipe? Grab a spoon, tweak the ratios to your taste, and enjoy a cozier, richer dish that’ll have everyone asking for seconds!

Trained in classic French technique but raised on slow-cooked ribs and spicy rubs, she blends culinary skill with smoke and soul.
- Recipe for Boneless Pork Chops in Cast Iron Skillet: Sear and Baste to Juicy Perfection - October 3, 2026
- Recipe for Boneless Cross Rib Roast: Slow-Roasted Beef with Herb Crust - October 3, 2026
- Hamburgers in Sauce Recipe Crock Pot: Slow-Cooked Savory Delight - October 3, 2026