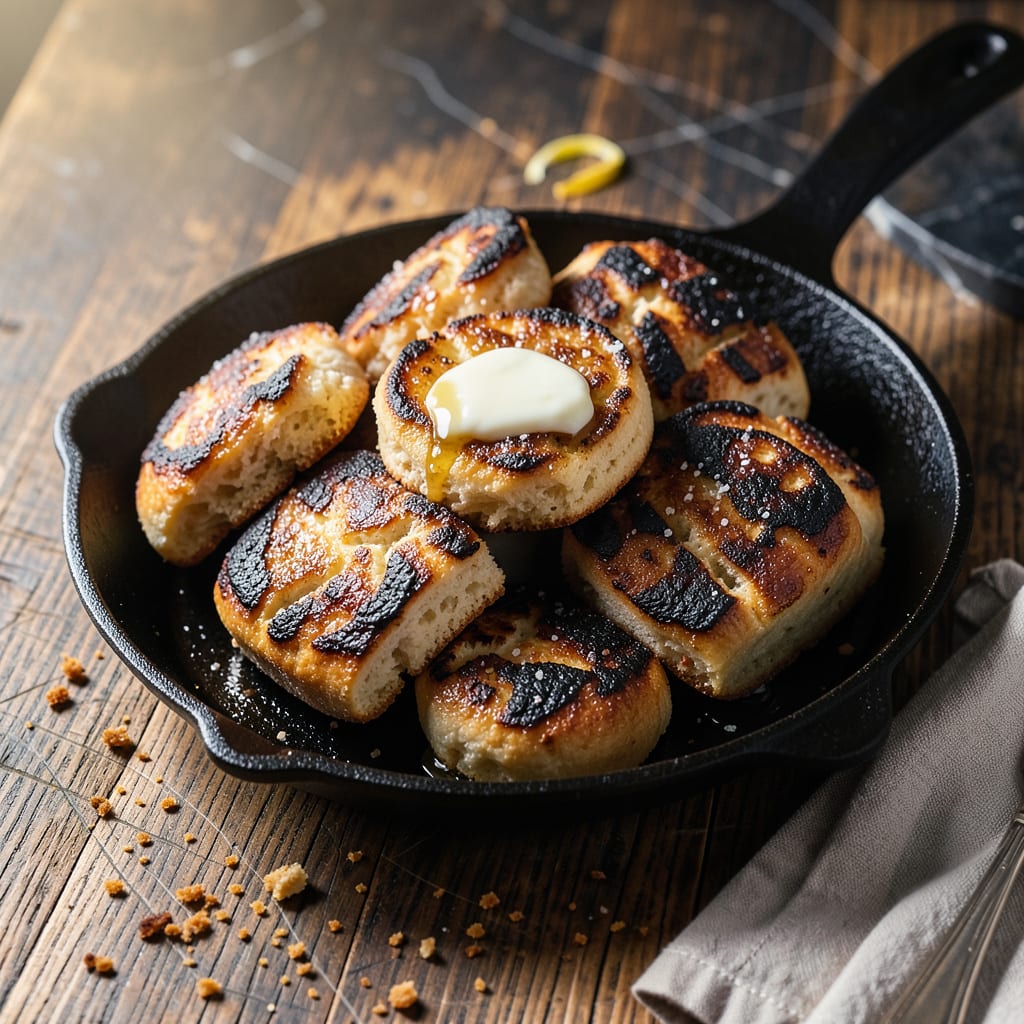
Yes, you can often salvage burnt biscuits by carefully scraping off the charred layer, brushing with milk or butter, and reheating briefly. For severe burns, repurpose them into crumbs or toppings instead.
I’ve rescued countless batches using these techniques, and the secret lies in acting fast before the burnt flavor penetrates deeper. 🔥 A gentle scrape with a serrated knife removes the worst of the char without sacrificing texture, while the milk or butter trick adds moisture back into the dry edges. For biscuits that are beyond saving as-is, I love transforming them into crispy breadcrumbs for fried chicken or a rustic topping for fruit cobblers—waste not, want not!
What most people don’t realize is that burnt edges often mean the center is perfectly baked, so don’t toss the whole batch. ✨ The key is assessing the damage level: light burns respond well to moisture and heat, while heavily charred pieces become your secret ingredient for adding depth to other dishes. I keep a stash of “oops biscuits” in my freezer specifically for this purpose.
💡 In This Article
- Why Biscuits Burn and How to Prevent It Next Time
- Creative Ways to Repurpose Burnt Biscuits in Recipes
Why Biscuits Burn and How to Prevent It Next Time
Biscuits burn when two key chemical reactions spiral out of control: sugar caramelization and protein browning (Maillard reaction). At 350°F, sugars begin breaking down into complex flavor compounds, but push past 375°F and they carbonize into bitter, blackened layers.
Meanwhile, proteins in the flour and butter undergo Maillard reactions at 300-350°F, creating golden-brown crusts—until the heat becomes excessive and they scorch. 🔥
Most home ovens have ±25°F temperature fluctuations, which explains why your biscuits might burn even when following recipes precisely. Hot spots develop when heating elements cycle unevenly, especially in older ovens. A 10-minute bake at 400°F can mean some biscuits experience 425°F spikes while others linger at 375°F.
Position matters too—rack placement affects airflow, with top racks browning 30% faster than lower positions.
Prevention starts with oven calibration. Use an independent oven thermometer (they cost $5 and save countless batches) to verify your settings. For consistent results, rotate pans halfway through baking and avoid overcrowding—leave 1-inch gaps between biscuits for proper heat circulation.
Pro tip: Chilling dough 20 minutes before baking slows initial browning, giving you a 2-3 minute buffer against burns. ✨
The baking sheet itself plays a role. Dark pans absorb 20% more heat than aluminum, accelerating bottom burning. Always use parchment paper or silicone mats as insulation. Even the butter temperature matters—cold butter creates steam pockets that lift biscuits away from direct heat, while melted butter pools and can scorch.
I learned this the hard way during my first BBQ competition when my “perfect” biscuits emerged with coal-black bottoms! 💫
Humidity levels in your kitchen also influence burning. Dry winter air causes biscuits to dehydrate faster, concentrating sugars on the surface where they caramelize aggressively. On humid summer days, you might need to extend baking by 1-2 minutes at a lower temperature.
The ideal biscuit environment maintains 40-60% humidity—consider placing a pan of water in the oven if your climate is extremely dry.
For those using convection ovens, reduce temperatures by 25°F since the fan circulates hot air more efficiently. This same principle applies to high-altitude baking (above 3,000 feet), where lower air pressure causes faster moisture evaporation.
My rule of thumb: Start checking biscuits 2 minutes early when trying new conditions, and trust your nose—the first whiff of acrid smoke means you’ve got 30 seconds to act before burns set in. 🌟
Remember that burnt edges often signal perfect doneness in the center. The next time you pull a tray of over-browned biscuits from the oven, don’t panic. Let them cool 5 minutes before assessing—the contrast between crispy exterior and tender interior might just become your new signature texture.
After all, some of the most beloved biscuit recipes (like cast-iron skillet versions) intentionally develop deep crusts for that coveted crunch!

Trained in classic French technique but raised on slow-cooked ribs and spicy rubs, she blends culinary skill with smoke and soul.
- Recipe for Boneless Pork Chops in Cast Iron Skillet: Sear and Baste to Juicy Perfection - October 3, 2026
- Recipe for Boneless Cross Rib Roast: Slow-Roasted Beef with Herb Crust - October 3, 2026
- Hamburgers in Sauce Recipe Crock Pot: Slow-Cooked Savory Delight - October 3, 2026