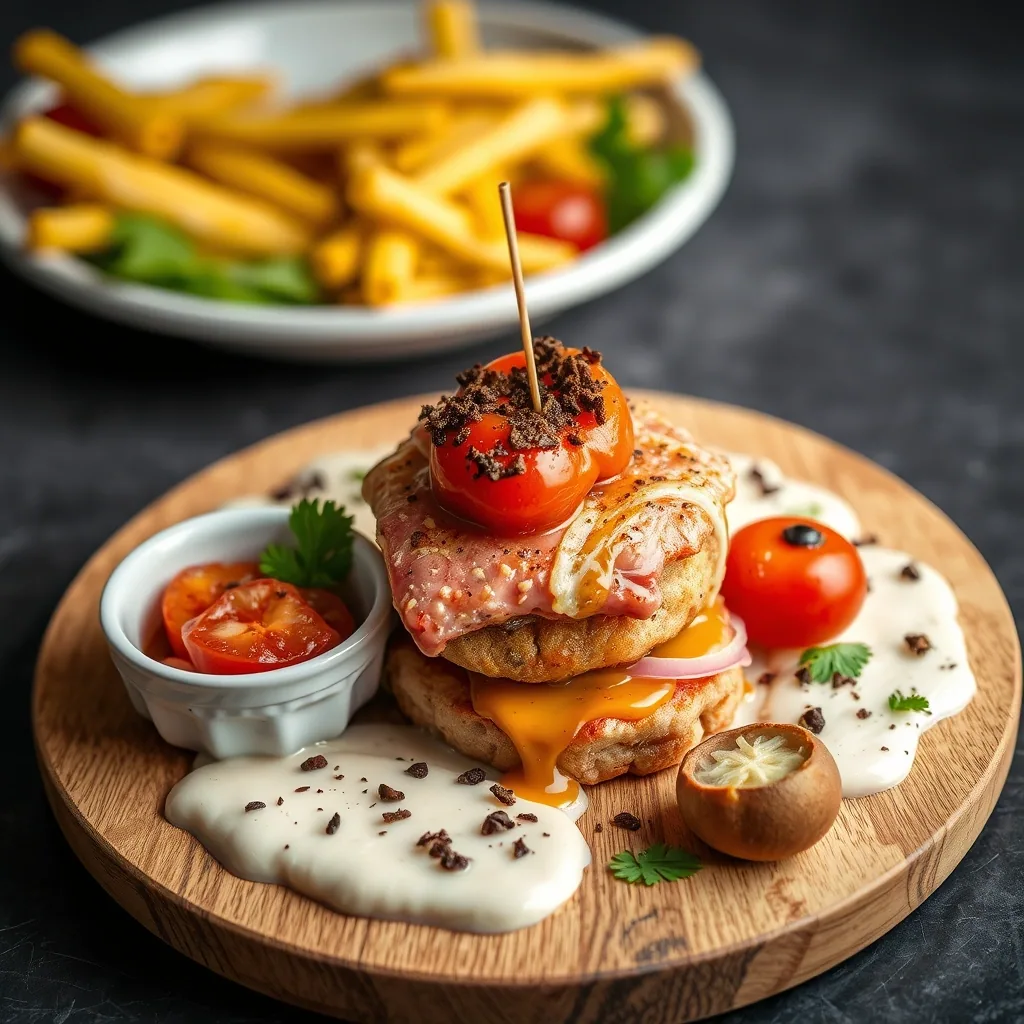
There’s something magical about perfectly fried shrimp with that signature Cajun kick—crispy golden coating on the outside, tender juicy shrimp inside, and enough spice to make your taste buds dance. 🔥 I’ve been perfecting this Cajun-style technique for years, and it delivers restaurant-quality results every single time without any fancy equipment.
The secret is in the seasoned breading and maintaining the right oil temperature. When you nail that 350-375°F sweet spot and work in small batches, you get shrimp that’s never greasy—just incredibly crispy with a spicy Cajun crust that stays crunchy even after plating.
What you’ll end up with is Gulf Coast perfection: golden-brown shrimp with a seasoned coating that packs serious flavor and a satisfying crunch in every bite. This is the kind of fried shrimp that disappears from the platter before you can even sit down.
Ingredients for cajun ninja fried shrimp
Here’s everything you need to create these crispy, spicy Cajun Ninja Fried Shrimp at home.
| Ingredient | Amount | Notes |
|---|---|---|
| Large Shrimp 🦐 | 2 lb | Peeled, deveined, tails on |
| All-Purpose Flour 🌾 | 1 ½ cups | For dredging station |
| Cornmeal 🌽 | 1 cup | Yellow, fine or medium grind |
| Cajun Seasoning 🌶️ | 3 tbsp | Tony Chachere's or homemade |
| Paprika 🌶️ | 2 tsp | Smoked adds depth |
| Garlic Powder 🧄 | 1 ½ tsp | Not garlic salt |
| Cayenne Pepper 🔥 | 1 tsp | Adjust for heat preference |
| Large Eggs 🥚 | 2 whole | Beaten for egg wash |
| Buttermilk 🥛 | ½ cup | Full-fat for tenderness |
| Hot Sauce 🌶️ | 2 tsp | Louisiana-style preferred |
| Vegetable Oil 🫒 | 6 cups | For deep frying |
| Salt 🧂 | 1 tsp | Kosher or sea salt |
| Black Pepper 🌶️ | ½ tsp | Freshly ground preferred |
| Lemon Wedges 🍋 | 4 pieces | For serving and garnish |
[recipe_ingredient_scaler]
You can find large shrimp at most grocery stores, but seafood markets offer the freshest quality. Look for shrimp labeled 21-25 count per pound for perfect bite-sized pieces. Tony Chachere's Cajun seasoning is available at Walmart, Kroger, and most Southern supermarkets—it's the authentic Louisiana flavor. For oil, vegetable or peanut oil work best for high-heat frying. Buy buttermilk in the dairy section, and Louisiana hot sauce brands like Crystal or Tabasco deliver authentic gulf coast flavor.
Don't have buttermilk? Mix regular milk with a tablespoon of lemon juice and let it sit for 5 minutes. If you can't find Cajun seasoning, make your own with paprika, garlic powder, onion powder, cayenne, oregano, and thyme. Panko breadcrumbs can replace half the cornmeal for extra crunch. Frozen shrimp work fine—just thaw completely and pat very dry before breading to prevent soggy coating.
Keep shrimp refrigerated until ready to bread and fry. Store leftover fried shrimp in an airtight container in the fridge for up to 2 days. Reheat in a 375°F oven for 5-7 minutes to restore crispiness—avoid microwaving.
Step-by-Step Instructions for Cajun Ninja Fried Shrimp
Follow my proven method and you’ll achieve that signature crispy coating and bold Cajun flavor every time.
👨🍳 Step 1: Prepare and Season the Shrimp
Start by patting your shrimp completely dry with paper towels. I can’t stress this enough—moisture is the enemy of a crispy coating. Any water left on the shrimp will create steam during frying and make your breading soggy instead of crunchy.
In a large bowl, toss the dried shrimp with Cajun seasoning, garlic powder, and cayenne pepper. I like to use my hands for this step so I can really massage the spices into every crevice of the shrimp. Let them sit for 10-15 minutes at room temperature—this allows the seasonings to penetrate the meat and develop deeper flavor.
While the shrimp marinate, set up your breading station with three shallow bowls: one with all-purpose flour mixed with more Cajun seasoning, one with beaten eggs and a splash of hot sauce, and one with your coating mixture of cornmeal, panko breadcrumbs, and additional spices. This three-step dredging process creates that iconic crunchy texture.
🔥 Step 2: Bread the Shrimp for Maximum Crunch
Working with a few shrimp at a time, dredge each one first in the seasoned flour, coating it completely and shaking off any excess. The flour creates a dry base that helps the egg mixture stick. Next, dip it into the egg wash, letting any excess drip back into the bowl—you want a thin, even coating, not clumps of egg.
Finally, press the shrimp firmly into the cornmeal-panko mixture, making sure to coat all sides thoroughly. I press down gently and turn the shrimp several times to ensure the breading really adheres. Place the breaded shrimp on a wire rack set over a baking sheet—never directly on the sheet or the bottoms will get soggy.
Once all the shrimp are breaded, let them rest on the rack for 5-10 minutes before frying. This crucial step allows the coating to set and bond with the shrimp, which prevents it from falling off in the hot oil. You’ll get much better adhesion and fewer breading casualties this way.
🔥 Step 3: Heat Oil to the Perfect Temperature
Pour vegetable oil or peanut oil into a large, heavy-bottomed pot or Dutch oven to a depth of about 3 inches. Heat the oil over medium-high heat until it reaches 350-375°F on a deep-fry thermometer. This temperature range is critical—too low and your shrimp will absorb oil and turn greasy; too high and the coating will burn before the shrimp cook through.
I always test the oil with a small piece of bread or a pinch of breading first. If it sizzles immediately and turns golden brown in about 60 seconds, you’re ready to fry. If it browns too quickly, reduce the heat slightly and let the oil temperature stabilize before adding your shrimp.
🍳 Step 4: Fry in Batches Until Golden and Crispy
Carefully lower 4-5 shrimp at a time into the hot oil using a spider strainer or slotted spoon. Don’t overcrowd the pot—this drops the oil temperature dramatically and results in soggy, greasy shrimp instead of crispy ones. I know it’s tempting to fry more at once, but patience here makes all the difference.
Fry for 2-3 minutes, flipping once halfway through, until the shrimp turn deep golden brown and float to the surface. You’ll see the breading develop that beautiful mahogany color and hear the sizzling intensify as moisture cooks out of the coating. The shrimp should be opaque and cooked through—if you’re unsure, sacrifice one and cut it open to check.
Use your spider strainer to transfer the fried shrimp to a wire rack set over paper towels (the rack keeps air circulating so the bottoms stay crispy). Let the oil return to 350-375°F between batches—this usually takes 1-2 minutes. Monitor your thermometer closely and adjust the heat as needed to maintain consistent temperature throughout the frying process.
🍽️ Step 5: Season and Serve Immediately
While the shrimp are still piping hot, give them a final sprinkle of Cajun seasoning and a squeeze of fresh lemon juice. The heat helps the seasonings stick and the acid from the lemon brightens all those rich, spicy flavors. I also like to add a pinch of flaky sea salt at this stage for extra texture and salinity.
Serve immediately while they’re at their absolute crispiest—fried shrimp wait for no one. Arrange them on a platter with lemon wedges, your favorite dipping sauces (remoulade, cocktail sauce, or spicy mayo are my go-tos), and maybe some pickled jalapeños for extra heat. These shrimp are best enjoyed within 15-20 minutes of frying, so gather everyone around the table before you start cooking.
Make-Ahead Tips for Your Leftovers
Prep the Breading Station 1-2 Days Ahead: Mix your dry breading ingredients—2 cups all-purpose flour, 2 tbsp Cajun seasoning, 1 tsp cayenne, 1 tsp garlic powder, and 1 tsp black pepper—and store in an airtight container at room temperature. I also prepare the wet mixture base by whisking together 2 cups buttermilk with 1 tbsp hot sauce and 1 tsp salt, then refrigerate it. Having these components ready eliminates last-minute measuring chaos when you’re ready to fry. The flavors actually meld better when the dry seasonings sit together for a day or two. 📅
Shrimp Preparation Timeline: buy fresh shrimp 1 day before frying and peel, devein, and butterfly them immediately. Pat them completely dry with paper towels, then store in a single layer between paper towels in an airtight container in the coldest part of your refrigerator. I don’t recommend marinating shrimp more than 2-3 hours before frying because the acidity can make them mushy. If you must prep further ahead, freeze the cleaned raw shrimp for up to 1 month, then thaw overnight in the refrigerator the day before cooking.
Side Dish Make-Ahead Strategy: Prepare your sides 2-3 hours before frying so they stay fresh but don’t require last-minute attention. I make coleslaw, potato salad, or hushpuppy batter in the afternoon, then refrigerate until serving. Cocktail sauce and remoulade can be made up to 5 days ahead and stored in the fridge—the flavors improve as they sit. Set your serving platter, lemon wedges, and garnishes out 30 minutes before you start frying so everything’s ready when the shrimp come out of the oil. ⏰
Day-of Timeline for Perfect Results: Start 1 hour before serving by setting up your breading station and bringing all ingredients to proper temperature. Take shrimp out of the fridge 20 minutes before breading so they’re not ice-cold, which drops oil temperature. Begin heating your oil 30 minutes before you want to eat, monitoring it carefully to reach 350-375°F. Bread your shrimp in batches just 5 minutes before each batch hits the oil—don’t bread everything at once or the coating gets soggy. This staggered approach ensures maximum crispiness.
What NOT to Make Ahead: Never bread shrimp more than 5 minutes before frying, and absolutely never fry them in advance and try to reheat—they’ll be rubbery and lose that signature crunch. The magic of fried shrimp is in the immediate contrast between hot crispy coating and tender shrimp. If you must serve them later, keep them warm in a 200°F oven on a wire rack for up to 15 minutes maximum, but quality declines rapidly. Fried shrimp is best enjoyed within 2-3 minutes of leaving the oil.
Nutrition Facts
485kcal
[recipe_ingredient_scaler]

Trained in classic French technique but raised on slow-cooked ribs and spicy rubs, she blends culinary skill with smoke and soul.
- Recipe for Boneless Pork Chops in Cast Iron Skillet: Sear and Baste to Juicy Perfection - October 3, 2026
- Recipe for Boneless Cross Rib Roast: Slow-Roasted Beef with Herb Crust - October 3, 2026
- Hamburgers in Sauce Recipe Crock Pot: Slow-Cooked Savory Delight - October 3, 2026