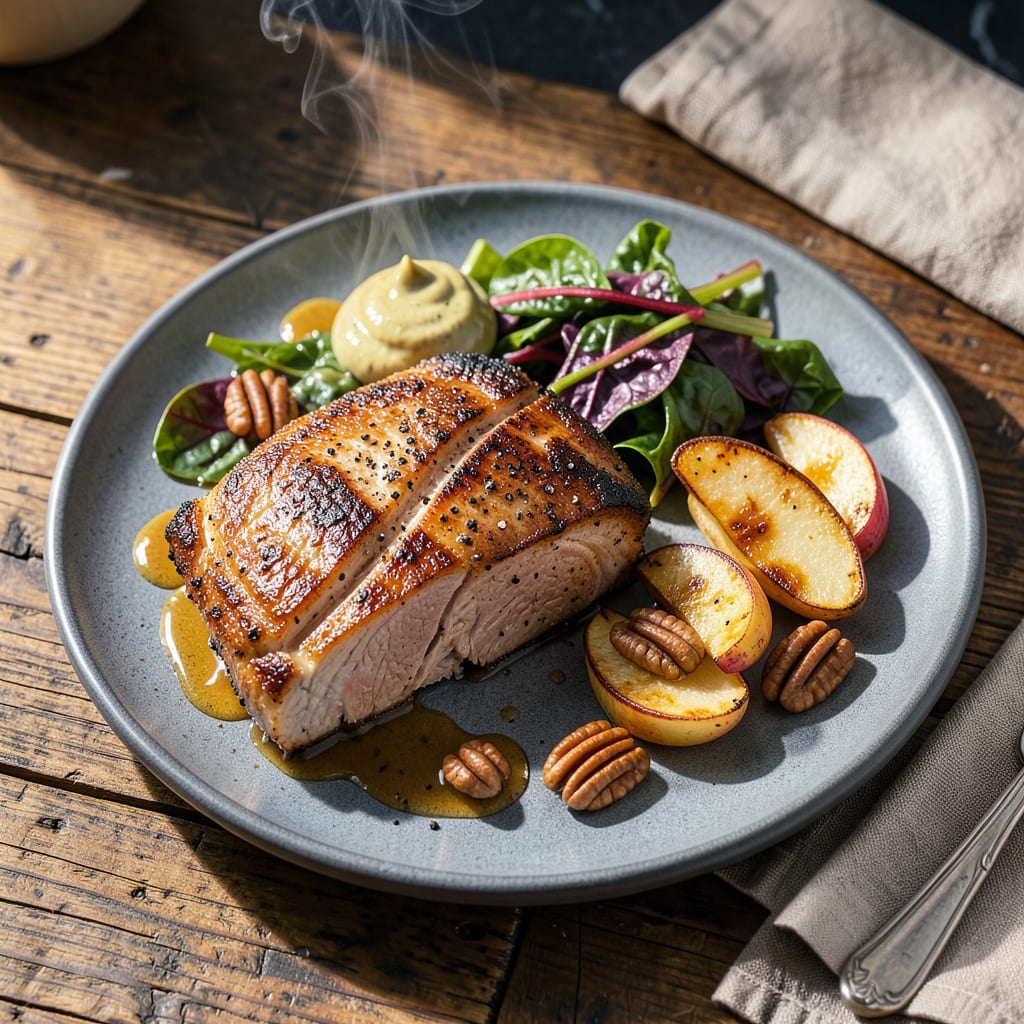
Yes, you can cook frozen pork chops in a frying pan, but they require 50% more cooking time than thawed chops. Use medium-low heat, cover the pan to trap steam, and ensure the Done Right: Perfect Internal Temperature Secrets”>internal temperature reaches 145°F for safety and even doneness.
I’ve found this method works because the gentle heat gives the chops time to thaw evenly while the covered pan creates a steam environment that prevents dryness. 🔥 The key difference from thawed chops is managing the moisture—frozen meat releases liquid as it cooks, which can actually help baste the pork if you don’t overcrowd the pan. My pro tip: pat the chops dry before seasoning to get that perfect sear, even when starting from frozen.
💡 In This Article
- Why Frozen Pork Chops Need Special Pan-Frying Techniques
- Step-by-Step Guide to Pan-Frying Frozen Pork Chops Perfectly
Why Frozen Pork Chops Need Special Pan-Frying Techniques
When you toss frozen pork chops into a hot pan, you’re dealing with ice crystals that act like tiny heat sinks. These crystals require energy to melt before the meat can actually cook, which is why the process takes 50-60% longer than thawed chops.
The ice-to-water transition happens at 32°F, but the meat itself won’t start cooking until it reaches at least 120°F internally. This temperature lag creates a risky window where the outside can overcook while the center remains underdone. ✨
The real challenge lies in moisture management. Frozen chops release about 10-15% more liquid during cooking as those ice crystals melt and cellular structure breaks down. Without proper technique, this extra moisture creates a steaming effect that can make the meat soggy instead of seared. The solution?
A two-stage approach: start with a covered pan on medium-low heat (275-300°F) to gently thaw and render fat, then uncover to crisp the exterior. This mimics the effect of a reverse sear but in a single pan. 🔥
Food safety becomes particularly tricky with frozen meat. The USDA warns that the outer layers can reach the danger zone (40-140°F) while the center remains frozen, creating perfect conditions for bacterial growth. My restaurant training taught me to use a probe thermometer to check multiple spots—especially near bones where cold pockets form.
The 145°F target isn’t arbitrary; it’s the temperature where harmful pathogens like salmonella and trichinella are instantly destroyed while keeping the meat juicy.
Texture differences are noticeable too. Frozen meat fibers contract more aggressively during cooking, which can squeeze out up to 20% more juice than fresh chops. I combat this by dry-brining the chops with 1 tsp kosher salt per pound before they hit the pan—this helps the proteins retain moisture.
The salt also lowers the freezing point of surface moisture, creating better browning reactions when it’s time to sear. Think of it as giving the meat a head start in the flavor development race. ⚡
Here’s what most home cooks miss: frozen chops actually benefit from a short rest before cooking. Letting them sit at room temperature for 10-15 minutes allows the surface to warm slightly, reducing the thermal shock when they hit the pan. This small step makes a surprising difference in even cooking.
I learned this trick from butchers who handle large quantities of frozen meat—they call it “tempering” and it works wonders for both texture and cooking consistency.
Compare this to thawed chops where you can aggressively sear at 375-400°F for that perfect crust. With frozen, you’re playing a slower game where patience pays off in tenderness. The Maillard reaction (that beautiful browning) still happens, but it develops more gradually.
What you lose in immediate gratification, you gain in even doneness and moisture retention—when done right, frozen chops can be just as delicious as fresh, just with a different technique pathway. 💫
The fat rendering process also differs significantly. In frozen chops, the fat cells rupture more violently as they warm, which can lead to splattering. That’s why I always use a splatter screen and choose oils with high smoke points like avocado (520°F) or refined coconut (450°F).
These handle the prolonged cooking time without breaking down into bitter compounds. The right oil makes the difference between a crisp, golden chop and one that tastes of burnt fat.

Trained in classic French technique but raised on slow-cooked ribs and spicy rubs, she blends culinary skill with smoke and soul.
- Recipe for Boneless Pork Chops in Cast Iron Skillet: Sear and Baste to Juicy Perfection - October 3, 2026
- Recipe for Boneless Cross Rib Roast: Slow-Roasted Beef with Herb Crust - October 3, 2026
- Hamburgers in Sauce Recipe Crock Pot: Slow-Cooked Savory Delight - October 3, 2026