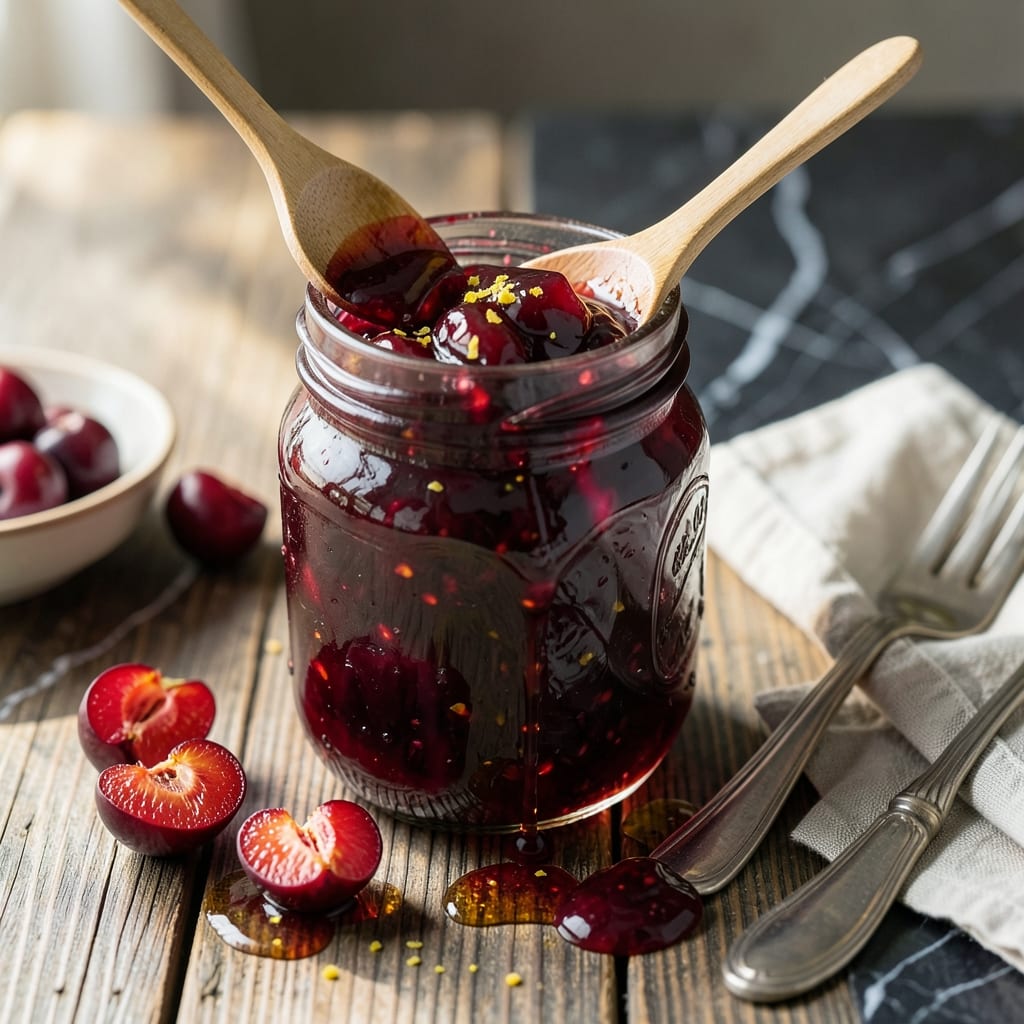
There’s a special satisfaction in making jam from scratch, especially when it’s naturally thick and perfectly spreadable without pectin. This method relies on the natural pectin in cherries and a precise sugar ratio to achieve the ideal consistency.
I developed this recipe after testing countless variations to find the right balance of sweetness and fruit flavor. The key is cooking the cherries down until they release their natural juices, then allowing the mixture to thicken slowly over medium heat.
What results is a vibrant, glossy jam that captures the pure essence of fresh cherries. The texture is thick enough to hold its shape on a spoon yet smooth enough to spread easily on toast or pastries.
This small-batch recipe yields about 2 cups of jam that will keep well in the refrigerator for up to 3 weeks. The process is straightforward, requiring only basic kitchen tools and a little patience.
Ingredients for Cherry Jam Recipe Without Pectin
Five simple ingredients transform into a vibrant, spreadable jam without any added pectin.
| Ingredient | Amount | Notes |
|---|---|---|
| Fresh Cherries 🍒 | 4 cups | Pitted, tart or sweet variety |
| Granulated Sugar 🍚 | 2 cups | White sugar preferred for color |
| Lemon Juice 🍋 | 2 tbsp | Freshly squeezed for brightness |
| Lemon Zest 🍋 | 1 tsp | Optional for extra citrus flavor |
| Water 💧 | ¼ cup | Helps prevent burning initially |
[recipe_ingredient_scaler]
The cherries are the star here. Tart cherries (like Montmorency) give the best flavor and natural pectin, but sweet cherries work too—just cook them longer. Look for firm, dark fruit at farmers markets or well-stocked grocers. I always grab an extra pound since they freeze beautifully for next time. Avoid overripe cherries—they’ll break down too fast and make the jam runny.
Out of tart cherries? Frozen tart cherries (thawed and drained) work perfectly—no need to adjust the recipe. No fresh lemon? Bottled lemon juice at 1:1 ratio, but skip the zest. The sugar amount is precise for set, so don’t reduce it (or the jam won’t thicken). If you’re worried about sweetness, use one-third less sugar and add a splash of fruit juice instead.
This keeps for 3 weeks in the fridge in a clean jar. For longer storage, process in a water bath for 10 minutes (or freeze for 6 months). The flavor deepens after a day—wait if you can. Always use a clean, dry spoon to avoid mold.
Why You’ll Love This Recipe
- No Fuss Cooking: I just dump cherries, sugar, and a squeeze of lemon into one pot—no special tools, no pectin hunting.
- Bright & Tangy: The lemon zest cuts through the sweetness, making the cherry flavor pop in a way that’s ridiculously good.
- Spreads Everywhere: Honestly, I slather it on toast, swirl it into yogurt, or gift it in tiny jars—it’s my secret weapon for last-minute hostess gifts.
- Pantry Staple: A batch costs pennies compared to store-bought, and it keeps for weeks. Between us, I always make a double batch.
Step-by-Step Instructions for Cherry Jam Without Pectin
This method relies on natural fruit pectin and careful timing for a perfectly thick spread.
Step 1: Prepare the Cherries
Start by pitting the 4 cups Fresh Cherries. I use a cherry pitter for efficiency, but a small knife works too. Halve or quarter the cherries as you work—smaller pieces break down faster and create a more uniform texture in the finished jam.
As you pit, check for any stems or leaves and remove them. The cherries will release some juice as you cut them, which is fine. Just transfer everything to a large, heavy-bottomed pot or Dutch oven. This size ensures you have enough room for the mixture to bubble without overflowing.
Step 2: Combine Ingredients and Begin Cooking
Add the 2 cups Granulated Sugar, 2 tbsp Lemon Juice, 1 tsp Lemon Zest, and 0.25 cup Water to the pot with the cherries. Stir well to combine, making sure the sugar begins to dissolve into the fruit juices. The water helps prevent the sugar from burning at the start.
Place the pot over medium-high heat and bring to a boil, stirring frequently. You’ll notice the sugar fully dissolving and the mixture becoming more liquid as the cherries release their juices. This initial stage takes about 5-7 minutes.
Step 3: Simmer and Thicken the Jam
Once boiling, reduce the heat to medium and let the mixture simmer vigorously. Stir every 2-3 minutes to prevent sticking, especially as the jam begins to thicken. The liquid will foam up—use a spoon to skim off any foam that rises to the surface.
After about 20-25 minutes, the jam will start to thicken noticeably. Test for doneness by placing a small spoonful on a chilled plate—when it wrinkles slightly when pushed with a finger and holds its shape, it’s ready. The color will deepen to a rich, glossy ruby.
Step 4: Test for Thickness and Adjust
If the jam isn’t thick enough after 30 minutes, continue cooking and testing every 5 minutes. Remember that the jam will thicken slightly as it cools, so remove it from heat when it’s just a bit thinner than your ideal consistency.
Stir in the 2 tbsp Lemon Juice and 1 tsp Lemon Zest at this stage if you haven’t already. The acidity balances the sweetness and brightens the flavor of the cherries. Taste and adjust sweetness if needed, though the recipe is formulated for a balanced spread.
Step 5: Jar and Cool the Jam
Ladle the hot jam into clean, sterile jars, leaving ¼-inch headspace at the top. For short-term storage, any clean jar will do. For longer storage, process the jars in a water bath for 10 minutes to seal properly.
Let the jam cool completely at room temperature. As it cools, it will thicken further. Once fully set, store in the refrigerator for up to 3 weeks, or in a cool, dark place for up to 6 months if properly canned. The flavor deepens over time, making it even more delicious.
Pro Tips For Making Cherry Jam Recipe Without Pectin
- Simmer Low and Slow: I learned this the hard way—boil too hard and your jam will turn into a thick, sticky mess. Keep it at a gentle simmer so the cherries break down evenly without burning.
- Pit the Cherries: After ruining a batch with bitter pits, I finally got serious about pitting every single cherry. A cherry pitter or knife works, but skip the shortcuts—it’s worth the effort.
- Use Ripe Fruit: Sounds obvious, but underripe cherries won’t soften enough or release their natural pectin. Pick the deepest red, slightly soft ones for the best texture.
- Add Lemon Zest: My grandmother swore by this, and she was right: the zest brightens the flavor and helps thicken the jam naturally. Grate it fresh—dried zest just doesn’t cut it.
Essential Equipment for Perfect Results
Heavy Bottom Pot
I always use my 5-quart enameled Dutch oven for jam-making. The heavy bottom prevents scorching, and the wide base gives plenty of room for the fruit to bubble without overflowing. I inherited mine from Nonna, and it’s seen more jam batches than I can count. 💪
Wooden Spoon
A wooden spoon is my tool of choice for stirring—it won’t scratch your pot and handles the thick mixture beautifully. I still use the same one Nonna gave me when I was standing on that step stool in Sicily. The rounded edges help me get into the pot’s corners.
Cherry Pitter
While a knife works, a cherry pitter saves so much time and keeps your fingers from turning red. I recommend the OXO Good Grips model—it’s sturdy and removes pits cleanly. For 4 cups Fresh Cherries, this tool cuts prep time in half.
Candy Thermometer
For precise doneness, I use a candy thermometer clipped to the pot. The jam is ready at 220-222°F, which is the gel point for fruit preserves. This takes the guesswork out of the wrinkle test. Look for one with a clip and adjustable angle for easy reading.
Chilled Plate
Keep a small plate in the freezer while cooking. When testing thickness, a spoonful on this cold surface cools quickly, letting you check the set. The jam should wrinkle slightly when pushed with your finger. This method works perfectly every time.
Jars for Storage
Have clean, sterile jars ready before you start. For 2 cups of jam, I use 8-ounce mason jars. If canning for long-term storage, process them in boiling water first. For fridge storage, any clean jar with a tight lid works beautifully.
Nutrition Facts
Frequently Asked Questions
Can I use frozen cherries instead of fresh?
Yes! Use 4 cups Frozen Cherries thawed and drained. No adjustments needed, but cook 5-10 minutes longer to evaporate extra liquid.
Why did my jam turn out runny?
Likely not cooked long enough. Natural pectin needs time to activate. Cook until it reaches 220°F or passes the plate test. Don’t reduce sugar—it’s key for thickness.
How can I make it less sweet?
Replace up to 1/3 of the sugar with honey or fruit juice, but expect a softer set. Tart cherries balance sweetness better than sweet varieties.
How long does it keep in the fridge?
Properly jarred, it stays fresh for 3 weeks refrigerated. For longer storage, process in a water bath for 10 minutes or freeze for 6 months.

Trained in classic French technique but raised on slow-cooked ribs and spicy rubs, she blends culinary skill with smoke and soul.
- Recipe for Boneless Pork Chops in Cast Iron Skillet: Sear and Baste to Juicy Perfection - October 3, 2026
- Recipe for Boneless Cross Rib Roast: Slow-Roasted Beef with Herb Crust - October 3, 2026
- Hamburgers in Sauce Recipe Crock Pot: Slow-Cooked Savory Delight - October 3, 2026