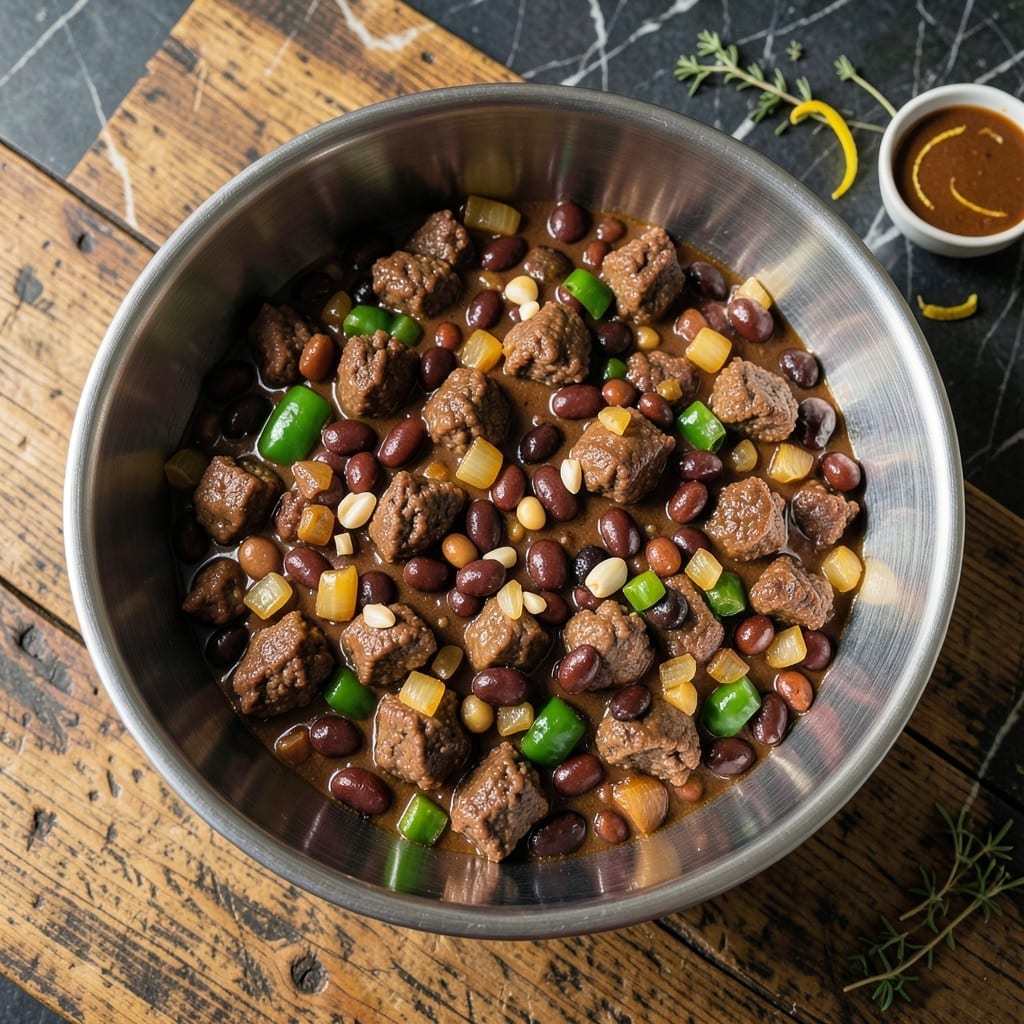
Feeding a crowd doesn’t mean sacrificing flavor or quality, and this large-scale chili proves it. I’ve scaled every element precisely to ensure consistent, restaurant-quality results for 100 servings without losing the depth of a small-batch cook.
This method relies on slow cooking and careful layering of spices to build rich, complex flavors. The meat develops tender texture while beans and vegetables absorb the chili’s robust character. Every bite delivers the same hearty satisfaction as a homemade pot.
What you’ll get is a perfectly balanced chili that’s bold, savory, and deeply satisfying. The aroma alone will draw a crowd before the first bowl is served. It’s the kind of dish that turns feeding a group into a memorable experience.
Ideal for events, fundraisers, or any gathering where quality and quantity both matter. Here’s how to execute it flawlessly.
Ingredients for Chili Recipe for 100 Servings
Restaurant-quality chili at scale requires bold, hearty ingredients in generous quantities. Nothing mediocre here.
| Ingredient | Amount | Notes |
|---|---|---|
| Ground Beef Chuck 🥩 | 25 lb | 80/20 lean-to-fat ratio |
| Dried Kidney Beans 🫘 | 10 lb | Rinsed and soaked overnight |
| Dried Black Beans 🫘 | 10 lb | Rinsed and soaked overnight |
| Yellow Onions 🧅 | 10 whole | Medium, finely diced |
| Green Bell Peppers 🌶️ | 12 whole | Large, finely diced |
| Garlic Cloves 🧄 | 30 cloves | Minced for depth of flavor |
| Canned Diced Tomatoes 🍅 | 8 cans | 28 oz each, with juices |
| Tomato Paste 🍅 | 4 cans | 12 oz each, for richness |
| Chili Powder 🌶️ | 1 ½ cups | Mild or hot variety |
| Ground Cumin 🌿 | 1 cup | Toasted for deeper flavor |
| Smoked Paprika 🌶️ | ¾ cup | Adds smoky depth |
| Dried Oregano 🍃 | ½ cup | Crushed for better release |
| Salt 🧂 | ¾ cup | Kosher or sea salt |
| Black Pepper 🌶️ | ½ cup | Freshly ground preferred |
| Beef Broth 💧 | 6 cups | Low-sodium preferred |
[recipe_ingredient_scaler]
Ground chuck with an 80/20 lean-to-fat ratio is non-negotiable for flavor and texture. Costco or a wholesale butcher are your best bets for bulk quantities—request a coarse grind if possible. The dried beans must be soaked overnight (or quick-soaked) to ensure even cooking in large batches. For onions and peppers, Sam’s Club or Restaurant Depot offer pre-diced options that save hours of prep time.
No kidney beans? Pinto beans work equally well. Fresh out of green peppers? Red or yellow bell peppers add color and sweetness. If you can’t find smoked paprika, add 2 tbsp liquid smoke to regular paprika. Canned tomatoes can be crushed in a pinch (just adjust texture). For spice flexibility, set aside half the chili powder and let guests add heat at the table.
This freezes beautifully for up to 6 months. Portion into gallon-sized bags (flat for easy stacking) or large containers. Reheat gently on the stove, adding water or broth as needed. Leftovers taste even better after 24 hours as flavors meld—make it a day ahead if possible.
Why You’ll Love This Recipe
- One Pot Wonder: I toss in the beef, beans, onions, and peppers—then let the pot do the work while I handle everything else.
- Meaty, Hearty Depth: The ground chuck and kidney beans create this rich, satisfying bite that lingers with every spoonful.
- Feeds the Masses: I made this for our block party last summer and had zero leftovers—everyone went back for seconds.
- Budget Stretcher: Honestly, feeding 100 for the cost of a few pounds of beef and dried beans feels like winning the lottery.
Step-by-Step Instructions for Chili for 100 Servings
This proven method ensures consistent results when preparing this large batch.
Step 1: Brown the Ground Beef Chuck
In a large commercial stockpot, cook the 25 lb Ground Beef Chuck over medium-high heat, breaking it apart with a wooden spoon as it browns. Work in batches if necessary to avoid overcrowding the pot—this prevents steaming and ensures proper browning.
Cook until the meat is no longer pink and has developed a rich, deep brown color, which should take about 20-25 minutes per batch. Drain excess fat between batches if needed, but leave about 1 cup in the pot for flavor. The browning process develops deep, meaty flavors that form the base of your chili.
Step 2: Sauté the Aromatics
Add the 10 whole Yellow Onions (finely diced), 12 whole Green Bell Peppers (finely diced), and 30 cloves Garlic Cloves (minced) to the pot with the browned beef. Cook over medium heat for 10-12 minutes, stirring frequently, until the vegetables soften and the onions turn translucent.
This step builds the flavor foundation. The aroma will become fragrant as the garlic cooks—be careful not to let it burn. If the mixture starts to stick, add a splash of the 6 cups Beef Broth to deglaze the pot and lift those flavorful browned bits from the bottom.
Step 3: Incorporate Beans and Liquid Ingredients
Add the soaked 10 lb Dried Kidney Beans and 10 lb Dried Black Beans to the pot, stirring to combine with the meat and vegetables. Pour in the 8 cans Canned Diced Tomatoes (with juices) and 6 cups Beef Broth. The liquid should cover the beans by about 1 inch—if not, add water to reach this level.
This ensures even cooking and prevents the beans from drying out during the long simmer. Stir well to distribute all ingredients evenly, scraping the bottom of the pot to incorporate any remaining browned bits.
Step 4: Add Spices and Tomato Paste
Stir in the 4 cans Tomato Paste, then add the 1.5 cups Chili Powder, 1 cup Ground Cumin, 0.75 cup Smoked Paprika, 0.5 cup Dried Oregano, 0.75 cup Salt, and 0.5 cup Black Pepper. Mix thoroughly to ensure the spices are evenly distributed throughout the chili.
The mixture will thicken slightly as the tomato paste dissolves. Taste and adjust seasoning if needed, though the flavors will deepen as it cooks. Bring the pot to a gentle boil, then reduce the heat to maintain a steady simmer.
Step 5: Simmer to Perfection
Cover the pot and let the chili simmer on low heat for 2 to 2.5 hours, stirring occasionally to prevent sticking. The chili is done when the beans are tender but not mushy and the flavors have melded together into a rich, cohesive dish.
If the chili becomes too thick during cooking, add water 1 cup at a time to reach your desired consistency. The final product should be hearty but still ladle-able, with a deep, complex flavor that improves with time.
Pro Tips For Making Chili Recipe For 100 Servings
- Soak Beans Overnight: Dried kidney and black beans need at least 8 hours in cold water to soften properly—I learned this the hard way after serving chili with undercooked beans to 100 people.
- Brown Beef in Batches: Overcrowding the pot steams the ground chuck instead of browning it; use 2-3 pounds per batch in a wide, heavy pan for that deep flavor.
- Skip the Pre-Salt: Salt the ground beef after browning, not before, or it’ll release too much liquid and turn your chili into a watery mess.
- Dice Evenly: Cut onions and bell peppers into uniform ¼-inch pieces so everything cooks at the same rate—no one wants crunchy peppers in their bowl.
Storing and Reheating This Dish
Refrigerator Storage
Let your chili cool to room temperature within 2 hours, then transfer to shallow, airtight containers. I use food-grade plastic buckets with gamma seal lids for large batches. Store at 40°F or below for up to 4 days. The flavors meld beautifully overnight. ❄️
Freezer Storage
For long-term storage, portion into gallon-sized freezer bags or 5-quart containers. Lay bags flat to save space and thaw faster. Label each with the date—this chili freezes well for up to 6 months without quality loss. Leave 1 inch headspace for expansion.
Thawing Methods
Thaw overnight in the refrigerator for best results. For faster thawing, submerge sealed bags in cold water, changing the water every 30 minutes. Never thaw at room temperature. Once thawed, use within 3 days for optimal freshness.
Stovetop Reheating
My preferred method: transfer chili to a large pot and heat over medium-low heat, stirring frequently. Add 1 cup water or beef broth per 10 servings to prevent sticking. Heat until reaching 165°F throughout, about 20-30 minutes for a full batch. 🔥
Slow Cooker Reheating
For hands-off reheating, use a commercial-grade slow cooker on low heat for 2-3 hours. Stir occasionally and add liquid as needed. This method works well for keeping chili warm during events.
Serving Temperature
Serve at 140°F or above for food safety. Use a food thermometer to verify. If holding for a buffet, keep in a chafing dish or warming tray. I always have extra broth on hand to adjust consistency.
Nutrition Facts
Frequently Asked Questions
What size pot do I need for 100 servings?
Use a 30-gallon commercial stockpot or two 15-gallon pots. Home stockpots won’t hold this volume safely.
Can I make this a day ahead?
Flavors deepen after 24 hours in the fridge. Reheat gently, adding broth as needed.
How do I adjust spice levels for a crowd?
Start with 1.5 cups chili powder, then add more to taste. Offer hot sauce on the side for customization.
What’s the best way to transport large batches?
Use insulated cambro containers or coolers to maintain 140°F+ temperature. Keep sealed until serving.

Trained in classic French technique but raised on slow-cooked ribs and spicy rubs, she blends culinary skill with smoke and soul.
- Recipe for Boneless Pork Chops in Cast Iron Skillet: Sear and Baste to Juicy Perfection - October 3, 2026
- Recipe for Boneless Cross Rib Roast: Slow-Roasted Beef with Herb Crust - October 3, 2026
- Hamburgers in Sauce Recipe Crock Pot: Slow-Cooked Savory Delight - October 3, 2026