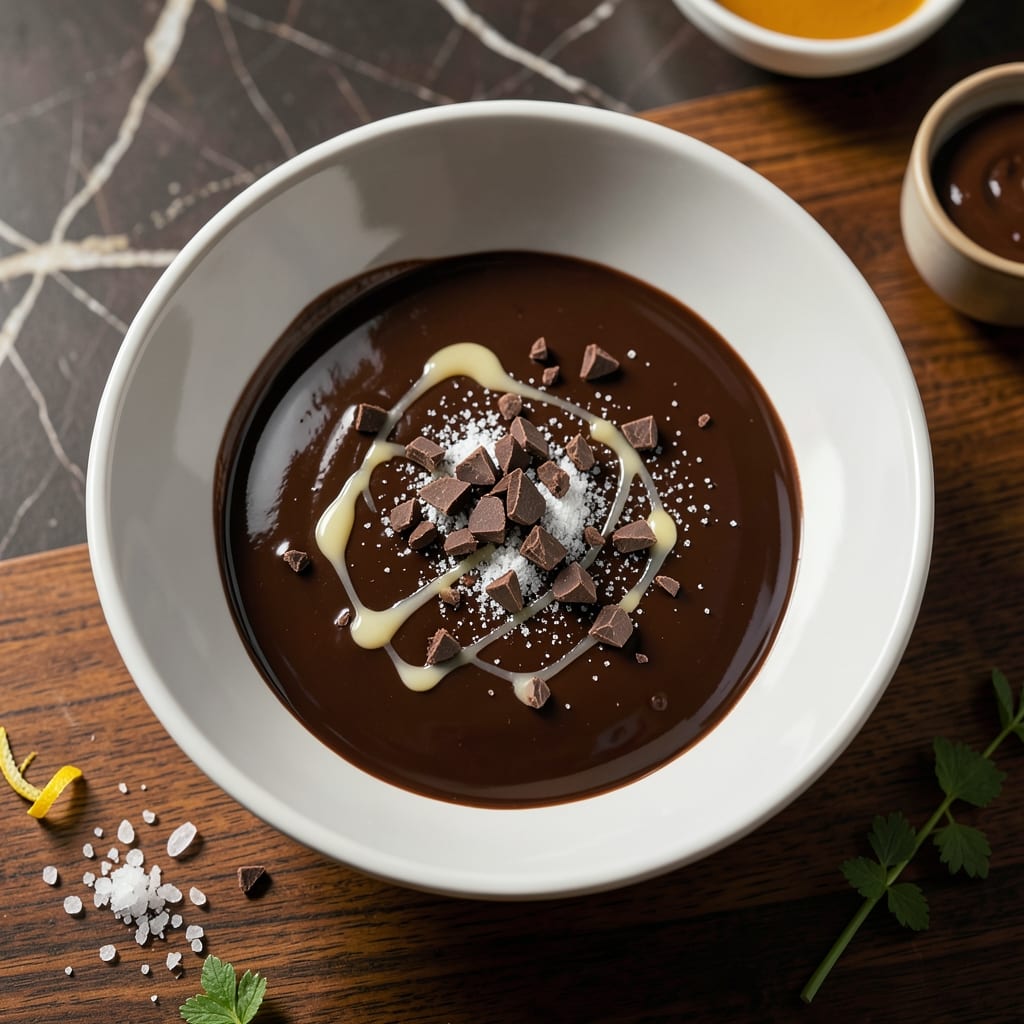
This chocolate hard shell transforms ordinary ice cream into a dessert experience with its smooth, crunchy finish. I developed this recipe after testing numerous ratios to achieve the perfect snap that doesn’t shatter teeth.
The key lies in precise melting and cooling techniques. Quality chocolate matters here—choose bars over chips for a superior texture. A small addition of coconut oil ensures that silky consistency that hardens instantly on contact with cold treats.
You’ll have a glossy, professional-quality topping that sets in seconds, adding both visual appeal and textural contrast. It pours beautifully and creates that signature crack when spoon meets ice cream.
Store in a jar at room temperature for up to two weeks, reheating gently before each use. The versatility extends beyond ice cream to fruit, cookies, or even as a fondue base.
Ingredients for Chocolate Hard Shell
Six simple ingredients create that glossy, crackly magic shell for desserts.
| Ingredient | Amount | Notes |
|---|---|---|
| Dark Chocolate Bars 🍫 | 8 oz | High-quality, 70% cacao minimum |
| Coconut Oil 🥥 | 2 tbsp | Refined for neutral flavor |
| Vanilla Extract 🌿 | 1 tsp | Pure, not imitation |
| Pinch of Salt 🧂 | 1 pinch | Enhances chocolate flavor |
| Granulated Sugar 🍚 | 1 tsp | Optional, for added sweetness |
| Espresso Powder ☕ | ¼ tsp | Deepens chocolate flavor |
[recipe_ingredient_scaler]
The chocolate is the star here. Ghirardelli or Guittard bars melt beautifully and have that snap when set. Avoid chocolate chips—they contain stabilizers that make the shell too soft. I grab mine from Whole Foods or Trader Joe’s for consistent quality. The coconut oil is non-negotiable for that silky texture, so don’t skip it (refined keeps the flavor clean).
No dark chocolate? Semi-sweet works too, but cut the sugar addition. Out of coconut oil? Neutral-flavored oil like avocado at half the amount does the trick. The vanilla and espresso powder are subtle but worth the extra minute—they elevate the flavor from good to restaurant-quality. Skip the espresso if you don’t have it (the sugar can too).
Room temperature storage in a sealed jar keeps this fresh for 2 weeks. Reheat in 15-second bursts in the microwave, stirring between each. If it thickens too much, a splash of oil thins it right out.
Why You’ll Love This Recipe
- 5-Minute Magic: I melt the dark chocolate and coconut oil together in the microwave—no stove, no fuss, just smooth results every time.
- Rich & Salty: That hint of salt cuts through the dark chocolate’s depth, while vanilla adds a warmth that makes it irresistible.
- Drizzle Anything: I’ve used this on ice cream, fruit, even pretzels. Honestly, it turns whatever’s in my fridge into a dessert.
- Stores Like a Dream: A jar in the pantry stays ready for weeks, so I can satisfy a chocolate craving without a last-minute store run.
Step-by-Step Instructions for Chocolate Hard Shell
Here’s the method. Straightforward, tested, works every time.
Step 1: Melt the Chocolate and Coconut Oil Together
Finely chop the 8 oz dark chocolate bars—smaller pieces melt faster and more evenly. Place them in a microwave-safe bowl with the 2 tbsp coconut oil. Microwave in 20-second bursts, stirring between each, until about 75% melted.
I use this burst method to prevent scorching. You’ll see the chocolate become glossy and the coconut oil fully incorporated. Once mostly melted, remove from the microwave and stir until completely smooth. The residual heat will finish the job without overheating.
Step 2: Whisk in Flavor Enhancers
Now stir in the 1 tsp vanilla extract, 1 pinch of salt, 1 tsp granulated sugar, and 0.25 tsp espresso powder. Whisk vigorously for 30 seconds until everything is fully dissolved and the mixture looks uniform.
Here’s the thing—the espresso powder might seem odd, but it amplifies the chocolate flavor without making it taste like coffee. The salt balances sweetness, while the sugar adds just a touch more (feel free to omit it if your chocolate is already sweet enough).
Step 3: Cool to the Right Temperature
Let the mixture sit at room temperature for 10-15 minutes, stirring occasionally. You want it to thicken slightly but still be pourable—it should coat the back of a spoon but drip off slowly when you lift it.
Real talk: if it’s too hot when you pour it over ice cream, it’ll melt the ice cream and create a soupy mess. If it’s too cold, it’ll harden before you can spread it. That 10-15 minute window is the sweet spot for a thin, glossy shell that sets quickly.
Step 4: Pour Over Ice Cream and Set
Drizzle the chocolate mixture over your ice cream in a thin, even layer. I like to pour it in a zigzag pattern for even coverage. The shell will start to set immediately—you’ll see it lose its gloss and become matte as it hardens.
Let it sit for 30-60 seconds before serving. The shell should be firm enough to crack when you spoon into it but not so thick it’s difficult to bite through. If it’s not hardening fast enough, pop the ice cream in the freezer for 2 minutes to accelerate the process.
Pro Tips For Making Chocolate Hard Shell
- Melt Low and Slow: Use a double boiler or microwave in 20-second bursts to melt the chocolate and coconut oil—any higher heat and the chocolate will seize or burn, ruining the smooth texture.
- Chop the Chocolate: Finely chop the dark chocolate bars before melting; it dissolves faster and more evenly, preventing grainy hard shell.
- Skip the Water: Even a drop of water in the melted chocolate can cause it to clump; make sure all utensils and bowls are completely dry before starting.
- Add Oil Last: Stir in the coconut oil only after the chocolate is fully melted to prevent separation and keep the mixture glossy and easy to pour.
Troubleshooting Great chocolate hard shell
Too Thick or Clumpy
If your shell is too thick to pour, it likely cooled too much. Gently reheat in 5-10 second bursts in the microwave, stirring between each. I often add ½ tsp coconut oil to loosen it up. Clumps usually mean the chocolate seized—try whisking in 1 tsp hot water to bring it back. 💡
Shell Won’t Harden
This usually happens if the ice cream isn’t cold enough. Return your dessert to the freezer for 5-10 minutes before pouring. If the mixture itself is the issue, check that you used enough coconut oil—2 tbsp per 8 oz chocolate is the magic ratio.
Grainy Texture
Graininess often means the chocolate overheated or got wet. Start fresh with finely chopped bars and use 20-second microwave intervals. Ensure all utensils are completely dry before starting. I learned this the hard way after a humid Boston summer ruined a batch.
Uneven Coating
For even coverage, hold your spoon 2-3 inches above the ice cream and drizzle in a steady stream. If it pools in one spot, use the back of a spoon to spread it thinly. A zigzag pattern helps distribute it evenly.
Shell Cracks Too Easily
If your shell shatters like glass, it might be too thin. Let the mixture cool for the full 15 minutes before pouring. Thicker shells have more flexibility. I aim for a consistency like warm honey—thin enough to pour but thick enough to hold its shape briefly.
Chocolate Separates
Separation often occurs if the coconut oil and chocolate weren’t fully emulsified. Whisk vigorously after melting and let it sit undisturbed for 5 minutes before using. If it happens mid-pour, a quick whisk usually brings it back together. 🔥
Nutrition Facts
Frequently Asked Questions
Can I use chocolate chips instead of bars?
Chocolate chips contain stabilizers that can make the shell softer. For best results, use high-quality chocolate bars. If chips are all you have, the texture won’t be as crisp.
How long does it take to harden on ice cream?
It sets in 30-60 seconds on properly chilled ice cream. For faster hardening, place the ice cream in the freezer for 2 minutes before pouring.
Can I make this ahead of time?
Yes! Store in an airtight jar at room temperature for up to 2 weeks. Reheat in 15-second microwave bursts, stirring between each.
Why did my shell turn out grainy?
Graininess usually means the chocolate overheated or got wet. Use 20-second microwave intervals and ensure all tools are dry. Start fresh if needed.

Trained in classic French technique but raised on slow-cooked ribs and spicy rubs, she blends culinary skill with smoke and soul.
- Recipe for Boneless Pork Chops in Cast Iron Skillet: Sear and Baste to Juicy Perfection - October 3, 2026
- Recipe for Boneless Cross Rib Roast: Slow-Roasted Beef with Herb Crust - October 3, 2026
- Hamburgers in Sauce Recipe Crock Pot: Slow-Cooked Savory Delight - October 3, 2026