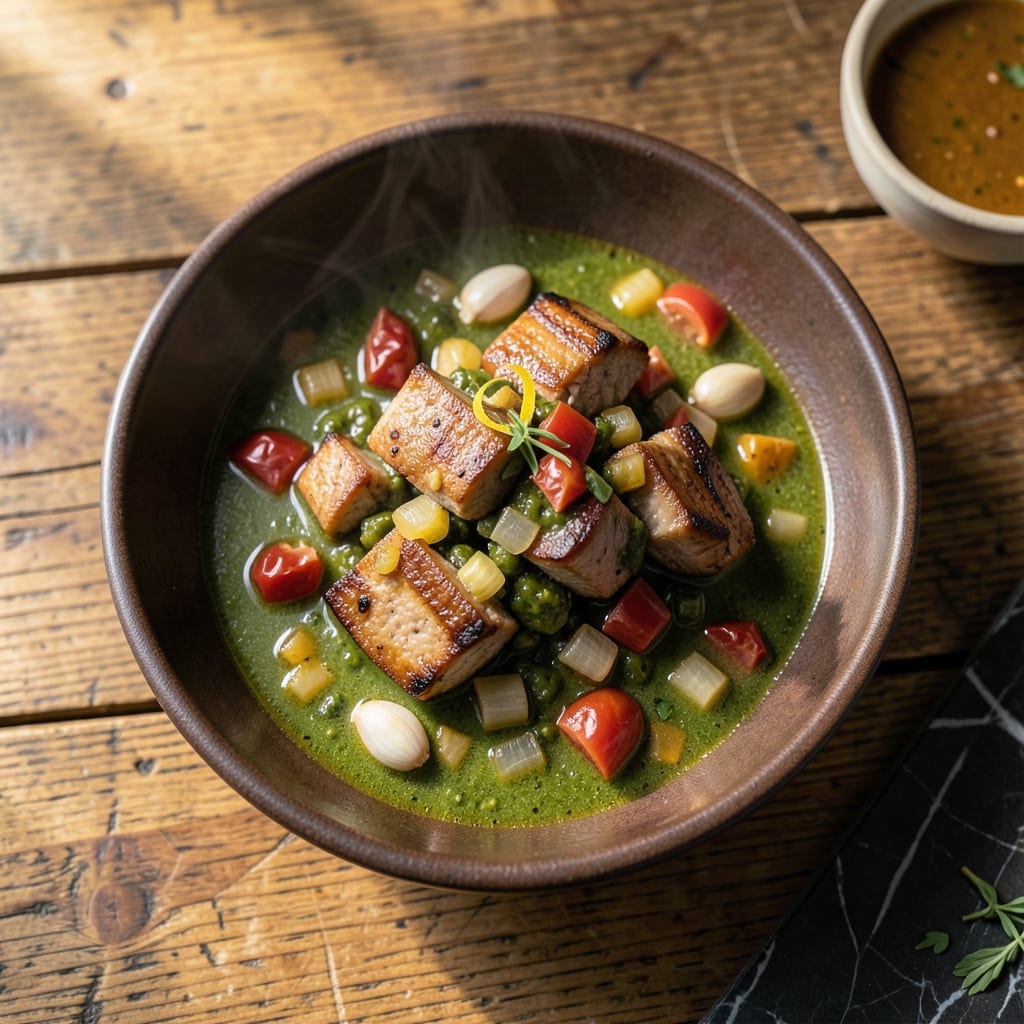
This green chili recipe transforms fresh Hatch peppers and pork into a rich, aromatic stew that defines Southwestern comfort food.
I developed this method after years of testing to achieve tender pork that melts in your mouth, balanced by the bright heat of roasted peppers. The slow cooking process allows flavors to meld while keeping the peppers’ signature freshness.
The result is a bowl of chili with layers of smoky depth from charred peppers and a velvety sauce that coats every piece of meat. Each bite delivers the perfect ratio of pork to peppers to broth.
Serve with warm tortillas or over rice for a hearty meal that improves overnight.
Ingredients for Chubby’s Green Chili
Fresh Hatch peppers and pork shoulder build this Southwestern stew with layers of smoky, tender flavor.
| Ingredient | Amount | Notes |
|---|---|---|
| Pork Shoulder 🐖 | 2 lb | Boneless, cut into 1-inch cubes |
| Hatch Green Chiles 🌶️ | 2 lb | Fresh, roasted and peeled |
| Yellow Onion 🧅 | 1 whole | Medium, finely diced |
| Garlic Cloves 🧄 | 4 cloves | Minced for depth of flavor |
| Chicken Broth 💧 | 4 cups | Low-sodium preferred for control |
| Diced Tomatoes 🍅 | 1 can | 14.5 oz can, undrained |
| Ground Cumin 🌿 | 1 tbsp | Toasted for warmth |
| Dried Oregano 🍃 | 1 tsp | Mexican oregano preferred |
| Salt 🧂 | 1 ½ tsp | Kosher or sea salt preferred |
| Black Pepper 🌶️ | ½ tsp | Freshly ground for best flavor |
| All-Purpose Flour 🌾 | ¼ cup | For thickening the sauce |
| Olive Oil 🫒 | 2 tbsp | Divided for cooking steps |
| Fresh Cilantro 🌿 | ¼ cup | Chopped, for garnish |
[recipe_ingredient_scaler]
The pork shoulder is key here—look for well-marbled cuts at your butcher or Whole Foods for the best texture. Hatch chiles are seasonal (late summer to early fall), so grab extras when you see them. Roasting and peeling fresh peppers takes time but delivers unmatched flavor (frozen roasted Hatch chiles work in a pinch). Costco often carries them pre-roasted during peak season.
No Hatch chiles? Poblanos or Anaheims can substitute, though the heat level will differ. Pork shoulder can be swapped for country-style ribs if you prefer meatier bites. For a thicker stew, increase the flour to 1/3 cup. If you’re avoiding gluten, use cornstarch instead. The broth can be vegetable-based, but chicken broth adds depth that complements the pork.
This chili tastes even better the next day once the flavors meld. Store leftovers in an airtight container in the fridge for up to 5 days or freeze for 3 months. Reheat gently on the stove to maintain the sauce’s velvety texture (the microwave works too, but stir frequently).
Why You’ll Love This Recipe
- Dump and Go: I just toss the pork shoulder, Hatch chiles, onion, and garlic in the pot with broth—no fancy prep.
- Hatch Magic: That roasted green chile flavor with the tender pork is ridiculous. Honestly, it’s the only chili I crave.
- Meal Prep Hero: I make a big batch and it tastes even better the next day for burritos or over rice.
- Stretches Far: One pork shoulder feeds my whole family for two meals, and the leftovers freeze like a dream.
Step-by-Step Instructions for Hatch Green Chili With Pork
This method delivers fall-apart pork and vibrant chili flavor in every bite.
Step 1: Sear the Pork Shoulder
Heat 1 tablespoon olive oil in a large Dutch oven over medium-high heat. Add the 2 lb Pork Shoulder cubes in batches to avoid crowding the pan. Sear for 3-4 minutes per side until deep golden brown on all sides.
You’ll know it’s ready to flip when the pork releases easily from the pan. This browning develops deep flavor and ensures the meat stays juicy. Transfer the seared pork to a plate and set aside.
Leave the browned bits in the pot—they’ll dissolve into your chili for extra richness.
Step 2: Sauté Aromatics and Toast Spices
In the same pot, heat the remaining 1 tablespoon olive oil over medium heat. Add the 1 whole Yellow Onion and cook for 5 minutes until soft and translucent. Stir in the 4 cloves Garlic Cloves and cook for 30 seconds until fragrant.
Add the 1 tbsp Ground Cumin and 1 tsp Dried Oregano, stirring constantly for 30 seconds to toast the spices. This step wakes up their flavors and prevents a raw taste in the finished dish.
Step 3: Build the Chili Base
Sprinkle the 0.25 cup All-Purpose Flour over the onion mixture and stir for 1 minute to cook off the raw flour taste. Slowly pour in the 4 cups Chicken Broth, whisking constantly to prevent lumps.
Add the 2 lb Hatch Green Chiles and 1 can Diced Tomatoes, then return the seared pork to the pot. Stir in the 1.5 tsp Salt and 0.5 tsp Black Pepper.
Step 4: Simmer to Tender Perfection
Bring the mixture to a boil, then reduce heat to low. Cover and simmer for 2-2.5 hours, stirring occasionally, until the pork is fork-tender and shreds easily.
If the chili thickens too much, add a splash of water. The pork should be so tender it nearly melts when pressed with a spoon.
Step 5: Finish and Serve
Once the pork is tender, stir the chili one final time to distribute the flavors. Taste and adjust seasoning if needed. Ladle into bowls and garnish with the 0.25 cup Fresh Cilantro.
The chili should have a thick, hearty consistency with chunks of pork and vibrant green chiles throughout. Serve hot with warm tortillas or crusty bread.
Pro Tips For Making Chubby’S Green Chili
- Sear the Pork First: Brown the pork shoulder in batches over medium-high heat until deeply caramelized—this builds a flavor base that simmering alone can’t achieve. I learned this the hard way after my first few batches tasted flat.
- Roast Those Chiles: Char the Hatch green chiles directly over a gas flame or under the broiler until blackened, then steam them in a bowl covered with a towel for 10 minutes. It’s messy, but it removes the skins easily and deepens their smoky flavor.
- Skip the Pre-Boiled Broth: Use cold chicken broth to start the braise—adding it straight from the fridge slows the cooking just enough to extract more gelatin from the pork shoulder. Hot broth can shock the meat and tighten it up.
- Simmer Low and Slow: Keep the heat at a gentle bubble, not a rolling boil, for at least 2 hours. After burning a batch by cranking the heat, I now know patience is what turns the pork tender enough to shred with a fork.
Essential Equipment for chubbys green chili
Dutch Oven Essentials
A heavy 5-6 quart Dutch oven is non-negotiable for this recipe—I use my Lodge enameled cast iron that’s seen better days but still delivers perfect heat distribution. The deep pot handles the volume while the tight lid traps steam to tenderize the pork. 🔥
Quality Knives Matter
Invest in a sharp 8-inch chef’s knife for dicing 2 lb of peppers and onions efficiently. My Wüsthof has been my go-to for years, even in my cramped Boston kitchen. A good knife makes prep faster and safer.
Roasting Tools
For charring the Hatch peppers, I swear by my cast iron skillet on the stovetop—no special equipment needed. If you prefer, a gas grill or broiler works too. Just turn peppers occasionally for even blistering.
Wooden Spoon Workhorse
A sturdy wooden spoon won’t scratch your Dutch oven while stirring the chili during its 2-2.5 hour simmer. I keep one dedicated to stews—it’s absorbed years of flavor and memories from my Nonna’s kitchen.
Measuring Cups & Spoons
Precision matters with spices, so use proper measuring tools for the 1 tbsp cumin and 1 tsp oregano. My OXO stainless steel set nests neatly in a drawer. Even in a small space, these basics are worth the real estate.
Don’t forget a ladle for serving—it’s the only way to get every last bit of that velvety sauce. 💛
Nutrition Facts
Frequently Asked Questions
Can I use chicken instead of pork?
Yes! Swap 2 lb pork shoulder for boneless chicken thighs. Reduce simmer time to 45-60 minutes to prevent dryness. Chicken breast works but tends to be less tender.
How do I adjust the heat level?
For milder chili, remove seeds and membranes from Hatch peppers before cooking. For extra heat, add diced jalapeños or a pinch of cayenne. Taste before serving and adjust.
Can I make this in a slow cooker?
Sear pork first, then transfer everything to the slow cooker. Cook on low for 6-8 hours or high for 4 hours. The flavors will meld beautifully.
Why did my chili turn out watery?
Simmer uncovered for the last 30 minutes to thicken. If still thin, mix 1 tbsp cornstarch with water and stir in. Avoid over-stirring during cooking.

Trained in classic French technique but raised on slow-cooked ribs and spicy rubs, she blends culinary skill with smoke and soul.
- Recipe for Boneless Pork Chops in Cast Iron Skillet: Sear and Baste to Juicy Perfection - October 3, 2026
- Recipe for Boneless Cross Rib Roast: Slow-Roasted Beef with Herb Crust - October 3, 2026
- Hamburgers in Sauce Recipe Crock Pot: Slow-Cooked Savory Delight - October 3, 2026