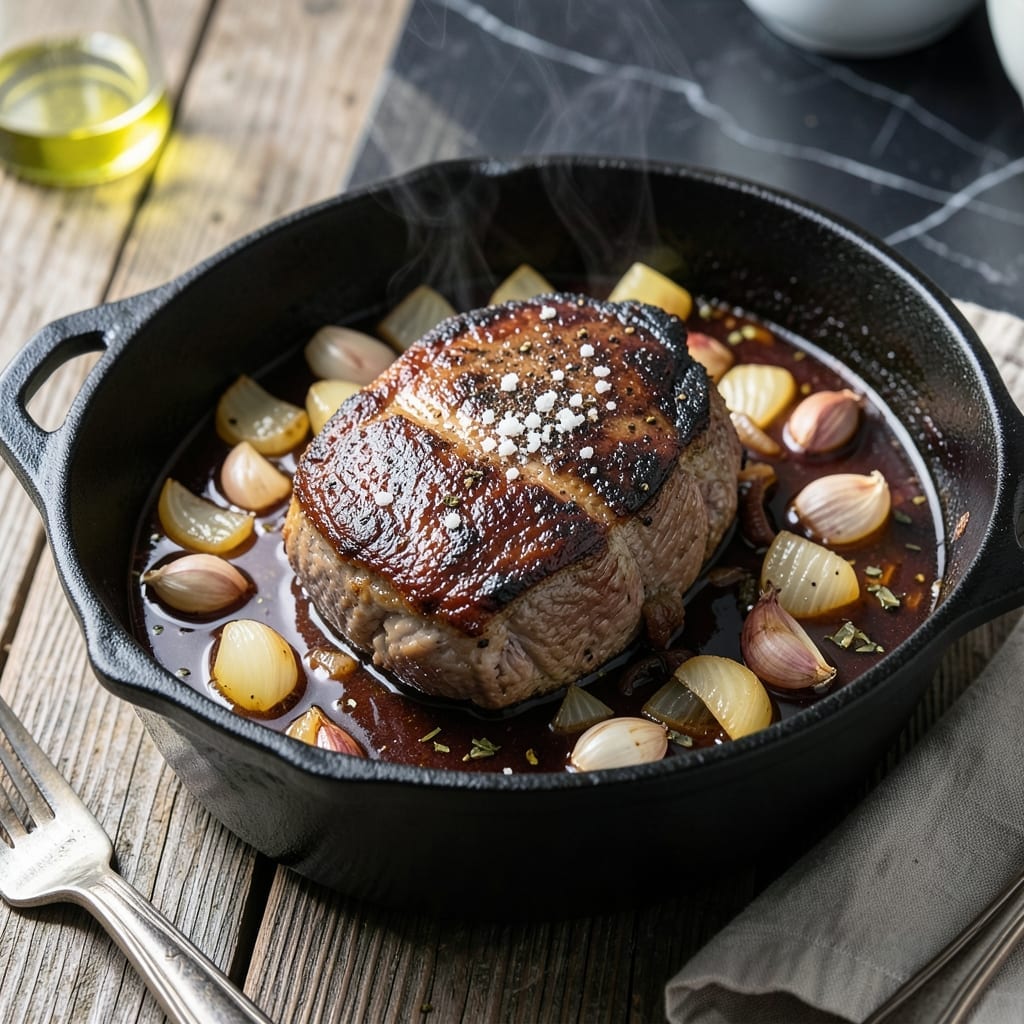
There’s nothing like a slow-cooked chuck roast that falls apart at the touch of a fork. My Dutch oven method transforms tough beef into melt-in-your-mouth perfection every time.
With just a few hours and simple ingredients, you’ll get rich, tender beef in a deeply flavored sauce. The Dutch oven locks in moisture while building layers of taste.
Ingredients for Chuck Roast Recipe Dutch Oven
Pantry staples plus a well-chosen roast. Nothing exotic, just bold, hearty flavors.
| Ingredient | Amount | Notes |
|---|---|---|
| Chuck Roast 🥩 | 3 lb | Boneless, well-marbled preferred |
| Kosher Salt 🧂 | 1 ½ tsp | Diamond Crystal preferred |
| Black Pepper 🌶️ | 1 tsp | Freshly ground preferred |
| Olive Oil 🫒 | 2 tbsp | Extra-virgin for searing |
| Yellow Onions 🧅 | 2 whole | Large, diced into chunks |
| Garlic Cloves 🧄 | 6 cloves | Minced for deep flavor |
| Carrots 🥕 | 3 whole | Peeled, cut into large pieces |
| Celery Stalks 🌿 | 3 whole | Chopped into thick pieces |
| Red Wine 🍷 | 1 ½ cups | Dry variety like Cabernet |
| Beef Broth 🥘 | 2 cups | Low-sodium preferred |
| Tomato Paste 🍅 | 2 tbsp | For rich umami depth |
| Dried Thyme 🌿 | 1 tsp | Or 1 tbsp fresh thyme |
| Bay Leaves 🍃 | 2 whole | Removed before serving |
| Fresh Rosemary 🌿 | 1 tbsp | Chopped, or 1 tsp dried |
[recipe_ingredient_scaler]
The chuck roast is non-negotiable here—look for good marbling at the store (those white fat streaks mean flavor and tenderness). Costco and Whole Foods have great options, but most supermarkets carry it too. I prefer boneless for easier slicing later. Don’t trim the fat—it melts into the sauce. The wine should be something you’d actually drink, but no need for a $50 bottle.
No red wine? Substitute with extra beef broth plus a splash of balsamic vinegar for acidity. Out of fresh rosemary? Dried works at one-third the amount. For the tomato paste, those little tubes at Trader Joe’s are perfect—no waste. The veggies can be swapped: parsnips for carrots, or skip celery entirely if you’re not a fan (just add more onions).
Leftovers taste even better the next day once the flavors meld. Refrigerate in an airtight container for up to 4 days, or freeze for 3 months. The sauce thickens as it cools—just reheat gently with a splash of broth or water.
Why You’ll Love This Recipe
- I’ll be real: a chuck roast stretches far, and with just salt, pepper, and onions, it tastes like a million bucks.
- Set It and Forget: I brown the chuck roast in the Dutch oven, add the onions, and let the oven do the rest—hands-off cooking at its best.
- Rich, Deep Flavor: The slow cook in the Dutch oven turns that olive oil, salt, and pepper into a savory crust, with onions melting into the juiciest bites.
- Feeds a Crowd: Honestly, this is my go-to for Sunday dinner—plenty for the family, with leftovers for sandwiches the next day.
Step-by-Step Instructions for Braised Chuck Roast
Here’s the method I use for fall-apart tender beef with rich, deep flavor.
Step 1: Sear the Chuck Roast for Maximum Flavor
Pat the 3 lb chuck roast dry with paper towels—this is non-negotiable for a good sear. Season generously with the 1.5 tsp kosher salt and 1 tsp black pepper, pressing it into the meat so it adheres well.
Heat the 2 tbsp olive oil in a Dutch oven over medium-high heat until shimmering. Sear the roast for 4-5 minutes per side until deeply browned. You’re looking for a dark, crusty exterior—this builds the flavor foundation for the entire dish. Don’t rush; a proper sear makes all the difference.
Transfer the roast to a plate and set aside. The Dutch oven will have browned bits stuck to the bottom—this is exactly what you want for the next step.
Step 2: Sauté the Aromatics and Build the Braising Liquid
In the same Dutch oven, add the 2 whole yellow onions (diced into chunks), 3 whole carrots (peeled and cut into large pieces), and 3 whole celery stalks (chopped into thick pieces). Cook over medium heat for 5-6 minutes, stirring occasionally, until the onions soften and start to brown.
Add the 6 cloves garlic cloves (minced) and cook for 1 minute until fragrant. Stir in the 2 tbsp tomato paste and cook for another 1-2 minutes—this deepens its flavor and prevents a raw taste in the finished dish.
Pour in the 1.5 cups red wine, scraping up all the browned bits from the bottom of the pot. Let it simmer for 3-4 minutes until reduced by about half. This step ensures the wine’s acidity mellows and the flavors concentrate.
Step 3: Braise the Roast Until Fork-Tender
Return the seared roast to the Dutch oven, along with any accumulated juices. Add the 2 cups beef broth, 1 tsp dried thyme, 2 whole bay leaves, and 1 tbsp fresh rosemary. The liquid should come about halfway up the roast—add a splash of water if needed.
Bring the mixture to a simmer, then cover the Dutch oven with a tight-fitting lid. Transfer it to a preheated 325°F oven and braise for 2.5 to 3 hours. You’ll know it’s done when the meat is fork-tender and shreds easily with a gentle tug.
I like to check on it after 2 hours—if the liquid is reducing too quickly, add a bit more broth or water. The goal is to keep the roast submerged about halfway while it cooks low and slow.
Step 4: Rest and Serve
Carefully remove the roast from the Dutch oven and transfer it to a cutting board. Skim any excess fat from the surface of the braising liquid, then remove and discard the bay leaves. If the sauce is too thin, simmer it on the stovetop for 5-10 minutes to thicken slightly.
Let the roast rest for 15 minutes before slicing or shredding. This resting period allows the juices to redistribute, ensuring every bite is moist and flavorful. Serve the beef with the vegetables and sauce spooned over the top, alongside mashed potatoes or crusty bread to soak up every last drop.
Pro Tips For Making Chuck Roast Recipe Dutch Oven
- Sear It Hard: Get your Dutch oven screaming hot—about 2 tablespoons of olive oil shimmering—before adding the chuck roast. I learned this the hard way after too many pale, flavorless roasts that never developed that deep crust.
- Season Overnight: Rub the chuck roast with kosher salt and black pepper the night before cooking. Sounds weird, but it works: the salt penetrates deep, making the meat more tender and flavorful than a last-minute dusting.
- Skip the Crowding: Don’t overload the pot with too many onion chunks at once—they’ll steam instead of caramelize. Brown them in batches if needed, about 5-7 minutes per side, for that sweet, jammy base.
- Use the Fond: After searing the roast and onions, pour in a splash of water or stock to scrape up those browned bits. My grandmother swore by this, and she was right: it builds a richer sauce without extra effort.
Common Mistakes When Making Great chuck roast recipe dutch oven
Skipping the Sear
Never skip searing the 3 lb chuck roast before braising. This step builds the Maillard reaction flavors that make the dish rich and complex. I once rushed this and the result was bland—lesson learned. 🔥
Overcrowding the Pot
Don’t add all ingredients at once. Sear the meat first, then remove it before cooking the veggies. Crowding lowers the pan temperature, causing the meat to steam rather than brown. Trust me, patience pays off here.
Wrong Liquid Level
The braising liquid should come only halfway up the roast. Too much liquid dilutes flavors, while too little causes uneven cooking. I check after 30 minutes and add ½ cup beef broth if needed.
Peeking Too Often
Every time you open the lid, heat escapes and extends cooking time. Resist the urge to check more than once per hour. The 325°F oven works best when undisturbed, creating a consistent environment.
Skipping the Rest
Let the roast rest 15 minutes before slicing. Cutting too soon causes juices to spill out, leaving the meat dry. I use this time to thicken the sauce or set the table.
Using Lean Cuts
Chuck roast needs its fat marbling for tenderness. Avoid leaner cuts like sirloin—they’ll dry out. I always pick pieces with visible white streaks for the juiciest results.
Nutrition Facts
Frequently Asked Questions
What if I don’t have a Dutch oven?
Use a heavy oven-safe pot with a tight lid. A deep ovenproof skillet or slow cooker insert works too. The key is even heat distribution and retention.
Can I make this on the stovetop?
Yes! After searing, add all ingredients and simmer on low heat for 3-4 hours. Check liquid levels occasionally and add more broth if needed.
How do I know when it’s done?
The meat should pull apart easily with a fork. If it resists, give it more time. Internal temperature should reach 195-200°F for perfect tenderness.
What if my sauce is too thin?
Simmer uncovered for 5-10 minutes to reduce. For thicker results, mix 1 tbsp cornstarch with 1 tbsp water and stir in.

Trained in classic French technique but raised on slow-cooked ribs and spicy rubs, she blends culinary skill with smoke and soul.
- Recipe for Boneless Pork Chops in Cast Iron Skillet: Sear and Baste to Juicy Perfection - October 3, 2026
- Recipe for Boneless Cross Rib Roast: Slow-Roasted Beef with Herb Crust - October 3, 2026
- Hamburgers in Sauce Recipe Crock Pot: Slow-Cooked Savory Delight - October 3, 2026