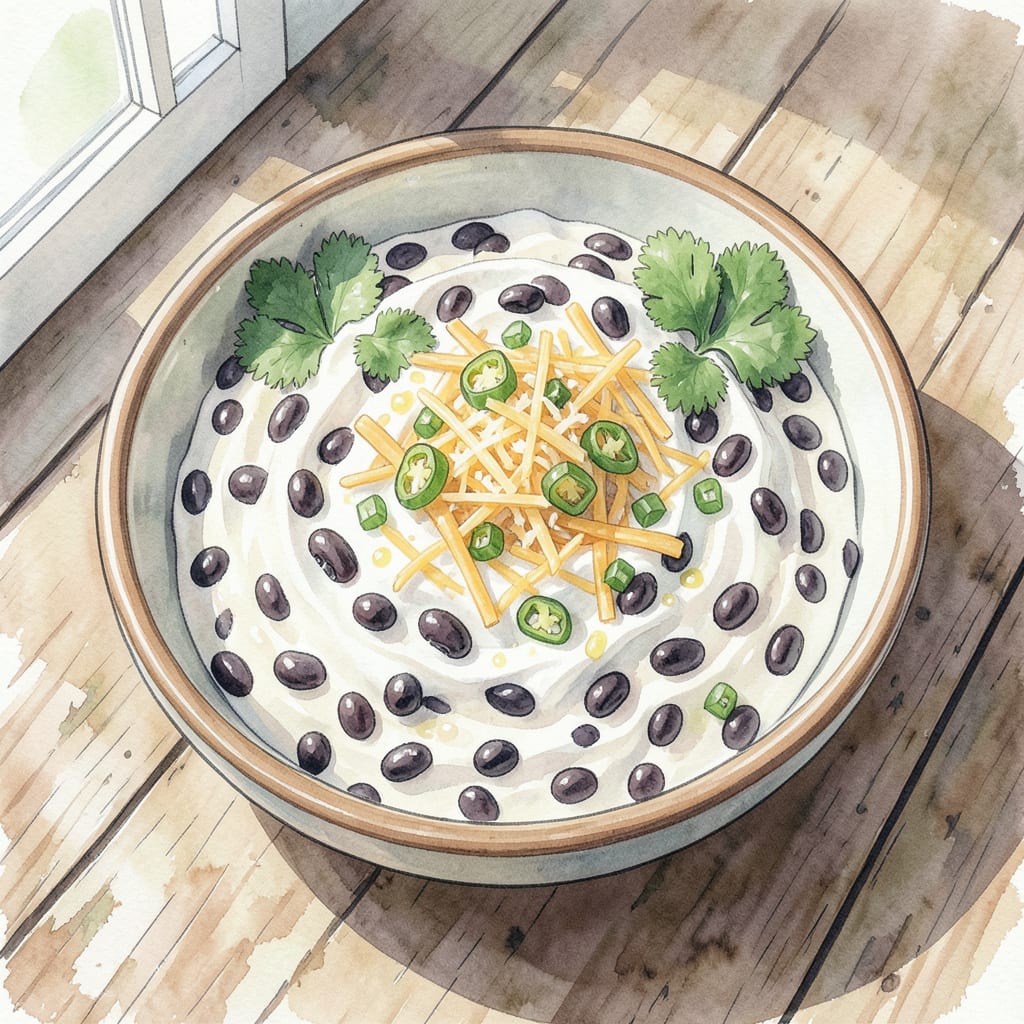
I’m obsessed with this cold bean dip recipe – it’s become my go-to for parties and gatherings. The combination of creamy beans, tangy cheese, and fresh herbs creates a flavor profile that’s both comforting and exciting.
What makes this dip truly special is its versatility: serve it with crunchy tortilla chips, fresh vegetables, or crusty bread for a snack that’s sure to please. The best part? It’s ready in just minutes, making it perfect for last-minute entertaining or game day gatherings.
Ingredients for Cold Bean Dip
Simple ingredients come together to create this creamy, crunchy cold bean dip.
| Ingredient | Amount | Notes |
|---|---|---|
| Canned Black Beans 🌽 | 1 can | Drained and rinsed |
| Sour Cream 🧀 | 8 oz | Full-fat for creaminess |
| Shredded Cheddar Cheese 🧀 | 1 cup | Sharp cheddar preferred |
| Diced Green Chilies 🌶️ | 1 can | Mild or hot variety |
| Fresh Cilantro 🌿 | ¼ cup | Chopped, for garnish |
| Lime Juice 🍋 | 2 tbsp | Freshly squeezed |
| Garlic Powder 🧄 | 1 tsp | Or to taste |
| Salt 🧂 | ½ tsp | Kosher or sea salt |
| Black Pepper 🌶️ | ¼ tsp | Freshly ground |
| Tortilla Chips 🥔 | 1 bag | For serving |
[recipe_ingredient_scaler]
For the best flavor, use high-quality canned black beans like Del Monte or Libby’s. Fresh cilantro adds a burst of freshness – about 1/4 cup chopped is perfect. The sour cream provides creaminess, so don’t skip it.
No green chilies? Use diced jalapeños for extra heat or omit for a milder dip. For a vegan version, swap sour cream with vegan sour cream or Greek yogurt. The lime juice adds brightness – fresh is best.
This dip keeps well in the fridge for up to 3 days. Give it a good stir before serving. You can adjust the seasoning as needed. Serve with tortilla chips, carrot sticks, or pita bread for a delicious snack.
Step-by-Step Instructions for Cold Bean Dip
Here’s the simple method to make this crowd-pleasing dip that’s perfect for any gathering.
Step 1: Prepare the Black Bean Mixture
Start by draining and rinsing the 1 can Canned Black Beans. I like to use a fine-mesh strainer under cold running water for this. Once they’re drained, transfer them to a mixing bowl. Add the 1 can Diced Green Chilies directly to the bowl – don’t drain these, as that liquid adds flavor.
Now mash the black beans using a fork or potato masher until they’re mostly smooth with some texture remaining. I prefer leaving some chunkiness for better texture contrast. The diced green chilies will be distributed throughout, giving the dip its signature flavor.
Step 2: Combine the Creamy Elements
In a separate bowl, mix together the 8 oz Sour Cream and 1 tsp Garlic Powder until well combined. The full-fat sour cream gives this dip its luxurious creaminess, while the garlic powder adds depth without the pungency of fresh garlic.
Add this sour cream mixture to the black bean mixture and stir until fully incorporated. You’ll notice the dip start to take on a smooth, creamy consistency with the bean texture still evident.
Step 3: Add Cheese and Seasoning
Stir in the 1 cup Shredded Cheddar Cheese until it’s evenly distributed throughout the dip. I like to use sharp cheddar for its tangy flavor that complements the beans perfectly.
Add the 0.5 tsp Salt and 0.25 tsp Black Pepper, then taste and adjust seasoning as needed. If you prefer a tangier dip, now’s the time to add more 2 tbsp Lime Juice – start with a little and taste as you go.
Step 4: Chill and Garnish
Cover the bowl with plastic wrap, pressing the wrap directly onto the surface of the dip to prevent air exposure. Refrigerate for at least 30 minutes to allow the flavors to meld together.
Just before serving, sprinkle the 0.25 cup Fresh Cilantro over the top. This adds a fresh, herbaceous note that contrasts beautifully with the rich dip. Serve chilled with 1 bag Tortilla Chips on the side.
Make-Ahead Tips for cold bean dip
Advance Preparation Tips
This cold bean dip is perfect for making ahead – prepare it up to 24 hours in advance for stress-free entertaining. Simply cover the bowl with plastic wrap, pressing the wrap directly onto the dip’s surface to prevent air exposure and keep in the refrigerator until serving. ⏰
Storage Containers Matter
For optimal freshness, store the dip in an airtight container like glass or plastic with a tight-fitting lid. I prefer using Pyrex containers as they keep contents fresh and are easy to refrigerate.
Refrigeration Timing
Refrigerate the dip for at least 30 minutes before serving to allow flavors to meld together. If you’re making it further in advance, keep it refrigerated until about 30 minutes before serving to let it soften slightly for easier serving.
Garnishing Just Before Serving
Wait until just before serving to garnish with fresh cilantro to maintain its vibrant color and freshness. You can also add additional toppings like diced tomatoes or shredded cheese at this stage for extra flavor and presentation.
Serving Temperature Tips
For the best texture, serve the dip chilled but not straight from the refrigerator – let it sit at room temperature for about 10-15 minutes before serving. This allows it to soften slightly while maintaining its refreshing cold temperature.
Nutrition Facts

Trained in classic French technique but raised on slow-cooked ribs and spicy rubs, she blends culinary skill with smoke and soul.
- Recipe for Boneless Pork Chops in Cast Iron Skillet: Sear and Baste to Juicy Perfection - October 3, 2026
- Recipe for Boneless Cross Rib Roast: Slow-Roasted Beef with Herb Crust - October 3, 2026
- Hamburgers in Sauce Recipe Crock Pot: Slow-Cooked Savory Delight - October 3, 2026