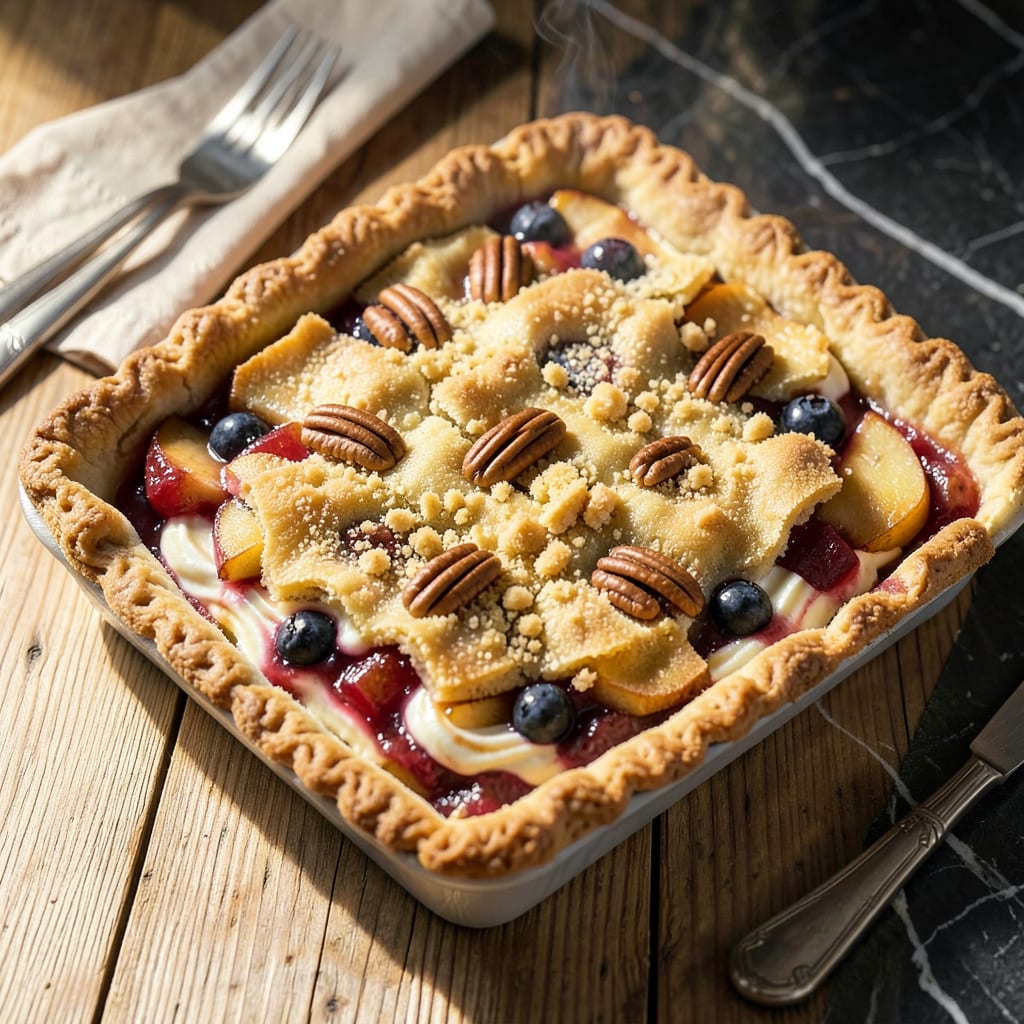
Converting a pie recipe from a standard 9-inch round pan to a 9×13 rectangular pan requires precise adjustments to maintain perfect texture and flavor. The key lies in understanding volume ratios—while a 9-inch pie pan holds approximately 6 cups of filling, a 9×13 pan accommodates nearly double that amount. This means scaling both crust and filling proportionally to avoid underfilled pans or overflowing messes.
For the crust, plan on using 1.5 times the original recipe to ensure full coverage without thinning the base. The filling should be doubled to match the increased pan size, but monitor baking time closely—rectangular pans often require 10-15 minutes less than round pans due to their larger surface area. Start checking for doneness at the 30-minute mark to prevent overbaking.
Crust thickness matters when scaling up. Roll the bottom layer to 1/8-inch thickness and the top layer slightly thinner to maintain the ideal crust-to-filling ratio. For fruit pies, consider adding an extra tablespoon of thickener (like cornstarch or flour) to compensate for the increased filling volume and prevent a soggy bottom.
This method delivers consistent results whether you’re adapting apple, pumpkin, or pecan pie. The converted version will bake evenly, hold its shape when sliced, and serve a crowd without sacrificing the quality of your original recipe. Test with a single batch to perfect your timing before scaling for larger gatherings.
📚 In This Guide
- What You’ll Need
- Instructions
- Tips and Common Mistakes
What Youll Need
- ● 9×13-inch baking dish – A glass or metal pan (2- to 2.5-quart capacity) for even baking. 🍮
- ● Pie filling (scaled up) – Typically 1.5 to 2 times the original recipe (e.g., 6–8 cups fruit for fruit pies).
- ● Pie crust – Double crust: 2.5–3 lbs homemade dough or 2 pre-made 9-inch crusts + extra for patching.
- ● Single crust: 1.5–2 lbs dough or 1 pre-made crust + extra for edges.
- ● Rolling pin & pastry mat – For rolling out extended crust (aim for ⅛-inch thickness).
- ● Mixing bowls – Large (4+ quarts) for scaling fillings; medium for crust prep.
- ● Measuring tools – Dry measuring cups (1-cup to ¼-cup sizes).
- ● Liquid measuring cup (2-cup capacity).
- ● Measuring spoons (1 Tbsp to ⅛ tsp).
- ○ Kitchen scale (optional but helpful) – For precise ingredient scaling (e.g., ounces to grams).
- ● Pastry brush – For egg wash or butter glaze (if recipe calls for it).
- ● Aluminum foil or pie shields – To prevent over-browning edges.
- ● Cooling rack – For even cooling post-bake.
- ● Sharp knife or pizza cutter – For trimming excess crust.
- ○ Oven thermometer (optional) – Ensures accurate temp (350–375°F is typical for pies).
Step-by-Step Instructions for Converting a Pie Recipe to 9×13
Scaling a pie recipe requires precise calculations and adjustments to maintain texture and flavor balance.
Calculate the Scaling Factor
First, determine the volume ratio between your original pie dish and the 9×13-inch pan. A standard 9-inch pie plate holds approximately 4 cups of filling, while a 9×13-inch baking dish holds about 14-15 cups. This means you’ll need to multiply your original recipe quantities by 3.5-3.75.
For example, if your pie recipe calls for 1 cup of sugar, you’ll need 3.5 cups for the 9×13 version. I recommend using the lower end of the scaling factor (3.5) for fillings that expand during baking (like fruit pies) and the higher end (3.75) for denser fillings (like custards or cream pies).
Adjust the Crust Proportions
For a single-crust pie, you’ll need approximately 2.5 times the original crust recipe. A standard 9-inch pie uses about 1.5 cups of flour for the crust, so for a 9×13 pan, prepare a crust using 3.75 cups of flour. This accounts for the increased surface area while maintaining the proper crust-to-filling ratio.
For double-crust pies, calculate 2 times the original top crust amount and 3 times the bottom crust amount. Roll the bottom crust to fit the 9×13 pan with 1-inch overhang for crimping. The top crust should be rolled to cover completely with minimal overlap. Chill both crusts for 30 minutes before assembling to prevent shrinking.
Modify Baking Time and Temperature
Reduce the oven temperature by 25°F from your original recipe. If your pie baked at 375°F, set your oven to 350°F for the 9×13 version. The increased surface area means the filling will cook faster at the edges while the center catches up.
Extend the baking time by 25-35%. For a pie that originally baked for 45 minutes, plan for 56-61 minutes in the 9×13 pan. Begin checking for doneness at the 50-minute mark by inserting a knife into the center—it should come out clean for custard pies or with slightly thickened juices for fruit pies.
Test and Adjust Filling Consistency
Before baking, evaluate your scaled filling’s consistency. Fruit fillings should be slightly thicker than the original to compensate for the larger surface area. Add an extra 1-2 tablespoons of thickener (like cornstarch or flour) per 4 cups of fruit.
For custard fillings, increase the eggs by 50% rather than the full scaling factor to maintain proper setting. If your original recipe used 2 eggs, use 3 eggs for the 9×13 version. This prevents a rubbery texture while ensuring the filling sets completely across the larger pan.
Monitor Evenly During Baking
Rotate the pan 180 degrees halfway through baking to ensure even browning. The increased surface area makes the edges more prone to over-browning. If the crust edges darken too quickly, create a foil shield after the first 30 minutes of baking.
Let the finished pie cool completely in the pan—at least 2 hours for fruit pies and 3 hours for custard pies. The larger volume requires more cooling time to set properly. Slice only when the center no longer jiggles when gently shaken and the filling has pulled away slightly from the edges.
Tips and Common Mistakes for Perfectly Scaled Pies
Converting pie recipes requires attention to both mathematics and baking science. Here’s what I’ve learned from years of scaling recipes for large gatherings.
Precision in Scaling: The 3.5-3.75 scaling factor in Step 1 isn’t arbitrary—it accounts for the 9×13 pan’s 14-15 cup capacity versus a standard pie plate’s 4 cups. I always use 3.5 for fruit pies that expand during baking and 3.75 for denser custards. This prevents overflow while maintaining proper filling-to-crust ratios.
Crust Handling Technique: When rolling out the bottom crust for your 9×13 pan as described in Step 2, work quickly to prevent the dough from warming. The 1-inch overhang is crucial—it gives you enough material to create a proper crimped edge that won’t collapse during baking. Chilling both crusts for the full 30 minutes before assembly prevents shrinkage that could expose filling during baking.
Baking Temperature Control: The 25°F reduction to 350°F in Step 3 is essential for even cooking. At the original 375°F, the edges would overcook before the center sets. Begin checking at the 50-minute mark as instructed, but watch for visual cues: the crust should be golden brown and the filling should just begin to pull away from the edges.
Cooling Patience: The extended cooling times in Step 5—2 hours for fruit pies and 3 hours for custards—aren’t suggestions. Rushing this step results in filling that doesn’t set properly. I test doneness by gently shaking the pan; the center should remain stable with only slight movement at the edges.
Pro Tips for Convert Pie Recipe To 9×13
- Converting pie recipes requires attention to both mathematics and baking science. Here’s what I’ve learned from years…
- Precision in Scaling: The 3.5-3.75 scaling factor in Step 1 isn’t arbitrary—it accounts for the 9×13 pan’s 14-15 cup …
- Crust Handling Technique: When rolling out the bottom crust for your 9×13 pan as described in Step 2, work quickly to…
Frequently Asked Questions
How do I adjust the baking time when converting a pie to a 9×13 pan?
Since a 9×13 pan spreads the filling thinner, reduce baking time by 10–20%. Start checking for doneness 10–15 minutes earlier than the original recipe suggests. Use a toothpick or knife to test—it should come out clean (or with slight crumbs for custard pies).
Can I use a graham cracker crust in a 9×13 pan instead of pie dough?
Press 2.5–3 cups of crumbs (mixed with ½ cup melted butter) into the pan for an even layer. Bake at 350°F for 8–10 minutes to set before adding filling. For extra stability, chill the crust 30 minutes before baking.
What if my filling is too runny after converting the recipe?
Runny filling? Add 1–2 tbsp cornstarch or flour (mixed with a little cold liquid) to thicken. For fruit pies, toss filling with an extra 1 tbsp lemon juice to help set it. Let the pie cool completely (2+ hours) before slicing—patience pays off!
Do I need to double the topping (like streusel or meringue) for a 9×13 pan?
Yes! Scale toppings 1.5x to 2x the original amount to cover the larger surface. For meringue, use 4–5 egg whites (instead of 2–3) and whip to stiff peaks. Streusel should be crumbly but generous—aim for ½-inch thickness.
Can I convert a no-bake pie to a 9×13 pan?
Easy! Keep the same filling ratios but increase the crust (see above). Chill time may extend slightly—4+ hours or overnight—since the larger pan holds more heat. Pro tip: Line the pan with parchment for easy slicing!
Converting your favorite pie recipe to a 9×13 pan doesn’t have to be tricky—just a little math and creativity! 🎯 Now that you’ve got the scaling basics down, you’re ready to bake a crowd-pleasing dessert with confidence. Grab your ingredients, preheat that oven, and enjoy the sweet reward of a perfectly sized treat. Next up? Try experimenting with fillings or crusts to make it your own!

Trained in classic French technique but raised on slow-cooked ribs and spicy rubs, she blends culinary skill with smoke and soul.
- Recipe for Boneless Pork Chops in Cast Iron Skillet: Sear and Baste to Juicy Perfection - October 3, 2026
- Recipe for Boneless Cross Rib Roast: Slow-Roasted Beef with Herb Crust - October 3, 2026
- Hamburgers in Sauce Recipe Crock Pot: Slow-Cooked Savory Delight - October 3, 2026