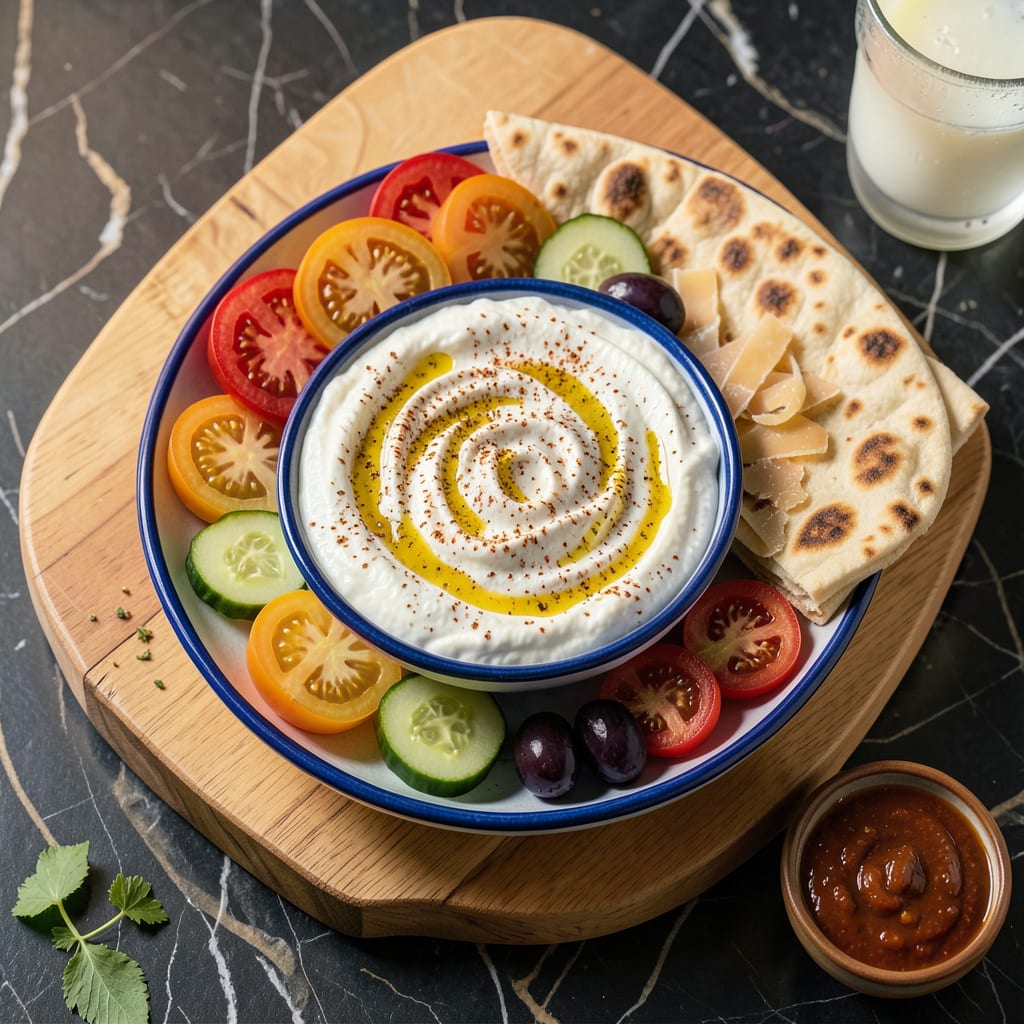
Let me tell you, cooking without a stove isn’t just possible—it’s a game-changer. I’ve spent years perfecting no-heat meals, from lazy summer days to power outages. The secret? Working with what you’ve got instead of what you’re missing. We’re talking full meals, not just sad sandwiches.
I’ve pulled together 10 solid recipes that don’t need a single burner. Some use small appliances like microwaves or air fryers, others rely on good old prep work and time. You’ll find everything from creamy no-bake desserts to hearty cold-plated meals that actually satisfy. No compromises, just smart cooking.
What really surprised me was how much flavor you can pack into no-heat dishes. We’re using techniques like marinating, pickling, and strategic layering to build complexity. The microwave becomes your sous chef, the fridge your slow cooker. Even the freezer gets in on the action for some recipes.
Whether you’re in a dorm room, camping, or just avoiding the summer heat, these recipes deliver. No fancy equipment needed—just creativity and maybe a toaster oven. Let’s rethink what it means to cook without limits.
📚 In This Guide
- What You’ll Need
- Instructions
- Tips and Common Mistakes
What Youll Need
- ● Basic kitchen tools: 1 sharp chef’s knife (8–10 inches) 🔪
- ● 1 cutting board (medium or large)
- ● 1 mixing bowl (2–4 quarts)
- ● 1 wooden spoon or silicone spatula
- ● 1 can opener (manual or electric)
- ● No-heat prep essentials: 1 high-quality blender or food processor (for smoothies, dips, or sauces)
- ● 1 microplane or box grater (for zesting/citrus)
- ● 1 citrus juicer (handheld or reamer)
- ● 1 fine-mesh strainer (for rinsing grains/beans)
- ● Key ingredients (pantry staples): Canned beans (1–2 cans: chickpeas, black beans, or lentils)
- ● Pre-cooked grains (quinoa, couscous, or rice—instant or microwavable)
- ● Nuts/seeds (¼–½ cup: almonds, sunflower seeds, or peanuts)
- ● Fresh herbs (small bunch: cilantro, parsley, or mint)
- ● Acidic elements (1 lemon/lime or 2 tbsp vinegar: apple cider or balsamic)
- ○ Optional (but handy!): 1 immersion blender (for soups or dressings)
- ● 1 mandoline slicer (for paper-thin veggies)
- ● 1 mortar and pestle (for fresh spice blends)
- ● Edible flowers or sprouts (for garnish 🌸)
Instructions for Cooking Without a Stove
Here’s how to assemble delicious meals without ever turning on a burner or oven.
Master the Art of No-Cook Prep
Start by organizing all your ingredients on a clean workspace. I like to use separate bowls for different components—this keeps everything tidy and makes assembly faster. Wash all produce thoroughly under cold running water, even if you plan to peel it. This removes any surface dirt or bacteria.
For vegetables like carrots or cucumbers, use a sharp peeler to remove the skin in long strips. Cut them into matchsticks or thin slices using a chef’s knife. The key is uniform pieces that will absorb flavors evenly. For leafy greens, stack the leaves, roll them tightly, then slice thinly for perfect ribbons every time.
Build Flavor with Smart Ingredient Pairings
Create flavor bases by combining acidic and fatty elements. I always start with a good quality extra virgin olive oil and fresh citrus juice—this forms the foundation for most no-cook dishes. Whisk them together with a pinch of salt until the mixture emulsifies slightly, which takes about 30 seconds of vigorous whisking.
Add aromatic elements next: finely minced garlic, chopped fresh herbs, or grated ginger. These should sit in your oil-citrus mixture for at least 5 minutes to infuse their flavors. For protein-based meals, use canned beans or pre-cooked chicken—just drain and rinse them well to remove any metallic or brining flavors.
Assemble with Texture in Mind
Layer ingredients strategically to create exciting textures in every bite. Start with your base—this could be crisp lettuce leaves, cooked grains from a rice cooker, or even store-bought flatbread. Add your protein layer next, distributing it evenly across the surface.
Top with your prepared vegetables, arranging them for visual appeal. I like to place ingredients in small piles rather than mixing everything together—this keeps textures distinct. Finish with your flavorful dressing, drizzling it over the top rather than tossing. This prevents sogginess while ensuring every component gets seasoned.
Use Time to Your Advantage
Let assembled dishes rest for 10-15 minutes before serving. This brief waiting period allows flavors to meld together beautifully. Cover loosely with a clean kitchen towel to protect from dust while still allowing air circulation.
For grain-based salads, this resting time lets the grains absorb any dressing you’ve added. With wrapped items like lettuce cups or spring rolls, the filling ingredients will soften slightly and release their juices, creating a more cohesive bite. Always taste and adjust seasoning right before serving—sometimes flavors need a final tweak.
Serve with Creative Presentation
Arrange components on individual plates rather than serving family-style. This prevents ingredients from getting mixed together prematurely. Use small bowls for dips or sauces, placing them strategically around the plate for easy access.
Garnish with fresh herbs, citrus wedges, or a sprinkle of toasted nuts just before bringing to the table. These final touches add freshness and crunch. Serve with appropriate utensils—tongs for salads, small spoons for dips, or let guests pick up hand-held items. The right tools make no-cook meals feel just as satisfying as cooked ones.
Tips and Common Mistakes for No-Heat Meals
These simple strategies will transform your no-cook meals from basic to extraordinary.
Flavor Infusion Secret: In Step 2, don’t rush the 5-minute infusion time for your aromatic elements. I learned the hard way that cutting this short means you’ll miss out on the deep, complex flavors that develop when garlic, herbs, or ginger fully release their oils into the oil-citrus mixture. The difference between 2 minutes and the full 5 minutes is astonishing.
Texture Preservation: When assembling in Step 3, resist the urge to toss everything together. I used to mix all components thoroughly until I realized keeping ingredients in separate piles maintains their individual textures. This is especially important with crisp vegetables or delicate greens that can wilt under heavy dressings.
Resting Time Wisdom: The 10-15 minute resting period in Step 4 isn’t just about flavor melding—it’s your insurance against watery salads. I’ve found that skipping this step results in dressing pooling at the bottom of the plate. That brief rest allows ingredients to absorb flavors while maintaining their structure.
Presentation Pro Tip: For Step 5, invest in small, interesting bowls for your dips and sauces. I discovered that the right serving vessels elevate the entire meal experience. A beautiful ceramic bowl makes even store-bought hummus feel special, and guests will notice the extra thought you put into presentation.
Pro Tips for Cooking Without A Stove
- These simple strategies will transform your no-cook meals from basic to extraordinary.
- Flavor Infusion Secret: In Step 2, don’t rush the 5-minute infusion time for your aromatic elements. I learned the ha…
- Texture Preservation: When assembling in Step 3, resist the urge to toss everything together. I used to mix all compo…
Frequently Asked Questions
Can I really cook a full meal without any heat or stove?
Many meals rely on fresh, pre-cooked, or no-cook ingredients like canned beans, rotisserie chicken, or marinated veggies. Think salads, wraps, overnight oats, or ceviche (where acid “cooks” the fish). With the right ingredients, you can create balanced, flavorful meals—no heat required!
How long does it take to prepare no-cook meals?
Most no-cook meals take 10–20 minutes of active prep, though some (like overnight oats or marinated dishes) need 2+ hours of passive time to soften or blend flavors. Quick options include Greek yogurt parfaits or avocado toast, while heartier meals (like cold grain bowls) may take slightly longer.
What are the best protein sources for no-cook meals?
Opt for pre-cooked proteins like canned tuna, chickpeas, or lentils, or grab-and-go options such as rotisserie chicken, hard-boiled eggs, or tofu. For plant-based diets, nuts, seeds, and edamame add protein without cooking. Pro tip: Keep shelf-stable pouches of chicken or salmon in your pantry!
How do I keep no-cook meals safe to eat?
Stick to fresh, properly stored ingredients and avoid raw meats/fish unless cured or pre-packaged for raw consumption (like sushi-grade fish). Wash all produce, use pasteurized dairy, and keep perishables chilled until serving. If using canned goods, check for dents or leaks before opening.
What if I don’t have fancy tools like a food processor?
No problem! A sharp knife, cutting board, and mixing bowl are all you need for most no-cook meals. For blending (like gazpacho), use a blender bottle, mortar and pestle, or even a fork for mashing. Pre-chopped veggies or canned ingredients can also save time and effort.
Who knew you could whip up delicious, no-cook meals with just a little creativity? 🌟 From hearty salads to overnight oats and refreshing wraps, cooking without a stove opens up a world of quick, easy, and nutritious options—perfect for busy days, dorm living, or even camping adventures.
Ready to dive in? Pick one recipe from the list, gather your ingredients, and start experimenting today! For even more inspiration, check out our guide on essential kitchen gadgets for no-cook meals—because great food doesn’t always need heat! 🍽️

Trained in classic French technique but raised on slow-cooked ribs and spicy rubs, she blends culinary skill with smoke and soul.
- Recipe for Boneless Pork Chops in Cast Iron Skillet: Sear and Baste to Juicy Perfection - October 3, 2026
- Recipe for Boneless Cross Rib Roast: Slow-Roasted Beef with Herb Crust - October 3, 2026
- Hamburgers in Sauce Recipe Crock Pot: Slow-Cooked Savory Delight - October 3, 2026