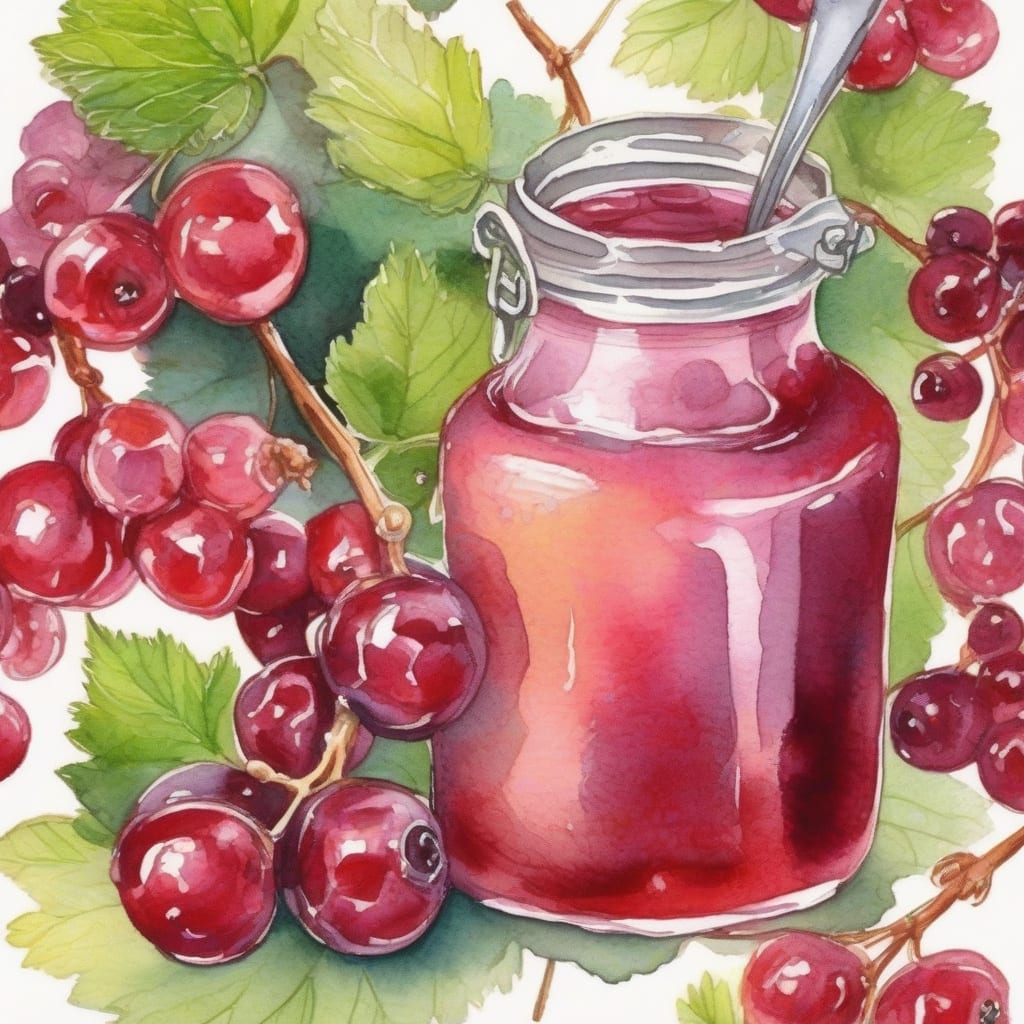
Making homemade currant syrup is a simple process that yields delicious results. I use fresh currants and basic pantry ingredients to create a syrup that’s perfect for topping pancakes, waffles, or ice cream. The best part? It’s ready in just a few minutes.
The syrup’s flavor is sweet and tart, with a deep purple color that’s as visually appealing as it is delicious. You can adjust the sweetness to your taste by adding more or less sugar. I find that a balance between the two creates the perfect flavor.
By making your own currant syrup, you can control the ingredients and the flavor, ensuring that it’s free from preservatives and additives. This homemade syrup is perfect for using immediately or storing for later. Let’s get started with the recipe!
You’ll be able to enjoy your homemade currant syrup for weeks to come, stored properly in the refrigerator. The syrup will keep for several weeks when stored correctly, allowing you to enjoy it whenever you want.
Ingredients for currant syrup
These simple ingredients blend into rich, homemade currant syrup in just minutes.
| Ingredient | Amount | Notes |
|---|---|---|
| Fresh or Frozen Currants 🍇 | 2 cups | Black or red currants work |
| Granulated Sugar 🍮 | 2 cups | Adjust to taste |
| Water 💧 | 1 cup | For simmering currants |
| Lemon Juice 🍋 | 2 tbsp | Freshly squeezed |
[recipe_ingredient_scaler]
Find fresh currants at farmers markets or specialty stores. You can use either black or red currants for this syrup. For the best flavor, choose ripe, plump currants. If using frozen, let them thaw first. Penzeys or C&H sugar works well.
If you prefer a clearer syrup, you can strain it through a fine-mesh sieve or cheesecloth after cooking. For a thicker syrup, reduce the water to 3/4 cup. You can also substitute honey for up to half the sugar for a different flavor profile. Adjust lemon juice to taste.
Store your homemade currant syrup in a clean, sterilized glass jar in the refrigerator. It keeps for up to 6 weeks. For longer storage, consider freezing in ice cube trays and transferring to airtight containers. Always use a clean utensil when serving to prevent contamination.
Step-by-Step Instructions for Currant Syrup
I’ll guide you through making this delicious homemade currant syrup from scratch.
Step 1: Prepare the Currants
Start by rinsing the 2 cups of fresh or frozen currants under cold water. If using frozen, let them thaw slightly. Remove any stems, leaves, or debris from the currants. This step ensures your syrup is clean and free of any bitterness from the stems.
Using fresh currants gives the syrup a brighter flavor, while frozen currants work just as well if that’s what you have on hand. The key is to get them ready for simmering.
Step 2: Simmer the Currants
In a medium saucepan, combine the prepared currants, 1 cup of water, and 2 tbsp of freshly squeezed lemon juice. Bring the mixture to a gentle boil over medium heat. Once boiling, reduce the heat to low and let it simmer for 10-15 minutes. You’ll notice the currants breaking down and releasing their juice, creating a deep red or purple color depending on the currant variety.
During this time, the mixture will start to reduce slightly and the flavors will meld together. Be sure to stir occasionally to prevent the currants from sticking to the bottom of the pan.
Step 3: Strain and Mix with Sugar
After the currants have simmered and released their juice, strain the mixture through a fine-mesh sieve or cheesecloth into a clean bowl. Press on the solids to extract as much juice as possible, then discard the solids. You should have a vibrant, rich-colored juice.
Return the juice to the saucepan and add 2 cups of granulated sugar. Heat the mixture over medium heat, stirring until the sugar is completely dissolved. Bring the mixture to a boil, then reduce the heat and let it simmer for another 5 minutes. The syrup will thicken slightly as it cools.
Step 4: Cool and Store the Syrup
Remove the syrup from heat and let it cool to room temperature. Transfer the cooled syrup to a clean, sterilized glass bottle. Store the syrup in the refrigerator. It will keep for up to 2 weeks. You can also can the syrup using proper canning techniques to extend its shelf life.
The syrup will thicken as it cools, making it perfect for topping pancakes, waffles, or ice cream. Enjoy your homemade currant syrup!
Are you ready to elevate your desserts, drinks, and even savory dishes with a burst of sweet and tangy flavor? 🍰🍹 Making currant syrup from scratch is surprisingly easy and requires just a few ingredients. Here’s how you can create this versatile syrup at home.
🔪 Prep the Currants
Start by rinsing your fresh or frozen currants and removing any stems or debris. If using frozen, let them thaw first. You can use either blackcurrants or redcurrants, or a mix of both, depending on your taste preference.
🍳 Cook the Currants
Combine the currants with a small amount of water in a saucepan and heat until the berries start to release their juice and soften. This process should take about 5-7 minutes over medium heat, stirring occasionally.
⏰ Strain and Simmer
Strain the cooked currants through a fine-mesh sieve or cheesecloth to extract as much juice as possible. Discard the solids. Then, return the juice to the saucepan, add sugar to taste (typically about 1:1 with the juice volume), and bring to a boil. Reduce the heat and simmer until the mixture thickens into a syrup, which can take anywhere from 10 to 20 minutes, depending on the desired consistency.
💡 Pro Tip: To ensure your syrup doesn’t crystallize, avoid overcooking it. You can test the consistency by placing a small amount on a chilled plate; if it holds its shape, it’s ready. Also, consider adding a splash of lemon juice to enhance the flavor and help preserve the syrup.
Once your currant syrup is ready, let it cool before transferring it to a clean glass bottle. Store it in the refrigerator for up to 6 months. Enjoy it over ice cream, mixed into cocktails, or as a topping for yogurt or oatmeal. 🍰👌
Tips & Tricks for Perfect Currant Syrup
These simple tips will help you achieve the best results with your homemade currant syrup recipe.
Currant Selection: You can use either fresh or frozen currants for this recipe. If using frozen, there’s no need to thaw them completely before simmering. I find that black currants give a deeper flavor, while red currants provide a slightly tart taste. For a complex flavor, you can mix different currant varieties.
Sugar Adjustment: The amount of sugar can be adjusted based on your taste preferences and the natural tartness of the currants. If you prefer a less sweet syrup, you can reduce the sugar to 1.5 cups. Keep in mind that the syrup will thicken as it cools, so it’s better to err on the side of slightly thinner when hot.
Storage Tip: Always store your currant syrup in sterilized glass bottles in the refrigerator to maintain freshness. It will keep for up to 2 weeks. You can also can the syrup using proper canning techniques to extend its shelf life. When stored properly, canned syrup can last for up to a year.
Nutrition Facts
120kcal
This currant syrup recipe is loaded with flavor and perfect for topping pancakes or waffles! With just four simple ingredients, you’ll get a delicious homemade syrup that’s naturally sweet and bursting with currant goodness. The fresh currants provide a beautiful deep color and intense flavor.
The syrup is relatively low in calories and fat, making it a great addition to your breakfast or dessert. You’ll get about 120 calories per serving, with 30g of carbohydrates, primarily from the natural sugars in the currants and added sugar. It’s also a good source of dietary fiber.
While this syrup is sweet, it can be used in moderation as part of a balanced diet. Enjoy it on yogurt, ice cream, or as a topping for your favorite desserts. The homemade nature means you control the ingredients, making it a healthier alternative to store-bought syrups.
[recipe_ingredient_scaler]

Trained in classic French technique but raised on slow-cooked ribs and spicy rubs, she blends culinary skill with smoke and soul.
- Recipe for Boneless Pork Chops in Cast Iron Skillet: Sear and Baste to Juicy Perfection - October 3, 2026
- Recipe for Boneless Cross Rib Roast: Slow-Roasted Beef with Herb Crust - October 3, 2026
- Hamburgers in Sauce Recipe Crock Pot: Slow-Cooked Savory Delight - October 3, 2026