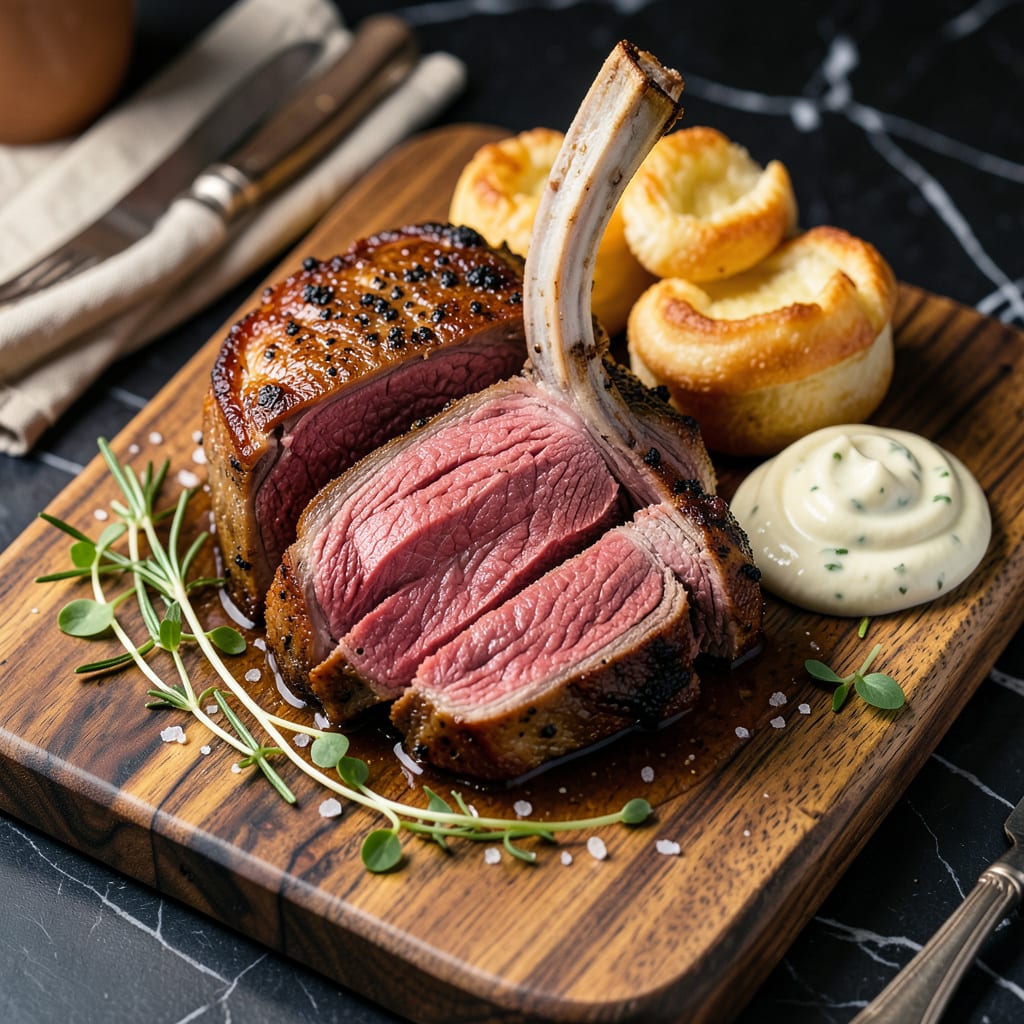
There’s nothing quite like the satisfaction of cutting your own prime rib steaks at home—like unlocking a butcher’s secret right in your kitchen. I remember the first time I tried this after picking up a whole rib roast from my local butcher, thinking I’d never get those perfect restaurant-style cuts. Turns out, with the right technique and a sharp knife, anyone can do this.
The key is working with cold meat and using long, confident strokes with your knife. You’ll want a bone-in rib roast for the best flavor, and don’t stress about getting every cut identical—even steakhouses have variation. I like to cut mine about 1.5 inches thick, which gives you that perfect balance of crust and tender interior when cooked.
What you end up with are restaurant-quality ribeye steaks that cost a fraction of what you’d pay at a steakhouse. The bone adds incredible flavor during cooking, and you control exactly how much fat to leave on each cut. Plus, you get the satisfaction of knowing you butchered it yourself—no special skills required.
Once cut, these steaks are perfect for grilling, pan-searing, or reverse-searing. I’ll walk you through the whole process, from selecting your roast to that first perfect bite. Let’s get that knife sharp and make some steaks!
📚 In This Guide
- What You’ll Need
- Instructions
- Tips and Common Mistakes
What Youll Need
- ● Prime rib roast (bone-in or boneless): 3–5 lbs (choose USDA Prime or Choice grade for best results).
- ● Sharp chef’s knife: 8–10″ blade (a slicing knife or butcher’s knife works even better!).
- ● Cutting board: Large (at least 12″x18″) with a non-slip base or damp towel underneath for stability.
- ○ Meat thermometer: Instant-read (optional but highly recommended for perfect doneness).
- ● Butcher’s twine: 10–12 ft (if trimming or tying the roast).
- ○ Bone saw or cleaver: (Optional—only needed for bone-in cuts).
- ● Paper towels: 4–5 sheets (to pat the meat dry before cutting).
- ● Plastic wrap or butcher paper: For storing steaks (if not cooking immediately).
- ○ Ruler or measuring tape: (Optional—helps ensure even 1–2″ thick steaks).
- ○ Gloves: Cut-resistant (optional but great for safety!).
Step-by-Step Instructions for Cutting Prime Rib Into Steaks
Transform your prime rib roast into perfect restaurant-quality steaks with this foolproof method.
Prepare the Prime Rib for Cutting
Start with a fully cooked prime rib roast that’s been properly rested. I always let mine rest for at least 20 minutes after cooking – this allows the juices to redistribute and makes for cleaner cuts. Place the roast on a sturdy cutting board with the bone side facing up if it’s bone-in.
Before making any cuts, remove any twine or netting that may have been used during cooking. You’ll want a clean surface to work with. If your roast has a significant fat cap (more than ½ inch), you can trim some of it down for better presentation, but I usually leave about ¼ inch for flavor.
Separate the Bones (For Bone-In Roasts)
If you’re working with a bone-in prime rib, this step is crucial. Run your knife along the rib bones to separate them from the meat. I like to use a long, thin-bladed knife for this – it gives me better control. Start at the wide end and work your way down, following the natural curve of the bones.
Once separated, you can either remove the bones completely or leave them attached to each steak. For restaurant-style presentation, I recommend keeping one rib bone per steak. The bones add incredible flavor during cooking and make for an impressive presentation when serving.
Determine Your Steak Thickness
Decide on your preferred steak thickness before making any cuts. I find that 1 to 1½ inches works best for prime rib steaks – thick enough to maintain juiciness but not so thick that they’re difficult to cook evenly. For a 4-bone roast, this typically yields about 4 steaks.
Use a ruler to mark your cutting lines with a knife tip if you want perfectly uniform steaks. Remember that the end cuts (near the chuck and loin ends) will be slightly different shapes, which is completely normal. These “end cuts” actually have amazing flavor and are perfect for quick searing.
Make the Cuts with Precision
Using a long, sharp slicing knife (at least 10 inches), make your first cut at the chuck end. I always cut straight down with one confident motion rather than sawing back and forth. Apply steady pressure and let the knife do the work – a sharp blade should glide through the meat with minimal resistance.
Continue cutting steaks of your desired thickness, working your way toward the loin end. For bone-in steaks, cut between the ribs. For boneless steaks, make perpendicular cuts to the grain of the meat. I like to rotate the roast as I work to maintain better control over each cut.
Finish and Store Your Steaks
Once all steaks are cut, pat them dry with paper towels. This removes any surface moisture that might interfere with getting a good sear later. If you notice any small meat fragments or uneven edges, you can trim them for better presentation – these make great chef’s treats!
For immediate cooking, let the steaks sit at room temperature for about 30 minutes before searing. For storage, wrap each steak individually in plastic wrap and then place in a ziplock bag, squeezing out all the air. They’ll keep beautifully in the refrigerator for up to 5 days or in the freezer for 3 months. When ready to cook, thaw overnight in the refrigerator before bringing to room temperature.
Tips and Common Mistakes for Perfect Prime Rib Steaks
These game-changing techniques will transform your prime rib into steakhouse-worthy cuts every time.
Knife Selection is Everything: Don’t underestimate the importance of your knife in Step 4. I learned the hard way that a dull blade ruins everything – it crushes the meat fibers instead of making clean cuts. Use that 10-inch slicing knife mentioned in the instructions, and sharpen it before you start. The difference is night and day when you feel that blade glide through the meat with just a whisper of pressure.
Resting Makes All the Difference: That 20-minute rest in Step 1 isn’t just for show – it’s absolutely critical! I’ve rushed this before and ended up with steaks that lost all their juices when cut. The rest allows the muscle fibers to relax and reabsorb those precious juices. Trust me, those 20 minutes will give you steaks that stay moist and tender when you finally cut into them.
Bone Removal Technique: When separating bones in Step 2, here’s what nobody tells you – angle your knife slightly toward the bone as you cut. This helps you follow the natural curve more precisely. I also recommend using your free hand to gently pull the meat away from the bone as you cut, creating a clean separation without tearing the meat. The bones should come away with almost no resistance when you do it right.
Storage Pro Tip: For those 5 days in the fridge mentioned in Step 5, here’s how to maximize freshness: After wrapping each steak in plastic, place them in a single layer in the fridge rather than stacking. This allows for better air circulation and prevents any potential moisture buildup that could lead to spoilage. When freezing for those 3 months, add an extra layer of protection by wrapping each plastic-wrapped steak in foil before bagging.
Pro Tips for Cut Prime Rib Into Steaks
- These game-changing techniques will transform your prime rib into steakhouse-worthy cuts every time.
- Knife Selection is Everything: Don’t underestimate the importance of your knife in Step 4. I learned the hard way tha…
- Resting Makes All the Difference: That 20-minute rest in Step 1 isn’t just for show – it’s absolutely critical! I’ve …
Frequently Asked Questions
How thick should I cut prime rib steaks for best results?
Aim for 1.5 to 2 inches thick for perfect medium-rare steaks. Thinner cuts (1 inch) cook faster but risk overcooking, while thicker cuts (2.5+ inches) need reverse-searing for even doneness. Use a ruler for consistency!
Can I cut prime rib steaks from a cooked roast, or does it need to be raw?
Always cut raw prime rib into steaks—cooking first makes clean slices nearly impossible. A cooked roast will crumble or shred when cut. Save carving for after roasting if you prefer traditional slices.
What’s the best alternative if I don’t have a bone-in prime rib?
No bones? No problem! Use a boneless ribeye roast (same muscle, just deboned). For budget-friendly options, try chuck eye roast (similar marbling) or rib steaks pre-cut by your butcher. Ask for “rib steak-ready” cuts!
How long should I rest prime rib steaks after cutting but before cooking?
Rest steaks 30–60 minutes at room temp after cutting. This ensures even cooking and juicier results. Skip this, and you’ll get a cold center with a burnt exterior. Pro tip: Pat dry before searing for a better crust!
Why do my prime rib steaks turn out tough or chewy?
Common culprits:
- Overcooking (aim for 125–130°F internal temp for medium-rare)
- Cutting against the grain (slice parallel to the ribs)
- Skipping the rest time (lets juices redistribute)
Cutting prime rib into steaks at home is simpler than you think—just follow the right technique, use a sharp knife, and let the meat’s natural marbling guide you. With a little practice, you’ll be serving juicy, restaurant-worthy steaks without the hefty price tag. 🥩✨
Now that you’ve mastered the cut, why not fire up the grill or sear a steak in your cast-iron skillet? Your next perfect meal is just a seasoning and sizzle away! Happy cooking!

Trained in classic French technique but raised on slow-cooked ribs and spicy rubs, she blends culinary skill with smoke and soul.
- Recipe for Boneless Pork Chops in Cast Iron Skillet: Sear and Baste to Juicy Perfection - October 3, 2026
- Recipe for Boneless Cross Rib Roast: Slow-Roasted Beef with Herb Crust - October 3, 2026
- Hamburgers in Sauce Recipe Crock Pot: Slow-Cooked Savory Delight - October 3, 2026