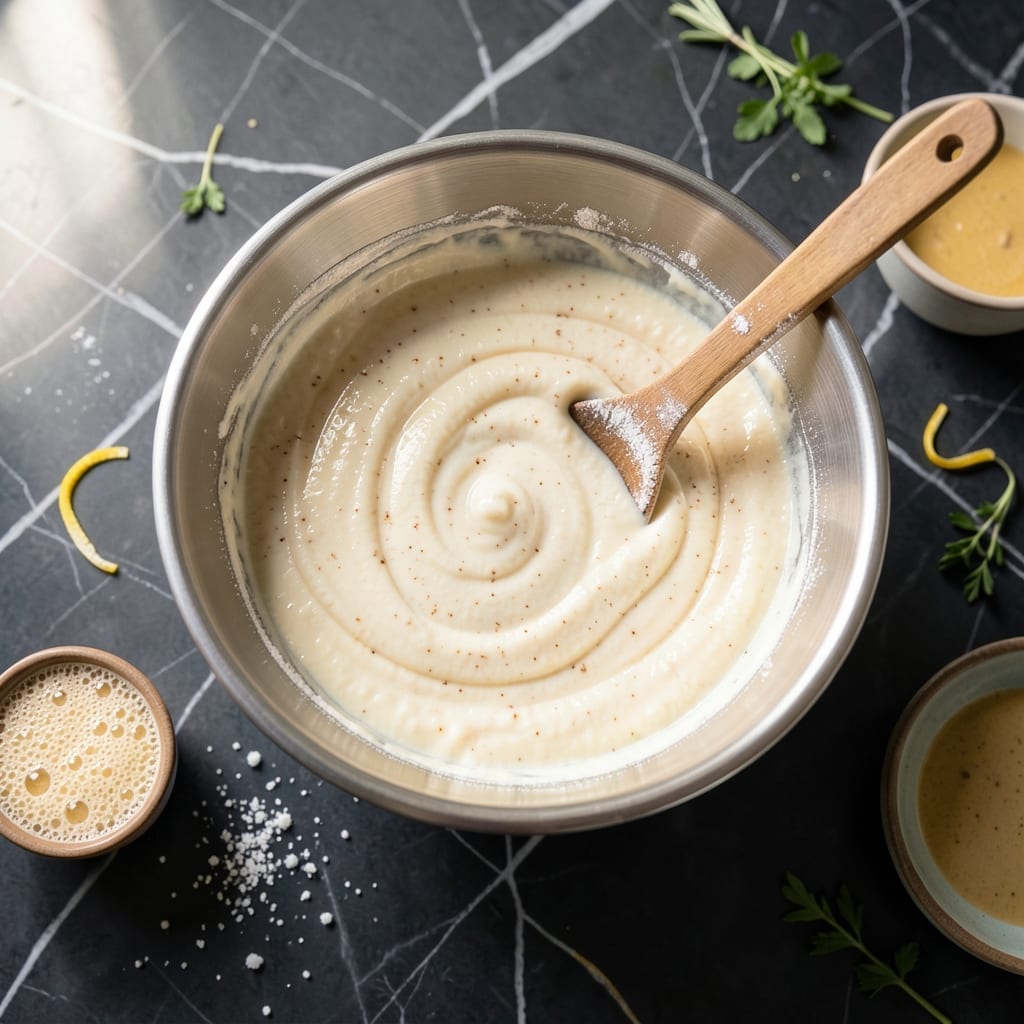
Achieving perfect donut batter for a dispenser requires precision in both texture and consistency. This recipe delivers a smooth, pipeable batter that maintains its shape while frying or baking.
The key lies in balancing liquid and dry ingredients to create a batter that flows effortlessly through a dispenser without clogging. Proper resting time ensures optimal viscosity and flavor development.
You’ll end up with golden, evenly shaped donuts that cook uniformly every time. The dispenser compatibility eliminates the mess of traditional piping methods.
This method produces consistent results whether you’re making cake or yeast-based donuts. The batter holds its form while delivering ideal texture and rise.
Ingredients for Donut Batter Recipe for Dispenser
Precision ingredients create that perfect pipeable batter texture for your dispenser every time.
| Ingredient | Amount | Notes |
|---|---|---|
| All-Purpose Flour 🌾 | 4 cups | Sifted for smooth texture |
| Granulated Sugar 🍚 | ¾ cup | Fine grain for even distribution |
| Baking Powder 🧂 | 2 tbsp | Aluminum-free for best rise |
| Salt 🧂 | ½ tsp | Fine sea salt preferred |
| Ground Nutmeg 🌰 | ¼ tsp | Freshly ground for intensity |
| Whole Milk 🥛 | 1 ¼ cups | Room temperature for smooth mixing |
| Large Eggs 🥚 | 2 whole | Room temperature for emulsification |
| Unsalted Butter 🧈 | 4 tbsp | Melted and cooled slightly |
| Vanilla Extract 🌿 | 2 tsp | Pure extract for best flavor |
| Vegetable Oil 🫒 | 2 tbsp | For greasing dispenser components |
| Active Dry Yeast 🍞 | 2 ¼ tsp | For yeast-based variation |
| Warm Water 💧 | ½ cup | 110°F for yeast activation |
[recipe_ingredient_scaler]
The flour quality is non-negotiable here. King Arthur or Gold Medal deliver consistent protein content (10-12%) for optimal structure. Use the spoon-and-level method for measurement—scooping directly from the bag packs the flour and throws off the liquid ratio. For the yeast-based version, Fleischmann’s or Red Star are reliable brands. Always check the expiration date; old yeast loses its potency.
No whole milk? Half-and-half thinned with water works in a pinch. For a richer batter, substitute buttermilk at one-to-one ratio. Out of nutmeg? Allspice at half the amount provides similar warmth. The batter should rest 30-60 minutes before dispensing—this relaxes the gluten and achieves the ideal viscosity. Skip the resting and you risk clogging.
Store unused batter covered in the refrigerator for up to 24 hours. The texture thickens as it chills, so let it sit at room temperature 15-20 minutes before using. Freezing isn’t recommended—it separates and loses its pipeable consistency. Clean dispenser components immediately after use to prevent batter from hardening.
Why You’ll Love This Recipe
- One-Bowl Wonder: I just dump everything in, mix, and it’s ready—the flour, sugar, and nutmeg come together without fuss.
- Warm Spice Magic: That hint of nutmeg gives the batter a cozy, old-fashioned sweetness that’s impossible to resist.
- Crowd-Pleasing Batch: I make a double batch on weekends and freeze half—perfect for surprise breakfast treats or last-minute guests.
- Pocketbook Friendly: All-purpose flour and basic pantry staples mean I spend pennies per donut. Honestly, it’s cheaper than the bakery every time.
Step-by-Step Instructions for Donut Dispenser Batter
This method ensures a consistent, smooth batter that flows perfectly through your piping equipment.
Step 1: Activate the Yeast Mixture
In a small bowl, combine the 2.25 tsp Active Dry Yeast with the 0.5 cup Warm Water and let it stand for 5-10 minutes until foamy. This activation step is crucial for proper rise and texture in the final product.
I always verify the water temperature is exactly 110°F—too hot kills the yeast, too cold prevents activation. You’ll see the mixture bubble and expand slightly when ready, confirming the yeast is alive and working.
Step 2: Combine Wet Ingredients Thoroughly
In a large mixing bowl, whisk together the 1.25 cups Whole Milk, 2 whole Large Eggs, 4 tbsp Unsalted Butter (melted and cooled), and 2 tsp Vanilla Extract until fully emulsified. Room temperature ingredients blend more smoothly, preventing lumps in your batter.
Add the activated yeast mixture to these wet ingredients and stir gently. The combination should look slightly frothy at this stage, which indicates proper yeast integration before adding the dry components.
Step 3: Incorporate Dry Ingredients Gradually
In a separate bowl, sift together the 4 cups All-Purpose Flour, 0.75 cup Granulated Sugar, 2 tbsp Baking Powder, 0.5 tsp Salt, and 0.25 tsp Ground Nutmeg. Sifting aerates the flour and prevents clumping in the dispenser.
Gradually add the dry mixture to the wet ingredients while mixing on low speed. The batter should be smooth and thick but still pourable—about the consistency of pancake batter. Stop mixing as soon as everything is incorporated to avoid developing gluten.
Step 4: Adjust for Dispenser Consistency
For optimal dispenser performance, thin the batter slightly by stirring in the 2 tbsp Vegetable Oil. This improves flow through the piping mechanism without altering the final texture of your donuts.
Test the consistency by lifting a spoonful—it should ribbon off smoothly, not in thick clumps. If it’s too thick, add a tablespoon of milk; if too thin, a tablespoon of flour. The perfect batter maintains its shape briefly before leveling out.
Step 5: Prime and Test the Dispenser
Grease all dispenser components with a small amount of the Vegetable Oil to prevent sticking. Pour the batter into the dispenser and run a small test amount to ensure smooth, uninterrupted flow.
Adjust the dispenser pressure as needed—the batter should extrude in a steady, even stream without spattering. Maintain the batter at room temperature for best results, as cold batter thickens and may clog the mechanism.
Pro Tips For Making Donut Batter Recipe For Dispenser
- Chill the Batter: After mixing, refrigerate the batter for 20-30 minutes—this relaxes the gluten and makes it flow smoother through the dispenser.
- Sift Dry Ingredients: I learned this the hard way: sift the flour, baking powder, and nutmeg together first to prevent lumps that clog the dispenser.
- Skip Overmixing: Stir just until the flour disappears; overmixing develops tough donuts that won’t puff properly in the fryer.
- Use Room Temp Wet: Sounds weird, but it works: take your eggs and milk out 30 minutes early—cold ingredients make the batter seize up in the dispenser.
Pro Cooking Tips for Great donut batter recipe for dispenser
Batter Temperature Control
Room temperature ingredients are non-negotiable for smooth dispenser flow. I pull my milk, eggs, and butter out 1 hour before mixing. Cold ingredients create lumps that clog your equipment and ruin texture.
Consistency Testing
Before loading the dispenser, always do the ribbon test. Dip a spoon in—perfect batter should drizzle off in a steady 3-second ribbon before dissolving. Too thick? Add 1 tbsp milk. Too thin? Fold in 1 tbsp flour. 💡
Dispenser Priming
Grease all moving parts with vegetable oil before adding batter. Run a ½ cup test batch first to ensure smooth flow. If it sputters, your batter needs more oil or warming—cold batter thickens in the mechanism.
Pressure Settings
Start with medium pressure on your dispenser. Most home models work best at 30-40 PSI for this batter. If donuts come out misshapen, adjust in 5 PSI increments. I keep a small offset spatula handy to smooth any uneven edges.
Cleaning Protocol
Never let batter sit in the dispenser after use. I rinse components with warm water immediately, then soak in soapy water for 10 minutes. This prevents hardened batter from damaging the mechanism. 🔥
Resting Time
After mixing, let the batter rest 30 minutes at room temperature. This relaxes the gluten for smoother flow through the dispenser. Skipping this step often causes clumping and uneven extrusion.
Nutrition Facts
Frequently Asked Questions
What’s the ideal batter consistency for a dispenser?
It should ribbon off a spoon in a steady 3-second stream before dissolving. Too thick? Add 1 tbsp milk. Too thin? Mix in 1 tbsp flour.
Why must ingredients be room temperature?
Cold ingredients create lumps that clog dispensers. Let milk, eggs, and butter sit out for 1 hour before mixing for smooth flow.
How do I prevent clogs in my dispenser?
Grease all parts with vegetable oil and run a ½ cup test batch first. Clean immediately after use with warm soapy water.
Can I use this batter for cake donuts too?
Yes! Adjust pressure to 30-40 PSI for cake-style donuts. Let batter rest 30 minutes for optimal texture before dispensing.

Trained in classic French technique but raised on slow-cooked ribs and spicy rubs, she blends culinary skill with smoke and soul.
- Recipe for Boneless Pork Chops in Cast Iron Skillet: Sear and Baste to Juicy Perfection - October 3, 2026
- Recipe for Boneless Cross Rib Roast: Slow-Roasted Beef with Herb Crust - October 3, 2026
- Hamburgers in Sauce Recipe Crock Pot: Slow-Cooked Savory Delight - October 3, 2026