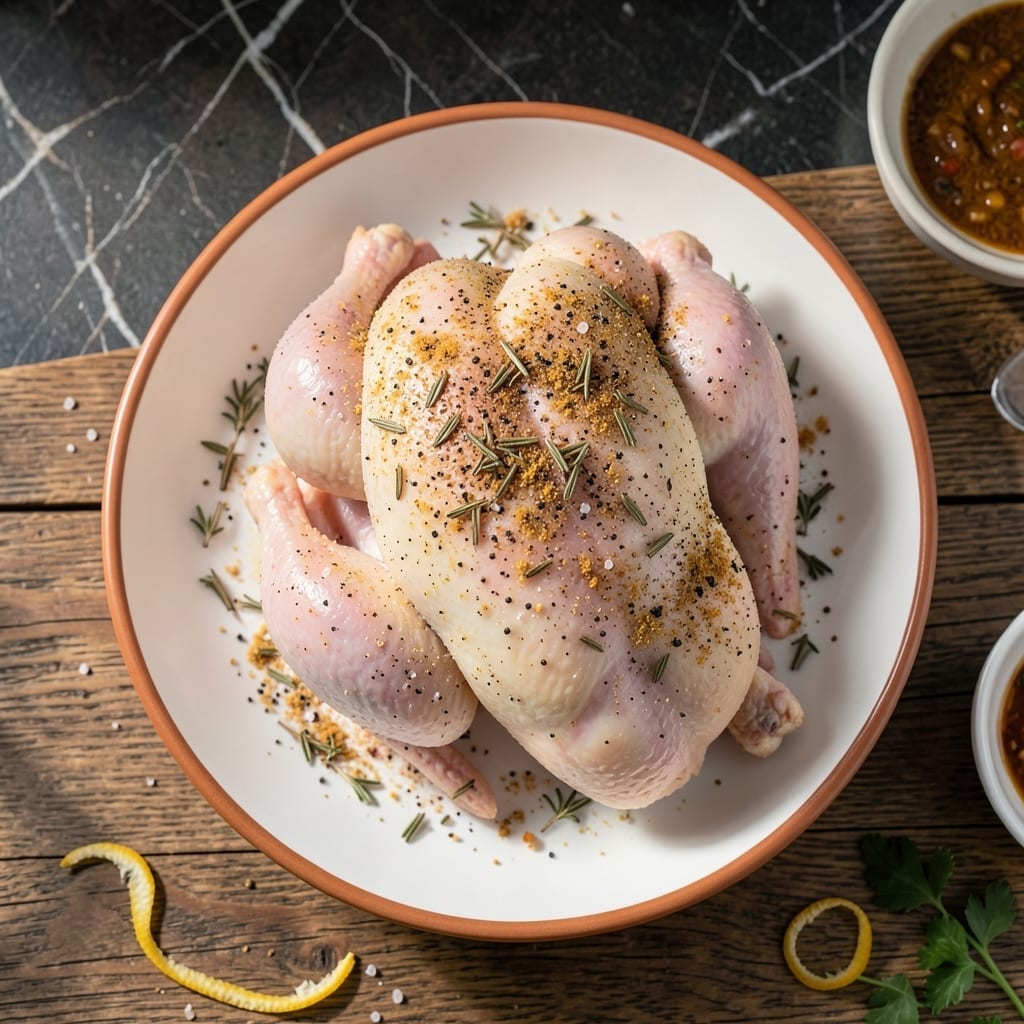
This dry brine method delivers crispy chicken skin without the risk of over-salting that comes with wet brines. The technique is simple but precise, using salt to draw out moisture before it’s reabsorbed with seasoning deep into the meat.
I’ve tested this approach on everything from whole roasters to chicken thighs, and it consistently produces juicy, well-seasoned meat with perfectly golden skin. The key is allowing enough time for the salt to work its magic—at least 12 hours in the fridge.
The result is chicken that’s flavorful through and through, not just on the surface. Unlike traditional brining, there’s no messy liquid to manage, and the skin crisps up beautifully under high heat.
This method works for any cooking technique, whether you’re roasting, grilling, or frying. Here’s how to do it right.
Ingredients for Dry Brine Recipe for Chicken
Twelve ingredients transform chicken into crispy, juicy perfection with this dry brine method.
| Ingredient | Amount | Notes |
|---|---|---|
| Whole Chicken 🍗 | 4 lb | Cut into pieces or whole |
| Kosher Salt 🧂 | ¼ cup | Diamond Crystal preferred for even distribution |
| Black Pepper 🌶️ | 1 tbsp | Freshly ground coarse |
| Garlic Powder 🧄 | 1 tbsp | Not garlic salt |
| Onion Powder 🧅 | 1 tbsp | Fine grind preferred |
| Dried Thyme 🍃 | 1 tsp | Rubbed between fingers to release oils |
| Dried Rosemary 🌿 | 1 tsp | Crushed to activate flavor |
| Paprika 🌶️ | 1 tsp | Sweet or smoked variety |
| Cayenne Pepper 🔥 | ¼ tsp | Optional for heat |
| Brown Sugar 🍚 | 1 tbsp | Light or dark for caramelization |
| Baking Powder 🧂 | ½ tsp | For extra-crispy skin (the secret weapon) |
| Olive Oil 🫒 | 2 tbsp | Extra-virgin for richness |
[recipe_ingredient_scaler]
The salt is non-negotiable—Diamond Crystal kosher salt is the gold standard for even distribution without over-salting. Most grocery stores carry it, but any fine kosher salt works. For the chicken, air-chilled birds (like Bell & Evans) yield superior crispness. The baking powder might seem odd, but it’s a professional trick for ultra-crispy skin by raising the pH.
No kosher salt? Half the amount of table salt (it’s denser), but measure carefully to avoid over-salting. Fresh herbs can replace dried at one-third the quantity. Want more depth? Add a pinch of ground coriander or mustard powder. The brown sugar helps caramelization, but honey or maple syrup work too—just use sparingly.
The dry brine needs 12-24 hours in the fridge to work its magic. Pat the chicken skin dry before cooking for maximum crispiness. Leftovers keep for 3-4 days—reheat in a skillet to revive the skin.
Why You’ll Love This Recipe
- No Fuss Seasoning: I just rub the chicken with salt, pepper, and powders the night before—no wet brine mess, no last-minute stress.
- Deep, Juicy Flavor: The dry brine pulls moisture in while the garlic and onion powders give every bite that savory punch I crave.
- Meal Prep Hero: I roast one on Sunday and we’re set for salads, tacos, or sandwiches all week.
- Budget Stretch: One whole chicken, a few pantry staples, and we get multiple meals for less than takeout.
Step-by-Step Instructions for Dry Brined Chicken
Master this technique for perfectly seasoned meat and impossibly crisp skin every time.
Step 1: Prepare and Dry the Chicken
Pat the 4 lb Whole Chicken completely dry inside and out with paper towels. This critical step removes excess moisture that would otherwise inhibit the dry brine from penetrating the meat. Pay special attention to the cavity and under the wings where water tends to accumulate.
Place the chicken on a wire rack set over a baking sheet. This elevation allows air to circulate around the entire bird, ensuring even drying. Let it sit uncovered in the refrigerator for 1 hour to begin the drying process before applying the brine.
Step 2: Apply the Dry Brine Mixture
In a small bowl, combine the 0.25 cup Kosher Salt, 1 tbsp Black Pepper, 1 tbsp Garlic Powder, 1 tbsp Onion Powder, 1 tsp Dried Thyme, 1 tsp Dried Rosemary, 1 tsp Paprika, 0.25 tsp Cayenne Pepper, 1 tbsp Brown Sugar, and 0.5 tsp Baking Powder. The baking powder is the secret to extra-crispy skin.
Rub this mixture evenly over every surface of the chicken, including inside the cavity. I use my hands for this—it ensures complete coverage and allows you to press the seasoning into the meat. The chicken should look uniformly coated with no bare spots.
Step 3: Refrigerate for Maximum Flavor Penetration
Return the seasoned chicken to the refrigerator, still uncovered on the wire rack. For optimal results, let it dry brine for 12-24 hours. This extended time allows the salt to penetrate deep into the meat, seasoning it thoroughly while the surface dries out for crispier skin.
The longer you can leave it, the better the results. During this time, the salt draws out moisture initially, then reabsorbs it along with the other seasonings, creating a perfectly flavored bird. The skin will appear slightly tacky when it’s ready to cook.
Step 4: Prepare for Cooking
Remove the chicken from the refrigerator 30 minutes before cooking to bring it to room temperature. This ensures even cooking throughout. Preheat your oven to 425°F during this time.
Just before cooking, drizzle the 2 tbsp Olive Oil over the chicken and rub it in, coating the skin completely. The oil helps conduct heat and promotes even browning. The skin should glisten but not be swimming in oil.
Step 5: Roast to Perfection
Place the chicken breast-side up in the preheated oven. Roast for approximately 1 hour to 1 hour 15 minutes, or until the internal temperature reaches 165°F in the thickest part of the thigh and the juices run clear.
The skin should be deep golden brown and crisp to the touch. If it’s browning too quickly, tent loosely with foil. Let the chicken rest for 15 minutes before carving to allow the juices to redistribute, ensuring moist, flavorful meat throughout.
Pro Tips For Making Dry Brine Recipe For Chicken
- Salt Overnight: I learned this the hard way—give your chicken at least 12 hours in the fridge with just the kosher salt before adding other spices. The salt penetrates deep, making the meat juicier than any last-minute seasoning.
- Pat It Dry: After the dry brine, grab a paper towel and really press into the skin to remove all moisture. Sounds tedious, but it’s the only way to get that crackling, golden crust later.
- Skip the Wet Brine: Resist the urge to add liquid—this is a dry brine, and extra moisture will just dilute the salt’s effect. I ruined two chickens before accepting this simple truth.
- Add Spices Later: Mix the garlic powder, onion powder, and black pepper in just before cooking, not during the salting phase. They can burn or turn bitter if left on too long.
Storing and Reheating Leftovers
Refrigerator Storage
After cooking, let your chicken cool for no more than 2 hours before refrigerating. Store in airtight containers or wrapped tightly in aluminum foil. It will keep for 3-4 days at 40°F or below. 💪
Freezer Storage
For longer storage, freeze cooked chicken in heavy-duty freezer bags or airtight containers for up to 3 months. Squeeze out excess air to prevent freezer burn. I recommend portioning into meal-sized servings before freezing.
Oven Reheating
Preheat your oven to 350°F. Place chicken on a baking sheet, add 2 tbsp water or chicken broth to the pan, and cover with foil. Heat for 15-20 minutes until reaching 165°F internally. This method preserves moisture beautifully. ❄️
Skillet Revival
For crispy skin, reheat in a cast iron skillet over medium heat with 1 tbsp olive oil. Cover with a lid for 5 minutes, then uncover to crisp the skin for 2-3 minutes. This brings back that fresh-cooked texture.
Microwave Option
Place chicken on a microwave-safe plate, cover with a damp paper towel, and heat on 70% power for 1-2 minutes. Let it rest for 1 minute before serving. This works in a pinch but may soften the skin.
Nutrition Facts
Frequently Asked Questions
How long should I dry brine chicken?
For best results, dry brine chicken for 12-24 hours in the fridge. This gives the salt time to fully penetrate the meat and dry the skin for maximum crispiness.
Can I dry brine just chicken pieces instead of a whole bird?
The method works perfectly for thighs, breasts, or wings. Reduce brining time to 4-12 hours for smaller cuts to avoid over-salting.
Why does the skin get so crispy with dry brining?
The salt draws out moisture initially, then the uncovered fridge time dries the skin surface completely. When cooked at 425°F, this creates that coveted golden, crackly texture.
Is baking powder really necessary in the brine?
While optional, 0.5 tsp baking powder raises the skin’s pH for extra browning and crispiness. It’s a pro trick that makes a noticeable difference.

Trained in classic French technique but raised on slow-cooked ribs and spicy rubs, she blends culinary skill with smoke and soul.
- Recipe for Boneless Pork Chops in Cast Iron Skillet: Sear and Baste to Juicy Perfection - October 3, 2026
- Recipe for Boneless Cross Rib Roast: Slow-Roasted Beef with Herb Crust - October 3, 2026
- Hamburgers in Sauce Recipe Crock Pot: Slow-Cooked Savory Delight - October 3, 2026