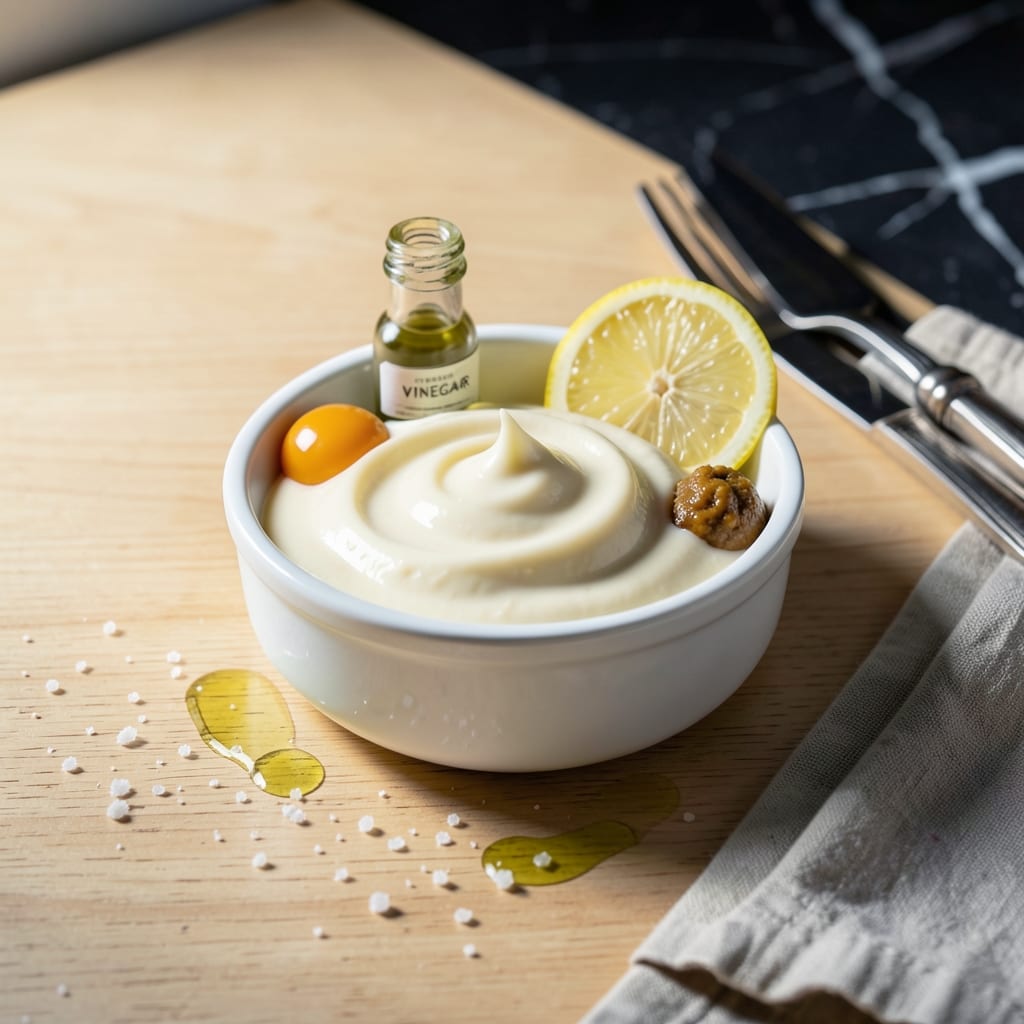
Few condiments define Southern flavor as distinctly as this tangy, rich spread. I developed this version after years of craving that signature Duke’s taste in regions where it wasn’t available.
The secret lies in a precise balance of vinegar and egg yolk, creating that unmistakable sharpness. This method uses simple ingredients but requires careful emulsification for the perfect creamy texture.
What emerges is a mayonnaise with just the right tang and thickness, ideal for sandwiches, dips, or salad dressings. The flavor profile matches the beloved original.
Once you try this homemade version, you’ll understand why Southern kitchens always have a jar ready.
Ingredients for Duke’s Mayo Copycat
Eight simple ingredients. One perfect tangy spread. Better than store-bought every time.
| Ingredient | Amount | Notes |
|---|---|---|
| Large Egg Yolks 🥚 | 2 whole | Room temperature for emulsification |
| White Vinegar 💧 | 2 tbsp | Distilled for sharp tang |
| Lemon Juice 🍋 | 1 tbsp | Freshly squeezed preferred |
| Dijon Mustard 🟡 | 1 tsp | Smooth, no seeds |
| Granulated Sugar 🍚 | 1 tsp | Fine white sugar |
| Sea Salt 🧂 | ¾ tsp | Fine grain preferred |
| Neutral Flavored Oil 🫒 | 1 ¼ cups | Light olive or avocado oil |
| Egg White 🥚 | 1 whole | Optional for lighter texture |
[recipe_ingredient_scaler]
The vinegar is key here. Distilled white vinegar gives that sharp tang Duke’s is known for—apple cider vinegar tastes too sweet. For the oil, go with something neutral like avocado or light olive oil (save the extra-virgin for dressings). Room temperature eggs emulsify better, so pull them out 30 minutes before starting. I grab my vinegar and oils from Costco for the best prices on the big bottles.
No Dijon? Yellow mustard at double the amount works, but the flavor will be milder. Out of white vinegar? Apple cider vinegar in a pinch, but cut it back by half. The sugar balances the acidity—don’t skip it. If you want it thicker, use an extra yolk (but start with two; you can always add more). For a lighter mayo, add the egg white—it makes it fluffier without changing the flavor much.
This keeps in the fridge for about 2 weeks in a clean jar. The flavor actually improves after a day as everything melds. If it separates, just whisk it back together. Don’t leave it at room temperature for more than 2 hours—this isn’t shelf-stable like store-bought.
Why You’ll Love This Recipe
- One Bowl Wonder: I just whisk the egg yolks with vinegar, lemon, mustard, and sugar—no fancy gadgets, no mess.
- Tangy Perfection: The combo of white vinegar and lemon juice gives that signature Duke’s zing I crave on sandwiches.
- Spreads for Days: I make a big batch and it keeps for a week, so I’m slathering it on burgers, fries, even grilled cheese.
- Pantry Staples Only: Between us, I already had all five ingredients in my kitchen—no last-minute grocery runs.
Step-by-Step Instructions for Southern-Style Spread
Here’s the method that gets you that signature tangy flavor and creamy texture.
Step 1: Combine Wet Ingredients for Emulsion Base
Start by whisking the 2 whole Large Egg Yolks and 1 whole Egg White together in a food processor or blender until frothy. This creates the foundation for your emulsion. Room temperature eggs work best here—they blend more smoothly into the oil.
Add the 2 tbsp White Vinegar, 1 tbsp Lemon Juice, 1 tsp Dijon Mustard, 1 tsp Granulated Sugar, and 0.75 tsp Sea Salt. Pulse until fully combined and pale in color. The vinegar and lemon juice provide that signature sharp tang, while the mustard acts as an emulsifier.
Step 2: Stream in Oil for Perfect Emulsion
With the processor running, begin slowly drizzling in the 1.25 cups Neutral Flavored Oil in a thin, steady stream. This gradual addition is crucial—adding oil too quickly will break the emulsion and leave you with a separated mess.
Watch as the mixture transforms from a thin liquid to a thick, creamy consistency. You’ll hear the sound change as it thickens. If it looks too thick, add a teaspoon of water and pulse to adjust. The finished product should coat the back of a spoon and hold its shape when dolloped.
Step 3: Adjust Consistency and Flavor
Taste and adjust seasoning if needed. Some prefer a bit more tang, so you can add an extra splash of vinegar or lemon juice. The flavor should be bright and slightly sharp, with a smooth, velvety texture.
If the mixture is too thick, thin it with a teaspoon of water at a time until it reaches your desired spreadability. Remember, it will thicken slightly as it chills. The consistency should be similar to store-bought mayonnaise—easily spreadable but not runny.
Step 4: Chill for Optimal Texture
Transfer the spread to a clean jar or airtight container. Let it chill in the refrigerator for at least 1 hour before using. This resting time allows the flavors to meld together and the texture to set properly.
You’ll notice the color lightens slightly as it cools, and the texture becomes more stable. This chilling step is essential for achieving that classic creamy mouthfeel. Store in the refrigerator for up to 1 week for best quality.
Pro Tips For Making Duke’S Mayo Copycat
- Temper Your Yolks: Let your egg yolks sit at room temperature for 10-15 minutes before starting—I learned this the hard way after my first batch split because the cold yolks seized up when the oil hit them.
- Use Fresh Lemon: Bottled lemon juice works in a pinch, but fresh squeezed makes a real difference in brightness. I was skeptical until I tried it side by side.
- Drip Slowly: Add the oil in a thin, steady stream, especially at the beginning. After rushing this part once, I ended up with a broken mayo that wouldn’t come back together.
- Skip the Blender: A whisk and a bowl give you more control than a blender for this small batch. Sounds old-school, but it works every time for that Duke’s texture.
Essential Equipment for dukes mayo copycat
Food Processor
A 3-5 cup food processor is ideal for this recipe. I use my Cuisinart Mini-Prep—it’s the perfect size for small batches and creates a consistent emulsion every time. The blade should be sharp for smooth blending.
Immersion Blender
For an even easier method, try an immersion blender with a tall, narrow container. I love my Bamix for this—just add all ingredients, insert the blender, and blend while slowly lifting it to incorporate the oil. 💡
This creates mayo in under 2 minutes with minimal cleanup. The narrow container helps the blender pull oil down into the emulsion as you lift it.
Whisk and Bowl
If you prefer hand tools, a balloon whisk and stainless steel mixing bowl work well. I recommend a bowl with a pour spout for easier oil drizzling. The process takes 10-15 minutes of vigorous whisking.
Measuring Tools
Precise measurements matter here. I use OXO Good Grips measuring spoons for the vinegar, mustard, and sugar. A liquid measuring cup with a pour spout is perfect for the oil—it helps control the slow, steady stream.
Storage Containers
Transfer your finished mayo to a clean 16-ounce mason jar or airtight container. I prefer wide-mouth jars for easy scooping. Make sure the container is completely dry before adding the mayo to prevent spoilage.
Thermometer
For safety, use an instant-read thermometer to check your eggs are at room temperature (70°F). This ensures proper emulsification. I keep a ThermoWorks ThermaPen in my kitchen for all temperature checks. 🌡️
Nutrition Facts
Frequently Asked Questions
Why use white vinegar instead of apple cider?
White vinegar gives the sharp tang that defines this spread. Apple cider vinegar adds unwanted sweetness. Stick with distilled white for authentic flavor.
Can I make this without a food processor?
Yes! Use an immersion blender with a tall container. It creates perfect emulsion in under 2 minutes with less cleanup. A whisk works too but takes 10-15 minutes of vigorous mixing.
How long does homemade version keep?
Store in an airtight container in the fridge for up to 1 week. The flavor improves after 24 hours as ingredients meld. Never leave it out more than 2 hours.

Trained in classic French technique but raised on slow-cooked ribs and spicy rubs, she blends culinary skill with smoke and soul.
- Recipe for Boneless Pork Chops in Cast Iron Skillet: Sear and Baste to Juicy Perfection - October 3, 2026
- Recipe for Boneless Cross Rib Roast: Slow-Roasted Beef with Herb Crust - October 3, 2026
- Hamburgers in Sauce Recipe Crock Pot: Slow-Cooked Savory Delight - October 3, 2026