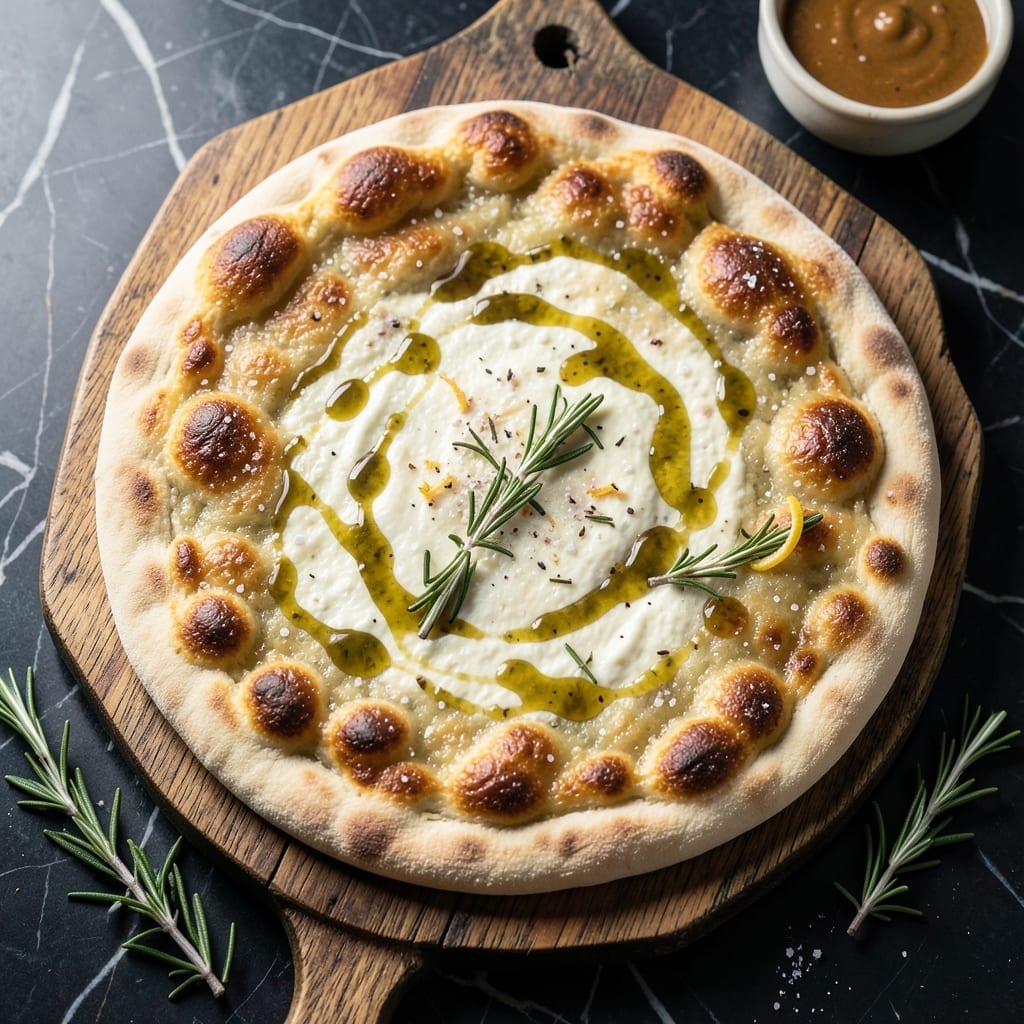
This no-yeast pizza dough delivers a fluffy base with minimal effort and maximum flavor. I developed this recipe after testing countless variations to achieve the perfect texture without traditional rising time.
The secret lies in using baking powder as a leavening agent, which creates air pockets for that coveted lightness. With just 5 ingredients and 10 minutes of prep, you’ll have a versatile dough ready for any topping combination.
What you’ll get is a soft, slightly chewy crust that holds up to sauces and toppings without becoming soggy. The dough rolls out easily and bakes to a golden finish, making it ideal for quick weeknight dinners.
Perfect for those who want homemade pizza without the wait. Here’s how to make it.
Ingredients for Easiest Pizza Dough Recipe No Yeast
Five ingredients. Ten minutes. Fluffy, golden crust every time.
| Ingredient | Amount | Notes |
|---|---|---|
| All-Purpose Flour 🌾 | 2 ½ cups | Plus extra for dusting |
| Baking Powder 🧂 | 2 tsp | For leavening, not baking soda |
| Salt 🧂 | 1 tsp | Fine sea salt preferred |
| Olive Oil 🫒 | 2 tbsp | Extra-virgin for flavor |
| Plain Greek Yogurt 🥛 | ¾ cup | Full-fat for richness |
[recipe_ingredient_scaler]
The yogurt is key here—full-fat Greek yogurt gives you that tender, stretchy texture. I grab Fage 5% at Whole Foods or Trader Joe’s, but any thick, unsweetened yogurt works. The flour doesn’t need to be fancy (all-purpose is perfect), but make sure your baking powder is fresh. Old baking powder loses its oomph, and your crust won’t rise right.
No Greek yogurt? Plain regular yogurt works in a pinch (strain it first if it’s runny). Swap olive oil for melted butter if that’s what you’ve got. For a lighter crust, use half whole wheat flour—but don’t go over 50% or it’ll get dense. Baking powder is non-negotiable though; no yeast means it’s doing all the lifting here.
The dough keeps in the fridge for 2 days (tightly wrapped) or freezes for 1 month. Let it sit at room temp 30 minutes before rolling—cold dough fights back. Doubles easily if you’re feeding a crowd (or just really love leftovers).
Why You’ll Love This Recipe
- No Yeast Needed: I skip the waiting around for dough to rise—just mix, roll, and bake.
- Tangy Crust: The Greek yogurt gives it this subtle richness that’s way better than plain flour and water.
- Last-Minute Dinner: I’ve pulled this together on busy weeknights when takeout was the backup plan.
- Pantry Staples: Flour, baking powder, yogurt—stuff I almost always have on hand, so no extra shopping.
Step-by-Step Instructions for No Yeast Pizza Dough
No waiting, no rising—just mix, shape, and bake for a quick fluffy crust.
Step 1: Combine Dry Ingredients
In a large mixing bowl, whisk together 2.5 cups All-Purpose Flour, 2 tsp Baking Powder, and 1 tsp Salt. I like to sift them first to break up any lumps, but a quick whisk works just as well. The baking powder is your leavening agent here, so make sure it’s fresh.
You’ll know it’s fully combined when the mixture looks uniform in color with no visible streaks of white baking powder. This takes about 30 seconds of vigorous whisking. Don’t skip this step—it ensures even distribution so your dough rises uniformly.
Step 2: Add Wet Ingredients and Mix
Pour in 2 tbsp Olive Oil and 0.75 cup Plain Greek Yogurt. I use full-fat yogurt for the best texture—it gives the dough that perfect balance of tenderness and structure. The olive oil adds richness and helps create a crispy exterior.
Use a silicone spatula or wooden spoon to stir everything together until a shaggy dough forms. It’ll look rough at first, with bits of flour still visible. That’s normal. Keep mixing until all the flour is incorporated and the dough starts to pull away from the sides of the bowl.
Step 3: Knead Briefly on Floured Surface
Turn the dough out onto a lightly floured surface—I usually use about 2 tbsp extra flour for dusting. The dough will be slightly sticky, which is exactly what you want. Knead gently for 1-2 minutes just until it comes together into a smooth ball.
Don’t overwork it. Unlike yeast dough, this one doesn’t need extensive kneading. You’re just looking to bring it together so it holds its shape. If it sticks, add a tiny bit more flour, but sparingly—too much will make the dough tough.
Shape it into a disc about 1-inch thick and let it rest for 5 minutes. This short rest makes the dough easier to roll out.
Step 4: Roll and Shape the Dough
After the rest, roll the dough out on your floured surface to your desired thickness. For a classic pizza crust, aim for about ¼-inch thick. I like to roll it out just slightly larger than my pizza pan or baking sheet since it won’t rise much during baking.
Transfer the rolled dough to a parchment-lined baking sheet. If it tears a little during transfer, don’t worry—just press the edges together to seal. Use your fingers to create a slight rim around the edge for that traditional pizza crust look.
Let it rest for another 5 minutes while you preheat your oven to 425°F. This final rest helps the dough relax so it doesn’t shrink back when baked.
Pro Tips For Making Easiest Pizza Dough Recipe No Yeast
- Chill the Dough: After mixing, let the dough rest in the fridge for 15-20 minutes—this makes it way easier to roll out without sticking or springing back.
- Use Full-Fat Yogurt: Skip low-fat versions; the full-fat Greek yogurt gives the dough that tender, slightly chewy texture you actually want.
- Don’t Overwork It: I learned this the hard way—mix just until it comes together, or the baking powder will over-develop and make the crust tough.
- Roll It Thin: Sounds weird, but it works: aim for about ¼-inch thickness for a crispy crust that still holds up to toppings.
Essential Equipment for This Recipe
Mixing Bowls
A large, wide stainless steel mixing bowl is my go-to for this dough. I love my All-Clad 5-quart—it’s the perfect size and the wide base makes mixing easy. David actually found it at a Central Market sale last year, and it’s been my workhorse ever since. 💛
Measuring Tools
Accurate measurements matter here, so I rely on my OXO Good Grips measuring cups and spoons. For the flour, use the spoon-and-level method to avoid packing it down. The 2.5 cups needs to be precise for the right texture.
Rolling Pin
A good wooden rolling pin helps roll out the dough evenly. I use a French-style tapered pin—no handles, just smooth wood. Dust it with a bit of flour before rolling to prevent sticking. Roll from the center outward for an even ¼-inch thickness.
Baking Sheet and Parchment
Use a half-sheet pan (about 18×13 inches) with a rim to catch any oil that might bubble over. Line it with parchment paper for easy transfer and cleanup. I buy my parchment in bulk at Costco—it’s a game-changer for frequent bakers.
Oven Thermometer
This is my secret weapon. Even the best ovens can be off by 25°F or more, so I always use an oven thermometer to verify the temperature. For this dough, you want a true 425°F for that perfect golden crust. 🔥
Nutrition Facts
Frequently Asked Questions
Can I use regular yogurt instead of Greek?
Yes, but strain it first to remove excess liquid. Full-fat versions work best for texture. The thicker the yogurt, the better your dough will hold its shape.
Why does my dough taste bitter?
This usually means your baking powder is old. Always check the expiration date—fresh baking powder should bubble when mixed with hot water.
Can I make this dough ahead?
Wrap tightly in plastic and refrigerate for up to 2 days. Let it sit at room temperature for 30 minutes before rolling for best results.
How thin should I roll the dough?
Aim for ¼-inch thickness for a classic crust. Any thinner and it may crisp too much; thicker will be bread-like. Use a ruler if you’re unsure.

Trained in classic French technique but raised on slow-cooked ribs and spicy rubs, she blends culinary skill with smoke and soul.
- Recipe for Boneless Pork Chops in Cast Iron Skillet: Sear and Baste to Juicy Perfection - October 3, 2026
- Recipe for Boneless Cross Rib Roast: Slow-Roasted Beef with Herb Crust - October 3, 2026
- Hamburgers in Sauce Recipe Crock Pot: Slow-Cooked Savory Delight - October 3, 2026