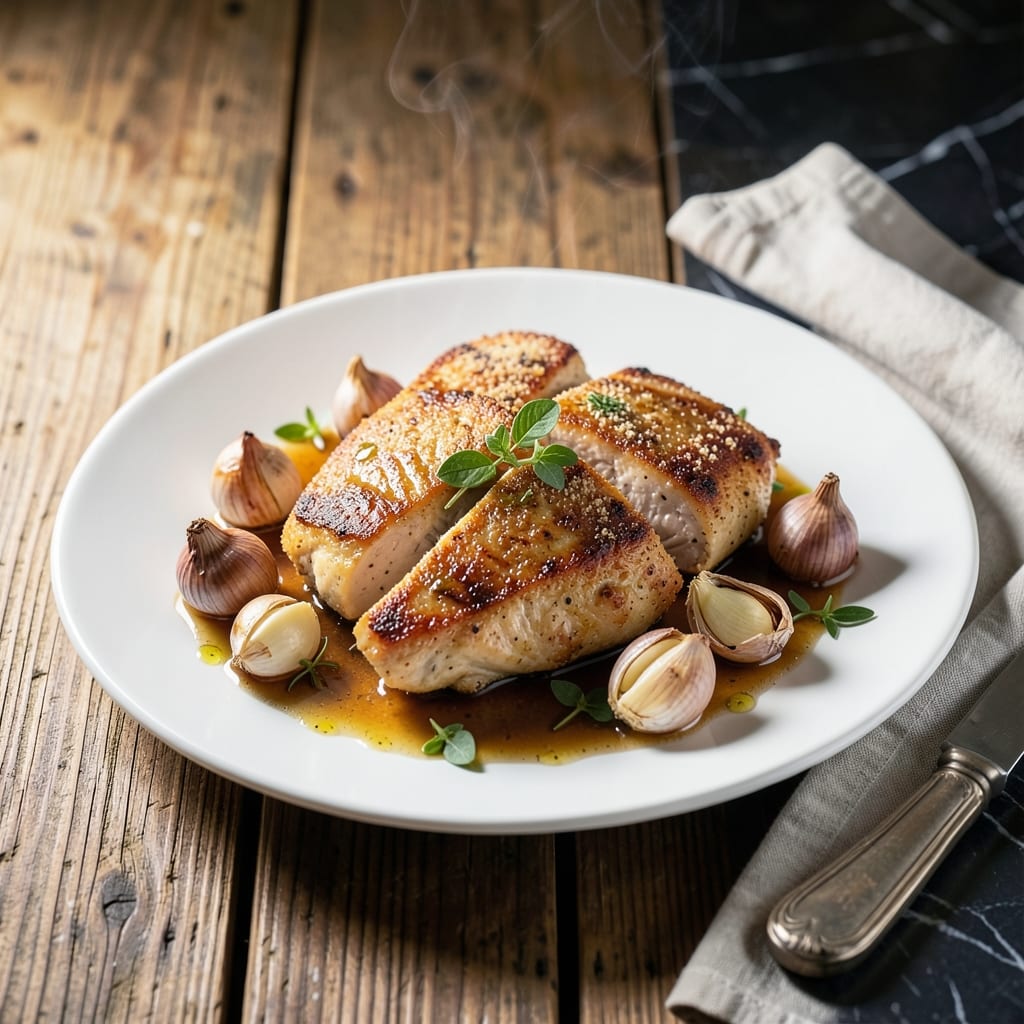
I created this recipe after one particularly chaotic evening when dinner needed to be on the table fast. It demonstrates that a satisfying meal doesn’t require complicated techniques or hours in the kitchen.
This dish comes together in 20 minutes using simple ingredients you likely already have on hand. The method is straightforward, with clear steps that ensure success even for beginners.
The result is a no-fuss dinner that delivers on flavor without the stress. It’s the kind of meal that proves weeknight cooking can be both effortless and rewarding.
Perfect for those nights when time is short but you still want something homemade and delicious. Here’s how to make it.
Ingredients for Easiest Recipe to Cook
Pantry staples meet minimal effort for a weeknight win every time.
| Ingredient | Amount | Notes |
|---|---|---|
| Boneless, Skinless Chicken Breasts 🍗 | 1 ½ lb | Pounded to even thickness |
| Olive Oil 🫒 | 2 tbsp | Divided for cooking and finishing |
| Garlic Cloves 🧄 | 3 cloves | Minced finely for even distribution |
| All-Purpose Flour 🌾 | ¼ cup | For light dredging |
| Chicken Broth 🥣 | 1 cup | Low-sodium preferred |
| Dried Oregano 🍃 | 1 tsp | Mediterranean variety ideal |
| Dried Thyme 🌿 | 1 tsp | Rubbed between fingers to release oils |
| Salt 🧂 | 1 tsp | Diamond Crystal kosher salt |
| Black Pepper 🌶️ | ½ tsp | Freshly ground for best flavor |
| Lemon Juice 🍋 | 1 tbsp | Freshly squeezed for brightness |
| Fresh Parsley 🌿 | 2 tbsp | Chopped, for garnish |
| Butter 🧈 | 1 tbsp | Unsalted, for finishing |
[recipe_ingredient_scaler]
The chicken is the foundation here. Boneless, skinless breasts cook fastest and most evenly—look for uniform thickness or pound them yourself. Whole Foods or Trader Joe’s often have pre-trimmed options that save time. For the herbs, dried oregano and thyme are pantry workhorses; Penzeys offers excellent quality if you’re restocking. The broth should be low-sodium to control seasoning.
No chicken breasts? Boneless thighs work too (just increase cooking time slightly). Out of fresh parsley? Dried at one-third the amount works in a pinch. No lemon juice? White wine vinegar adds similar acidity. For the flour, all-purpose is ideal, but cornstarch can substitute for a gluten-free option. The butter at the end is optional but worth the extra minute.
Leftovers keep beautifully for 3-4 days in the fridge. Reheat gently to avoid drying out the chicken. The herbs and spices maintain potency for 6-12 months if stored in airtight containers away from light. This dish doesn’t freeze well due to the chicken texture.
Why You’ll Love This Recipe
- One Pan Wonder: I love that everything cooks together—just brown the chicken, add garlic, and let the broth do its magic.
- Garlic Lovers’ Dream: The smell of garlic sizzling in olive oil is reason enough, but the taste? Ridiculously good.
- Weeknight Hero: I throw this together between school pickup and bedtime. Yes, even on a Tuesday night.
- Budget Friendly: Chicken breasts and pantry staples mean I can feed my family without breaking the bank.
Step-by-Step Instructions for a No-Fuss Weeknight Dinner
This method delivers perfectly cooked chicken with a bright, flavorful pan sauce in record time.
Step 1: Pound and Season the Chicken
Place the 1.5 lb boneless, skinless chicken breasts between two sheets of plastic wrap and pound to an even ½-inch thickness with a meat mallet. This ensures even cooking and prevents dry, overdone edges.
Season both sides generously with the 1 tsp salt and 0.5 tsp black pepper. I use Diamond Crystal kosher salt for its clean flavor and even distribution. Set aside while you prepare the dredging station—this brief rest helps the seasoning adhere.
Step 2: Dredge and Sear the Chicken
Spread the 0.25 cup all-purpose flour on a plate and dredge each chicken breast lightly, shaking off excess. The flour creates a golden crust and helps thicken the sauce later. Don’t over-flour; a light coating is all you need.
Heat 1 tbsp olive oil in a large skillet over medium-high heat until shimmering. Add the chicken and cook for 4-5 minutes per side until golden brown and cooked through. The chicken should release easily from the pan when ready to flip.
Transfer to a plate and tent with foil to keep warm.
Step 3: Build the Pan Sauce
In the same skillet, add the remaining 1 tbsp olive oil and the 3 cloves minced garlic cloves. Sauté for 30 seconds until fragrant—don’t let it brown. Stir in the 1 tsp dried oregano and 1 tsp dried thyme, rubbing them between your fingers to release their oils.
Pour in the 1 cup chicken broth and scrape up any browned bits from the bottom of the pan with a wooden spoon. Simmer for 3-4 minutes until the liquid reduces by half. Stir in the 1 tbsp lemon juice and 1 tbsp butter until the butter melts and the sauce becomes glossy.
Step 4: Finish and Garnish
Return the chicken to the skillet and spoon the sauce over the top. Let it simmer for 1-2 minutes to reheat the chicken and allow the flavors to meld. The sauce should coat the back of a spoon lightly.
Transfer to serving plates and garnish with the 2 tbsp chopped fresh parsley. Serve immediately with the pan sauce spooned over the top. Each bite will be tender, flavorful, and perfectly balanced with the bright, herby sauce.
Pro Tips For Making Easiest Recipe To Cook
- Pound the Chicken: I learned this the hard way—uneven thickness means some bites are dry while others are raw. Use a rolling pin or heavy pan to flatten the breasts to an even ½-inch thickness before cooking.
- Toast the Garlic: After burning three batches, I finally figured out garlic goes from golden to bitter in seconds. Pull it from the oil the moment it turns light brown, then add it back with the broth.
- Skip Cold Chicken: Sounds weird, but it works: Let the chicken sit at room temperature for 15 minutes before cooking. It cooks more evenly and actually changes the outcome.
- Deglaze with Broth: My grandmother swore by this, and she was right: After searing the chicken, pour in the broth while the pan’s still hot to lift all those browned bits—free flavor, no extra effort.
Essential Equipment for This Dish
Essential Pan
I always use a 12-inch stainless steel skillet for this dish. It conducts heat evenly and develops those beautiful browned bits that flavor the sauce. All-Clad is my go-to brand, but Cuisinart offers a great budget option. 💡
Meat Mallet
Pounding the chicken to even thickness is crucial for quick cooking. A flat-head meat mallet works best—I found mine at a local kitchen shop for under $10. Don’t have one? Use a rolling pin in a pinch.
Wooden Spoon
A wooden spoon is perfect for scraping up browned bits when making the pan sauce. It won’t scratch your cookware and helps incorporate all those flavorful bits. I keep a dedicated one by my stove.
Kitchen Shears
For quick herb prep, kitchen shears are a game-changer. I use mine to snip fresh parsley directly over the dish. OXO makes a comfortable pair that’s dishwasher-safe.
Instant-Read Thermometer
While not strictly necessary, a digital instant-read thermometer takes the guesswork out of chicken doneness. I check for 165°F in the thickest part. ThermoWorks makes reliable models.
Simple Tools
Honestly, you don’t need fancy equipment for this recipe. A good knife, cutting board, and the pan are the only true essentials. The rest just makes things easier. 💪
Nutrition Facts
Frequently Asked Questions
What if I don’t have a meat mallet?
Use a rolling pin or heavy pan instead. Place chicken between plastic wrap and pound gently to an even ½-inch thickness. This ensures quick, even cooking.
Can I use chicken thighs instead of breasts?
Yes! Use 1.5 lb boneless thighs and cook for 5-6 minutes per side. They stay juicier and handle slightly longer cooking better than breasts.
How do I know when the chicken is done?
Check for 165°F internally with a thermometer or cut into the thickest part—juices should run clear. Don’t cut too early or you’ll lose moisture.
Can I make this ahead of time?
Best served fresh, but leftovers keep for 3-4 days refrigerated. Reheat gently in a skillet with a splash of broth to prevent drying.

Trained in classic French technique but raised on slow-cooked ribs and spicy rubs, she blends culinary skill with smoke and soul.
- Recipe for Boneless Pork Chops in Cast Iron Skillet: Sear and Baste to Juicy Perfection - October 3, 2026
- Recipe for Boneless Cross Rib Roast: Slow-Roasted Beef with Herb Crust - October 3, 2026
- Hamburgers in Sauce Recipe Crock Pot: Slow-Cooked Savory Delight - October 3, 2026