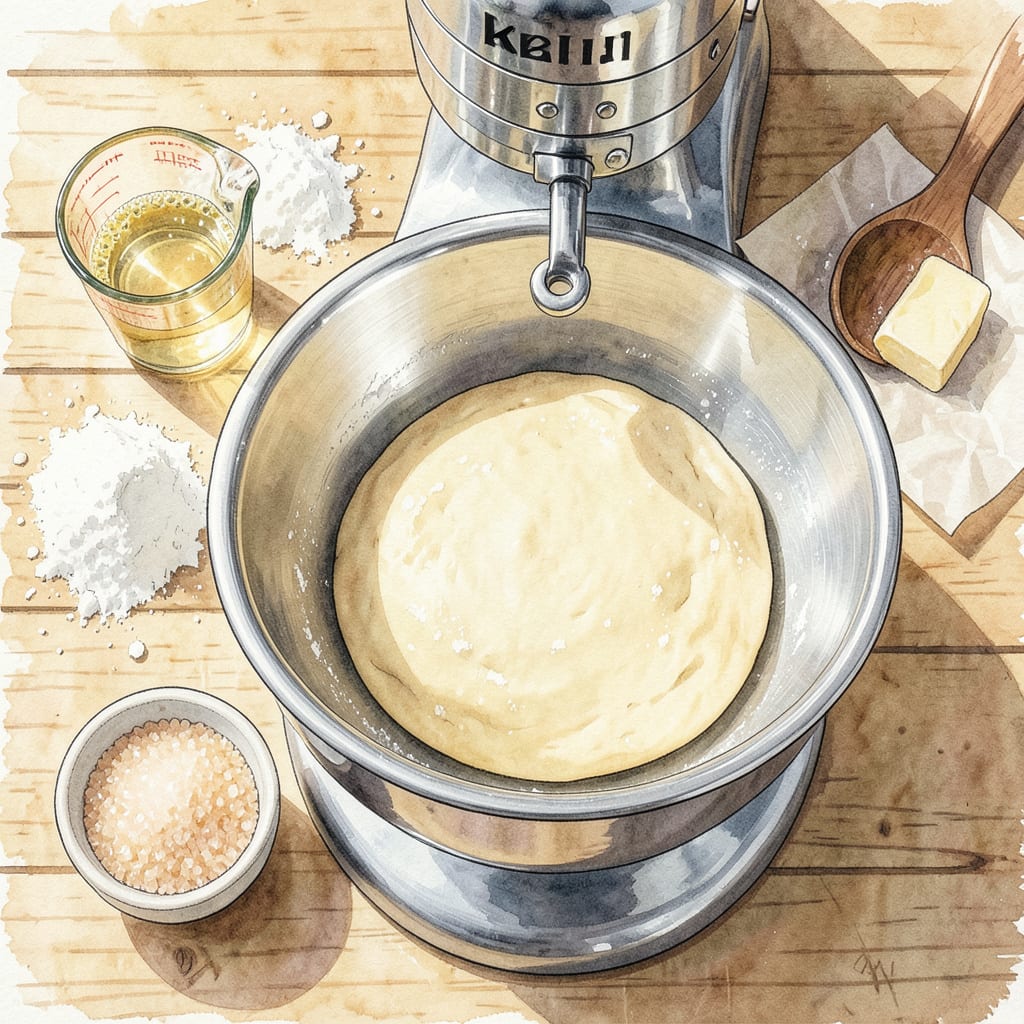
There’s something deeply satisfying about pulling a golden, homemade loaf from your oven—especially when your stand mixer does most of the work. This foolproof KitchenAid bread recipe delivers professional bakery results with minimal hands-on effort, using the dough hook to handle kneading while you focus on perfecting the details.
The secret lies in precise temperature control and mixer settings: warm water activates the yeast at just the right moment, while the dough hook develops gluten without overworking it. You’ll achieve a tender crumb and crisp crust every time, whether you’re making your first loaf or your hundredth. No guesswork, just consistent results from your trusty KitchenAid.
Ingredients for Easy Kitchenaid Bread
Nine simple ingredients transform into bakery-quality bread with your KitchenAid doing the heavy lifting.
| Ingredient | Amount | Notes |
|---|---|---|
| Bread Flour 🌾 | 3 ½ cups | Plus extra for dusting |
| Instant Yeast 🍞 | 2 ¼ tsp | Or active dry yeast |
| Granulated Sugar 🍚 | 2 tbsp | Feeds the yeast |
| Kosher Salt 🧂 | 1 ½ tsp | Diamond Crystal preferred |
| Warm Water 💧 | 1 ¼ cups | 105-110°F for yeast activation |
| Unsalted Butter 🧈 | 2 tbsp | Softened for dough enrichment |
| Large Egg 🥚 | 1 whole | Room temperature for even mixing |
| Honey 🍯 | 1 tbsp | Optional for subtle sweetness |
| Olive Oil 🫒 | 1 tbsp | For bowl greasing |
[recipe_ingredient_scaler]
The flour makes all the difference here. King Arthur Bread Flour gives you that perfect chewy texture—its higher protein content develops gluten beautifully. For yeast, I always keep SAF Instant Yeast on hand (bulk packs last forever in the freezer). The water temperature is critical: 105-110°F wakes up the yeast without killing it. Use an instant-read thermometer if you’re unsure (worth the $10 investment).
No bread flour? All-purpose works in a pinch—just add 1 extra tablespoon per cup to boost protein. Out of honey? Maple syrup or sugar at equal amounts. The egg adds richness but can be skipped for a slightly denser loaf. Butter can be swapped for vegetable oil (same amount), though you’ll lose some flavor. For a vegan version, use flax egg (1 tbsp ground flax + 3 tbsp water) and plant-based butter.
Store yeast in the freezer for up to 2 years—it lasts way longer than you think. Flour keeps 6-8 months in airtight containers (I use OXO Pop containers to keep pests out). The dough can be refrigerated overnight for slower fermentation—develops even more flavor. Baked loaves stay fresh 3-4 days wrapped in tea towels (plastic traps moisture and makes the crust soggy).
Why You’ll Love This Recipe
- I bake two loaves every Sunday: one for sandwiches that don’t get soggy, and one to cube for French toast or croutons later in the week. Honestly, it’s the only way I get my kids to eat leftovers without complaining.
- Hands-Off Magic: I dump everything in my KitchenAid, walk away for 10 minutes while the dough hook does the work, then let it rise. No kneading by hand, no sticky countertop mess—just set it and forget it until the oven timer goes off.
- That Golden Crust: Here’s what sold me—the way the sugar caramelizes with the salt to give this bread that perfect crispy shell, while the inside stays pillowy soft. It’s the kind of texture that makes you tear off a warm slice before it’s even fully cooled.
- Meal Prep MVP: I bake two loaves every Sunday: one for sandwiches that don’t get soggy, and one to cube for French toast or croutons later in the week. Honestly, it’s the only way I get my kids to eat leftovers without complaining.
Step-by-Step Instructions for KitchenAid Bread
This hands-off method delivers perfect homemade bread with minimal effort—your mixer does most of the work.
Step 1: Activate the Yeast and Combine Wet Ingredients
In your KitchenAid mixer bowl, whisk together the 1.25 cups warm water, 2.25 tsp instant yeast, and 2 tbsp granulated sugar. Let this mixture sit for 5-7 minutes until you see a foamy layer forming on top. This confirms your yeast is active and ready to work.
Add the 1 whole large egg, 1 tbsp honey, and 2 tbsp unsalted butter to the yeast mixture. Use the paddle attachment to blend these wet ingredients on low speed for about 30 seconds until everything is fully incorporated. The mixture should look smooth and slightly frothy.
Step 2: Incorporate Dry Ingredients and Begin Kneading
Switch to the dough hook attachment. Add the 3.5 cups bread flour and 1.5 tsp kosher salt to the wet ingredients. Mix on low speed for 1-2 minutes until the dough starts to come together and pull away from the sides of the bowl.
Increase the speed to medium (speed 4) and knead for 6-8 minutes. You’re looking for a smooth, elastic dough that’s slightly tacky but not sticky. If the dough seems too wet, add 1 tbsp bread flour at a time; if too dry, add 1 tsp warm water. The dough should clean the sides of the bowl but still stick slightly to the bottom.
Step 3: First Rise for Optimal Flavor Development
Lightly grease a large bowl with the 1 tbsp olive oil. Transfer the dough to this bowl, turning it once to coat all sides with oil. Cover the bowl with a clean kitchen towel or plastic wrap.
Let the dough rise in a warm, draft-free place for 1 to 1.5 hours, or until it has doubled in size. I like to place mine in an oven with the light on (no heat) for consistent warmth. The dough is ready when it springs back slowly when gently pressed with your finger, leaving a slight indentation.
Step 4: Shape the Loaf and Second Rise
Turn the risen dough out onto a lightly floured surface. Gently press to deflate it, then shape it into a smooth loaf. To do this, fold the edges under and pinch the seam closed. Place the shaped loaf seam-side down in a greased 9×5-inch loaf pan.
Cover the pan with the towel again and let it rise for another 30-45 minutes, or until the dough domes about 1 inch above the rim of the pan. This second rise ensures a light, airy texture. Preheat your oven to 375°F during the last 15 minutes of rising.
Step 5: Bake to Golden Perfection
Bake the bread in the preheated 375°F oven for 30-35 minutes, or until the top is deep golden brown and the internal temperature reaches 190-200°F. If the top browns too quickly, tent the pan with aluminum foil after the first 15 minutes.
Remove the bread from the pan immediately and transfer it to a wire rack to cool completely. Let it cool for at least 1 hour before slicing—this allows the structure to set and prevents a gummy texture. The finished loaf should have a crisp crust and soft, pillowy interior with a slightly sweet aroma.
Wine and Beer Pairings for This Dish
Crisp White Wines
A freshly baked loaf deserves something bright to cut through its richness. I love pairing this bread with a chilled Sauvignon Blanc—its citrusy acidity and herbal notes complement the buttery crumb beautifully. Try a New Zealand bottle like Oyster Bay for that perfect zesty contrast. 🍷
Light-Bodied Beers
For beer lovers, a crisp Pilsner is my go-to choice. The light malt character and subtle hop bitterness won’t overpower the bread’s delicate flavor. Stella Artois or a local craft option like Victory Prima Pils work wonderfully. The effervescence cleanses your palate between bites.
Rich Amber Ales
If you prefer something with more body, an Amber Ale brings caramel notes that echo the bread’s honey sweetness. I particularly enjoy Fat Tire Amber Ale—its toasty malt profile creates a harmonious pairing. Serve slightly cooler than room temperature for best results.
Dry Rosé Wines
Rosé isn’t just for summer—its versatility shines with fresh bread. A dry Provence-style rosé like Whispering Angel offers red fruit notes and mineral crispness that balance the bread’s richness. The pale pink hue makes for a lovely table presentation too.
Wheat Beers
For a fun textural contrast, try a Hefeweizen with its creamy mouthfeel and banana-clove aromas. Weihenstephaner is my favorite German option, but any quality wheat beer will enhance the bread’s subtle sweetness. The yeasty character creates an interesting parallel to your homemade loaf.
Sparkling Options
Celebrating with your bread? A dry Prosecco or Cava adds festive bubbles that cut through the butteriness. I like La Marca Prosecco for its consistent quality and affordable price. The fine bubbles make each bite feel special. ✨
Nutrition Facts

Trained in classic French technique but raised on slow-cooked ribs and spicy rubs, she blends culinary skill with smoke and soul.
- Recipe for Boneless Pork Chops in Cast Iron Skillet: Sear and Baste to Juicy Perfection - October 3, 2026
- Recipe for Boneless Cross Rib Roast: Slow-Roasted Beef with Herb Crust - October 3, 2026
- Hamburgers in Sauce Recipe Crock Pot: Slow-Cooked Savory Delight - October 3, 2026