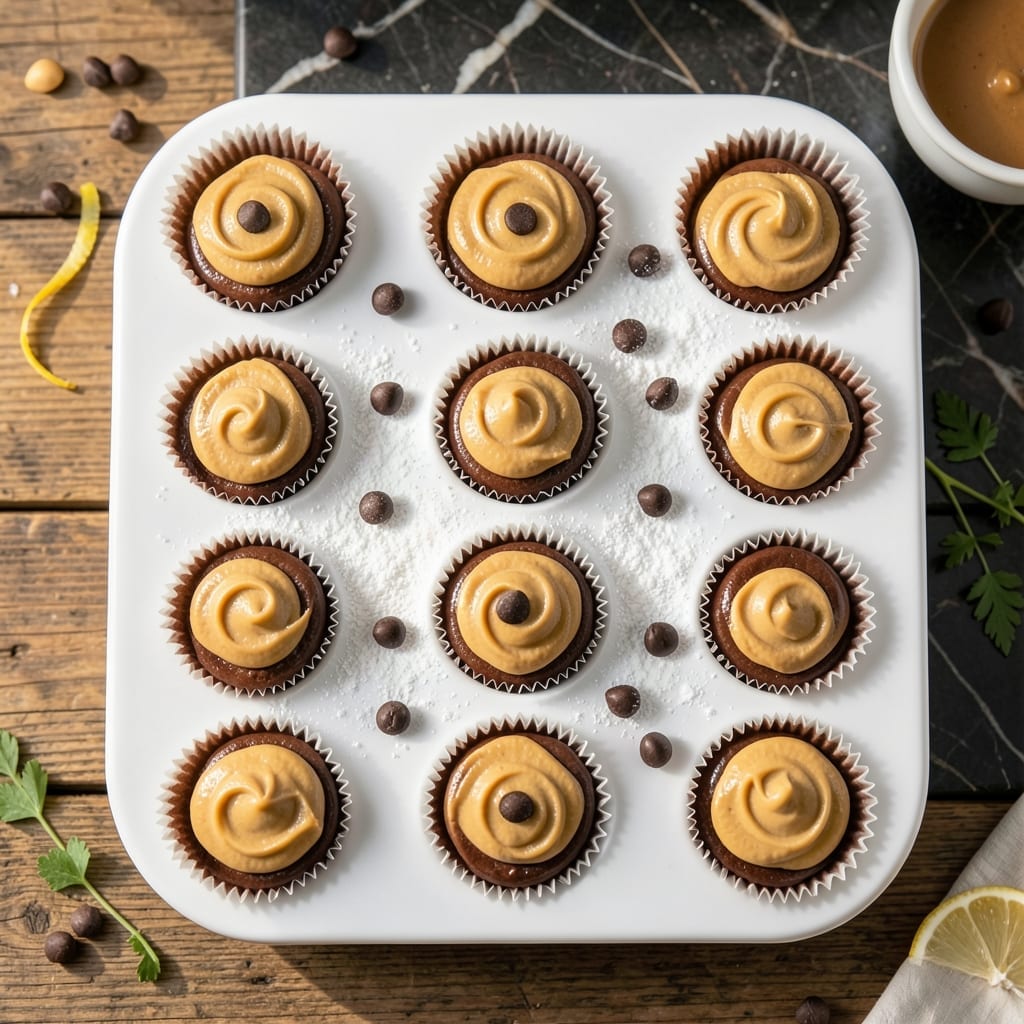
This no-bake method delivers perfect chocolate shells with minimal effort. I developed this recipe for quick treats that taste homemade.
You’ll love how these come together in minutes with just a microwave and fridge. The combination of creamy peanut butter and rich chocolate is impossible to resist.
Ingredients for Easy Peanut Butter Cup
Just seven ingredients for these no-bake chocolate peanut butter dreams in minutes.
| Ingredient | Amount | Notes |
|---|---|---|
| Creamy Peanut Butter 🥜 | 1 cup | Natural or commercial variety |
| Powdered Sugar 🍚 | ½ cup | Sifted for smooth texture |
| Unsalted Butter 🧈 | 4 tbsp | Melted and cooled slightly |
| Vanilla Extract 💧 | 1 tsp | Pure vanilla preferred |
| Salt 🧂 | ¼ tsp | Fine sea salt preferred |
| Semi-Sweet Chocolate Chips 🍫 | 2 cups | Or chocolate bars chopped |
| Coconut Oil 🥥 | 2 tbsp | Optional for smoother chocolate |
[recipe_ingredient_scaler]
The peanut butter is the soul here. Jif or Skippy for that classic creamy texture, but natural works too (just stir it well and drain excess oil). I grab mine from Target or Walmart—no specialty store needed. For chocolate, Ghirardelli or Guittard chips melt beautifully. Avoid cheap brands with waxy textures; you’ll taste the difference in the shell.
No powdered sugar? Blend granulated sugar in a blender until fine. Out of vanilla? Skip it and add a pinch of cinnamon for warmth. The butter can be swapped for coconut oil if you need dairy-free (this keeps it vegetarian but not vegan). Semi-sweet chocolate too intense? Milk chocolate chips make a sweeter cup.
These keep in the fridge for 2 weeks in an airtight container. Freeze for 3 months if you somehow have leftovers. Pro tip: let them sit at room temp 10 minutes before eating (worth the wait).
Why You’ll Love This Recipe
- Five Ingredients Only: That’s it—peanut butter, powdered sugar, butter, vanilla, and a pinch of salt. No fancy shopping trips.
- Melts in Your Mouth: The creamy peanut butter center with that buttery crumble? Honestly, it’s like the filling took over the candy bar.
- Gift or Snack: I pack these in little cups for teacher gifts or just eat three while pretending to wrap them.
- Stays Fresh for Days: They keep in the fridge for a week, so I can sneak one whenever the craving hits.
Step-by-Step Instructions for Peanut Butter Cups
No oven required—just melt, mix, and chill for these irresistible treats.
Step 1: Prepare the Chocolate Shells
Line a mini muffin tin with paper liners. In a microwave-safe bowl, combine the 2 cups Semi-Sweet Chocolate Chips and 2 tbsp Coconut Oil. Microwave in 20-second bursts, stirring between each, until fully melted and smooth.
Spoon about 1 teaspoon of the melted chocolate into each liner, tilting to coat the bottom and halfway up the sides. This creates a thin shell. Place the tin in the freezer for 5-7 minutes until the chocolate sets—it should look dull and firm to the touch.
Step 2: Mix the Peanut Butter Filling
In a separate bowl, beat the 1 cup Creamy Peanut Butter and 4 tbsp Unsalted Butter together until smooth. Add the 0.5 cup Powdered Sugar, 1 tsp Vanilla Extract, and 0.25 tsp Salt, mixing until fully combined and creamy.
The texture should be thick but pliable, like cookie dough. If it feels too stiff, let it sit at room temperature for a minute to soften. This filling is rich and sweet, balanced perfectly by the salt and vanilla.
Step 3: Assemble the Peanut Butter Cups
Remove the chocolate shells from the freezer. Spoon about 1 teaspoon of the peanut butter filling into each shell, pressing down gently to create an even layer. Be careful not to overfill—leave enough room for the top chocolate layer.
Divide the remaining melted chocolate evenly among the cups, spooning it over the filling to cover completely. Tap the tin lightly on the counter to settle the chocolate and remove any air bubbles.
Step 4: Chill and Set
Return the tin to the freezer and chill for 20-25 minutes, or until the chocolate is completely firm. The peanut butter cups are ready when the tops are hard and no longer sticky to the touch.
Store in an airtight container in the refrigerator for up to 1 week, or freeze for longer storage. For the best texture, let them sit at room temperature for 5 minutes before serving—this softens the peanut butter slightly for that perfect bite.
Pro Tips For Making Easy Peanut Butter Cup
- Chill the Mixture: Pop the peanut butter filling in the fridge for 15 minutes before shaping—it firms up just enough to stop sticking to your hands like glue.
- Use Room-Temp Butter: Let the unsalted butter sit out for 30 minutes first; cold butter leaves lumps, and nobody wants grainy peanut butter cups.
- Skip the Salt: Most creamy peanut butters already have salt, so adding extra can make them taste like a salt lick—taste as you go.
- Melt Chocolate Slow: Microwave the chocolate in 20-second bursts, stirring between each, or it’ll seize up and turn into a sad, clumpy mess.
Wine and Beer Pairings for These Flavors
Sweet Wine Matches
A Moscato d’Asti from Italy brings bright stone fruit notes that complement the chocolate’s depth. The gentle fizz cleanses your palate between bites. I love the Saracco Moscato for its peach and apricot finish. 🍷
Dessert Wine Classic
Port wine is a natural pairing with chocolate desserts. Try a Ruby Port like Graham’s Six Grapes—its rich berry flavors and sweetness match the peanut butter’s intensity without overpowering it.
Coffee Stout Pairing
For beer lovers, a coffee stout like Founders KBS offers deep roasted notes that echo the chocolate. The slight bitterness balances the sweetness beautifully. Serve slightly chilled at 50-55°F. 🍺
Creamy Milk Stout
A milk stout such as Left Hand Milk Stout adds a velvety texture that mirrors the creamy peanut butter. Its lactose sweetness enhances the dessert’s richness. The 6% ABV won’t overwhelm the flavors.
Non-Alcoholic Option
For a booze-free pairing, try chocolate milk with a splash of vanilla syrup. The double chocolate experience amplifies the treat’s indulgence. I use Fairlife chocolate milk for its ultra-creamy texture.
Nutrition Facts
Frequently Asked Questions
Can I use natural peanut butter?
Yes, but stir it well and drain excess oil first. Natural varieties can separate, which affects texture. The recipe works best with creamy types for smooth filling.
Why add coconut oil to the chocolate?
It creates a shinier, smoother shell. The oil helps the chocolate set faster and prevents cracking. Skip it if you prefer a firmer texture.
How do I fix seized chocolate?
Add 1 teaspoon of hot water or coconut oil and stir until smooth. Overheating or moisture causes seizing. Work quickly to prevent hardening.
Can these be made vegan?
Use vegan chocolate and swap butter for coconut oil. Ensure peanut butter has no honey additives. The texture remains identical.

Trained in classic French technique but raised on slow-cooked ribs and spicy rubs, she blends culinary skill with smoke and soul.
- Octopus Recipe Pan Fried: Crispy Edges With Tender Bites - October 3, 2026
- Recipe For Fried Pork Chops In An Iron Skillet: Crispy Crust With Juicy Centers - October 3, 2026
- Recipe for Fully Cooked Spiral Ham: Sweet Glaze and Effortless Elegance - October 3, 2026