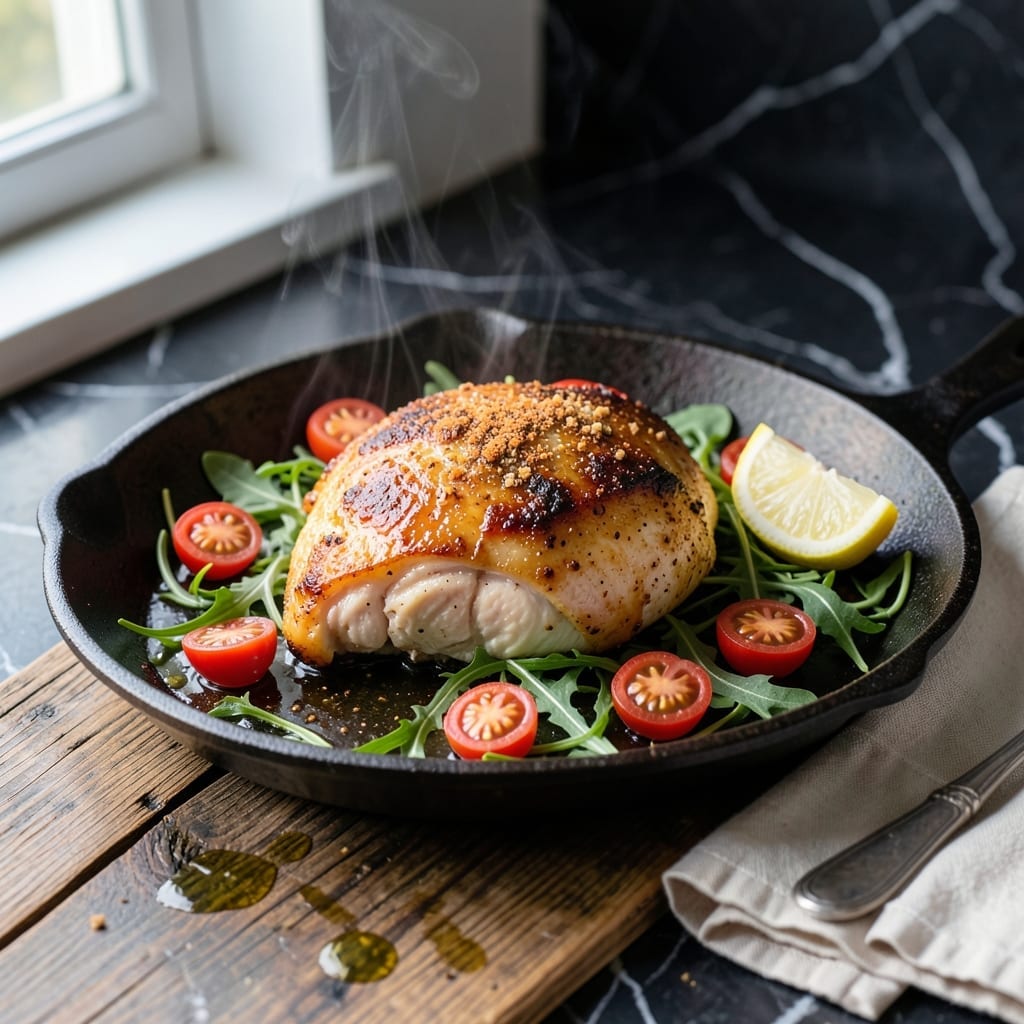
My grandmother never measured her fried chicken—she just knew the perfect balance of flour and seasoning by touch. This skillet recipe preserves her method while ensuring moist centers every time.
Using a cast iron skillet creates that signature crispy crust without deep frying. The key is maintaining consistent oil temperature and not overcrowding the pan.
You’ll get golden-brown chicken with a shatteringly crisp coating and juicy interior. The skillet method also means less mess and easier cleanup than traditional deep frying.
This technique works for both bone-in and boneless breasts. The result is restaurant-quality fried chicken made right in your own kitchen.
Ingredients for Fried Chicken Breast Recipe Skillet
Pantry staples meet a few fresh items for this skillet classic with guaranteed moist results.
| Ingredient | Amount | Notes |
|---|---|---|
| Boneless Chicken Breast 🍗 | 1 ½ lb | Pounded to even thickness |
| All-Purpose Flour 🌾 | 2 cups | For dredging and crust |
| Cornstarch 🌽 | ¼ cup | For extra crispiness |
| Garlic Powder 🧄 | 2 tsp | Freshly ground preferred |
| Onion Powder 🧅 | 2 tsp | Fine ground quality |
| Paprika 🌶️ | 2 tsp | Sweet or smoked variety |
| Dried Thyme 🍃 | 1 tsp | Crushed for better distribution |
| Dried Oregano 🍃 | 1 tsp | Mediterranean style preferred |
| Salt 🧂 | 2 tsp | Diamond Crystal kosher preferred |
| Black Pepper 🌶️ | 1 tsp | Freshly ground coarse |
| Cayenne Pepper 🔥 | ½ tsp | Adjust to heat preference |
| Large Eggs 🥚 | 2 whole | For egg wash binding |
| Buttermilk 🥛 | 1 cup | Full-fat for moisture |
| Vegetable Oil 🫒 | 1 ½ cups | High smoke point for frying |
[recipe_ingredient_scaler]
The chicken quality is paramount. Boneless, skinless breasts from Whole Foods or Costco ensure even cooking. Pound them to 1/2-inch thickness for consistent doneness. The flour should be all-purpose—White Lily if you can find it (the Southern standard for fried chicken). For the buttermilk, full-fat makes the difference in both texture and flavor.
No buttermilk? Whole milk plus 1 tbsp vinegar per cup works in a pinch. Cornstarch can be swapped for baking powder at a 1:1 ratio for similar crispiness. If avoiding gluten, rice flour creates an excellent crust. The cayenne is optional—reduce to a pinch for sensitive palates. Fresh herbs can replace dried at three times the amount.
Store raw chicken in the coldest part of your refrigerator—use within 2 days. The dredging mixture keeps indefinitely in an airtight container. Leftover cooked chicken stays crispy when reheated in a 375°F oven for 10-15 minutes, never in the microwave (the coating will soften).
Why You’ll Love This Recipe
- One Pan Wonder: I love that everything cooks together in the skillet—no extra dishes, just crispy chicken and easy cleanup.
- Crave-Worthy Crisp: The cornstarch and flour combo gives it that golden, shatteringly crisp crust with juicy chicken inside.
- Weeknight Hero: Honestly, it’s my go-to for busy evenings—ready in 30 minutes and the kids actually eat it.
- Budget-Friendly Feast: Boneless chicken breasts stretch far, and the pantry spices keep costs low without skimping on flavor.
Step-by-Step Instructions for Skillet Fried Chicken Breast
This method ensures a shatteringly crisp crust enclosing impossibly juicy, moist centers every time.
Step 1: Prepare and Season the Chicken
Begin by pounding the 1.5 lb boneless chicken breast to an even ½-inch thickness between plastic wrap. This guarantees uniform cooking and prevents dry spots. Season both sides generously with 2 tsp salt, 1 tsp black pepper, and 0.5 tsp cayenne pepper to establish a flavorful foundation.
This step is crucial for maintaining moisture. The even thickness ensures the meat cooks through without overcooking the thinner edges, while the salt begins to break down proteins for maximum tenderness.
Step 2: Create the Dredging and Wet Stations
In a shallow dish, whisk together the 2 cups all-purpose flour, 0.25 cup cornstarch, 2 tsp garlic powder, 2 tsp onion powder, 2 tsp paprika, 1 tsp dried thyme, and 1 tsp dried oregano. The cornstarch is what creates that extra-crispy texture we’re after.
In another shallow dish, whisk the 2 whole large eggs with the 1 cup buttermilk until fully combined. This mixture acts as the glue that helps the flour coating adhere and stay put during frying.
Step 3: Dredge and Coat the Chicken
Dip each piece of chicken into the buttermilk-egg mixture, allowing excess to drip off for 5 seconds. Then press it firmly into the flour mixture, turning to coat completely. For maximum crunch, I repeat this process once more—dip in wet, then dry, then wet, then dry again.
Let the coated pieces rest on a wire rack for 10 minutes. This resting period allows the coating to set slightly, which prevents it from sliding off when it hits the hot oil. You’ll notice the coating looks slightly dry to the touch when ready.
Step 4: Pan-Fry to Golden Perfection
Heat the 1.5 cups vegetable oil in a large, heavy skillet over medium-high heat to 350°F. Use a deep-fry thermometer for accuracy—this temperature ensures the outside crisps before the inside overcooks.
Carefully place the chicken in the skillet, working in batches if needed to avoid crowding. Fry for 4-5 minutes per side until the coating is a deep golden brown and the internal temperature reaches 165°F. The crust should be rigid and audibly crisp when tapped with tongs.
Step 5: Drain and Rest Before Serving
Transfer the fried chicken to a wire rack set over a paper towel-lined baking sheet. This setup allows air to circulate, keeping the crust crisp rather than soggy. Let the chicken rest for 5 minutes to allow the juices to redistribute and the coating to set fully.
Serve immediately while hot. The contrast between the crunchy exterior and the moist, tender interior is most pronounced right out of the pan. This method guarantees that promised moisture with every bite.
Pro Tips For Making Fried Chicken Breast Recipe Skillet
- Pound the Breasts: Even thickness means even cooking—pound them to about ½ inch so they cook through without drying out.
- Double Dredge: Dip in flour, shake off, repeat—this extra layer of flour and cornstarch makes the crust crunchier and more durable.
- Hot Oil Test: Toss a pinch of flour in first—if it sizzles immediately, the oil’s ready; if it sinks, wait another minute.
- Rest Before Serving: Give the chicken 5 minutes on a rack after frying—this keeps the crust crisp instead of soggy from trapped steam.
Make-Ahead Tips for This fried chicken breast recipe skillet
Prep the Chicken
Pound the 1.5 lb boneless chicken breast to ½-inch thickness the night before and season with 2 tsp salt, 1 tsp black pepper, and 0.5 tsp cayenne. Store in an airtight container in the fridge. This saves 15 minutes on cooking day.
Pre-Mix Dry Coating
Combine the 2 cups flour, 0.25 cup cornstarch, 2 tsp garlic powder, 2 tsp onion powder, 2 tsp paprika, 1 tsp thyme, and 1 tsp oregano in a sealed container. Shake well and store at room temperature. 💡
Buttermilk Marinade
Whisk the 1 cup buttermilk and 2 eggs the morning of cooking. Submerge the seasoned chicken in this mixture for up to 4 hours in the fridge. This step tenderizes and adds flavor depth.
Double-Dredge Shortcut
Set up your dredging station with the pre-mixed flour and buttermilk. Coat the chicken twice—wet, dry, wet, dry—for maximum crispiness. Let it rest on a rack for 10 minutes before frying.
Oil Temperature
Heat the 1.5 cups vegetable oil to 350°F in your skillet. Use a thermometer for precision. Maintain this temperature between batches for consistent results.
Reheating for Crispiness
Store cooked chicken on a wire rack in the fridge for up to 3 days. Reheat in a 375°F oven for 10-15 minutes to restore the crunch. Never microwave—it softens the crust. 🔥
Nutrition Facts
Frequently Asked Questions
What’s the best oil temperature for frying?
Maintain 350°F oil temperature for even cooking. Use a thermometer to check, as too low causes greasy results and too high can burn the coating before the chicken cooks through.
Can I use chicken thighs instead?
Yes! Bone-in thighs take 5-6 minutes per side at 350°F. They stay juicier and their higher fat content creates an even crispier crust. Adjust cooking time for bone-in pieces.
Why did my coating fall off?
This usually happens if the chicken wasn’t dry before dredging or didn’t rest 10 minutes after coating. Also, avoid moving it in the pan for the first 2 minutes of frying.
How do I keep it crispy when serving a crowd?
Fry in batches and keep finished pieces warm on a wire rack in a 200°F oven. Never stack them, as steam will soften the crust. Serve within 30 minutes for best texture.

Trained in classic French technique but raised on slow-cooked ribs and spicy rubs, she blends culinary skill with smoke and soul.
- Recipe for Boneless Pork Chops in Cast Iron Skillet: Sear and Baste to Juicy Perfection - October 3, 2026
- Recipe for Boneless Cross Rib Roast: Slow-Roasted Beef with Herb Crust - October 3, 2026
- Hamburgers in Sauce Recipe Crock Pot: Slow-Cooked Savory Delight - October 3, 2026