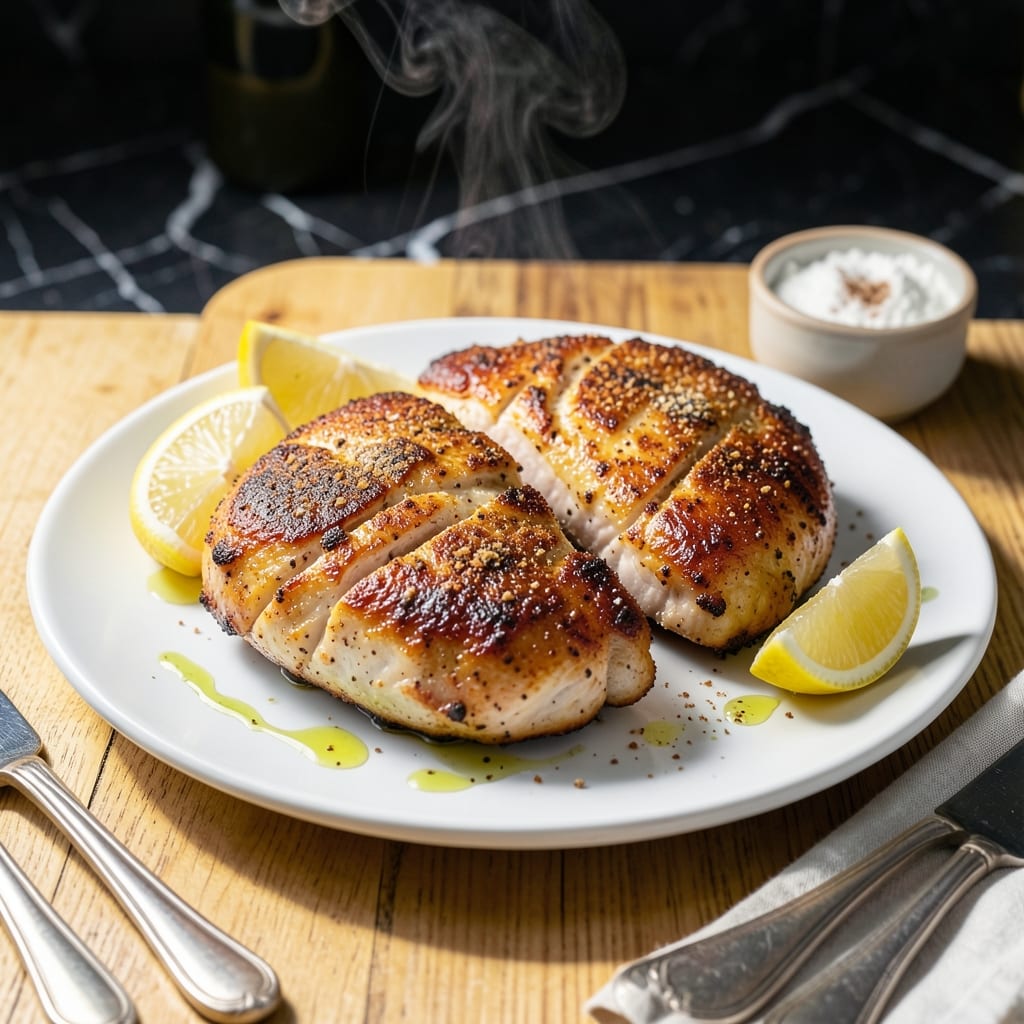
This fried chicken breast delivers the extra crunchy texture you crave without complicated techniques. A simple flour coating creates that signature golden crust while keeping the meat juicy inside.
I developed this method after years of testing to achieve restaurant-quality results at home. The key is maintaining the right oil temperature and using a double-dredge process for maximum crispiness.
The result is perfectly crisp chicken with tender meat that stays hot and crunchy straight from the pan. Each bite offers that satisfying crunch followed by juicy, flavorful chicken.
Serve hot for the best texture, with your favorite sides for a complete meal.
Ingredients for Fried Chicken Breast Recipe with Flour
Pantry staples plus a quick trip to the dairy aisle. Big crunch, zero fuss.
| Ingredient | Amount | Notes |
|---|---|---|
| Chicken Breasts 🍗 | 1 ½ lb | Boneless, skinless, pounded to even thickness |
| All-Purpose Flour 🌾 | 2 cups | Divided for double-dredging |
| Buttermilk 🥛 | 1 cup | Full-fat for maximum tenderness |
| Large Eggs 🥚 | 2 whole | Beaten for binding |
| Paprika 🌶️ | 1 tbsp | Sweet or smoked for color |
| Garlic Powder 🧄 | 1 tsp | Freshly ground preferred |
| Onion Powder 🧅 | 1 tsp | Balances the seasoning blend |
| Salt 🧂 | 1 ½ tsp | Diamond Crystal kosher recommended |
| Black Pepper 🌶️ | 1 tsp | Freshly ground for best flavor |
| Cayenne Pepper 🔥 | ¼ tsp | Adjust to heat preference |
| Vegetable Oil 🫒 | 4 cups | For frying, peanut oil works too |
| Cornstarch 🌾 | ¼ cup | Mixed with flour for extra crisp |
| Baking Powder 🧂 | 1 tsp | Helps create air pockets for crunch |
[recipe_ingredient_scaler]
The chicken is everything here. Boneless, skinless breasts cook evenly and stay juicy—thighs work too but change the vibe. I grab mine from Costco for bulk savings, but any supermarket will do. Pound them to even thickness (about 1/2 inch) so they cook through without drying out. The buttermilk? Full-fat from a reputable brand like Organic Valley makes the difference.
Out of buttermilk? Plain yogurt thinned with milk works in a pinch. No paprika? Cajun seasoning at half the amount adds nice depth. The flour can be swapped for self-rising (skip the baking powder then). For extra crunch, add crushed cornflakes to the dredge. Peanut oil has a higher smoke point than vegetable, but any neutral oil does the job.
Fry in batches to avoid crowding—keeps the oil temp steady. Leftovers (if there are any) stay crisp for 1-2 days in the fridge. Reheat in a 400°F oven for 10-15 minutes to revive the crunch. Never microwave—soggy disaster.
Why You’ll Love This Recipe
- No-Fuss Coating: The flour and buttermilk combo sticks to the chicken like magic—no complicated breading steps here.
- That Crispy Bite: Paprika in the flour gives it just the right kick, and the buttermilk makes it juicy inside.
- Feeds the Gang: I make a big batch for Sunday dinner, and it’s always the first thing gone.
- Leftovers? Yes Please: Honestly, it tastes just as good cold the next day in a sandwich.
Step-by-Step Instructions for Extra Crunchy Homestyle Fried Chicken Breast
Here’s my tested method for achieving that perfect golden crunch with juicy meat every time.
Step 1: Prepare and Season the Chicken Breasts
Begin by pounding the 1.5 lb Chicken Breasts to an even ½-inch thickness using a meat mallet. This ensures even cooking and prevents dry spots. Pat them completely dry with paper towels—moisture is the enemy of crispiness.
Season both sides generously with 1.5 tsp Salt, 1 tsp Black Pepper, 0.25 tsp Cayenne Pepper, 1 tbsp Paprika, 1 tsp Garlic Powder, and 1 tsp Onion Powder. Let the seasoned chicken rest at room temperature for 15 minutes to allow the flavors to penetrate.
Step 2: Create the Buttermilk Egg Wash
In a shallow dish, whisk together 1 cup Buttermilk and 2 whole Large Eggs until fully combined. The buttermilk’s acidity tenderizes the meat while the eggs help the coating adhere. This step is non-negotiable for maximum crisp and juiciness.
Dip each seasoned chicken breast into the buttermilk mixture, ensuring it’s fully coated on all sides. Let any excess drip off before moving to the next step. The wash should be thick enough to cling but not so thick that it creates globs of coating.
Step 3: Double-Dredge in Flour Mixture
In a separate shallow dish, combine 2 cups All-Purpose Flour, 0.25 cup Cornstarch, and 1 tsp Baking Powder. The cornstarch adds extra crispiness while the baking powder creates tiny air pockets for crunch. Whisk until evenly distributed.
Dredge each piece of chicken in the flour mixture, pressing firmly to adhere. Shake off excess, then dip back into the buttermilk wash, and finally dredge in the flour mixture again. This double-dredging creates that signature extra crunchy coating. Place on a wire rack to rest for 10 minutes before frying.
Step 4: Fry to Golden Perfection
Heat 4 cups Vegetable Oil in a deep, heavy-bottomed pot or Dutch oven to 350°F. Use a deep-fry thermometer for accuracy—temperature control is crucial. The oil is ready when a pinch of flour sizzles when dropped in.
Carefully lower the chicken into the hot oil, working in batches to avoid overcrowding. Fry for 6-8 minutes per side until deep golden brown and the internal temperature reaches 165°F. The coating should be crisp and the juices should run clear when pierced with a knife.
Drain on a wire rack set over a baking sheet (not paper towels, which can make the coating soggy) and let rest for 5 minutes before serving to allow the juices to redistribute.
Pro Tips For Making Fried Chicken Breast Recipe With Flour
- Pound the Breasts: Use a meat mallet to even out the thickness to ½ inch—I learned this the hard way after pulling out dry, overcooked edges while the center stayed raw.
- Double-Dip the Coating: Drag each piece through the flour, then buttermilk, then flour again; the extra layer actually changes the outcome to a shatter-crisp crust.
- Rest Before Frying: Let the breaded chicken sit on a rack for 10 minutes so the coating sets; skip this and you’ll watch half your crust float off into the oil.
- Use a Thermometer: Pull the chicken at 165°F internal temp—no guessing, because overcooked breast turns to sawdust faster than you’d think.
Dietary Considerations for These Flavors
Gluten-Free Option
Swap the all-purpose flour for a 1:1 gluten-free blend like King Arthur Measure for Measure. Add ½ tsp xanthan gum to help the coating cling better. The texture stays crispy, though it may brown slightly faster. 💪
Lower-Carb Version
Replace ½ cup flour with almond flour or crushed pork rinds for fewer carbs. The crunch will be different but still satisfying. I’ve had great results with Lily’s almond flour from New Seasons Market.
Dairy-Free Adjustments
Use unsweetened almond milk with 1 tbsp vinegar to mimic buttermilk’s tang. For the eggs, flax eggs (1 tbsp ground flax + 3 tbsp water per egg) work well. The coating binds just as nicely.
Nut Allergy Note
Avoid peanut oil and check your flour blend for nut traces. Stick with vegetable or sunflower oil instead. Always verify labels—cross-contamination is a real concern.
Kid-Friendly Tweaks
Reduce the cayenne to ⅛ tsp or omit it entirely. My daughter Lily loves her chicken with just paprika for color. Serve with honey mustard for dipping. 💛
Saving Leftovers
Store in an airtight container in the fridge for up to 2 days. Reheat in a 400°F oven for 10-15 minutes to restore crispiness. Microwaving turns it soggy—trust me, I’ve learned the hard way.
Nutrition Facts
Frequently Asked Questions
Why use cornstarch in the flour mix?
Cornstarch creates an ultra-crisp texture that flour alone can’t achieve. It absorbs moisture and forms a delicate, crunchy crust when fried at 350°F.
Can I bake this instead of frying?
Yes, but the texture differs. Bake at 400°F for 20-25 minutes on a wire rack for airflow. It won’t be as crispy as frying but still delicious.
How do I prevent the coating from falling off?
Double-dredging and resting for 10 minutes before frying helps the coating adhere. Avoid moving the chicken too much during frying.
What oil works best for frying?
Vegetable or peanut oil are ideal due to their high smoke points. Maintain 350°F throughout for even cooking and maximum crispiness.

Trained in classic French technique but raised on slow-cooked ribs and spicy rubs, she blends culinary skill with smoke and soul.
- Recipe for Boneless Pork Chops in Cast Iron Skillet: Sear and Baste to Juicy Perfection - October 3, 2026
- Recipe for Boneless Cross Rib Roast: Slow-Roasted Beef with Herb Crust - October 3, 2026
- Hamburgers in Sauce Recipe Crock Pot: Slow-Cooked Savory Delight - October 3, 2026