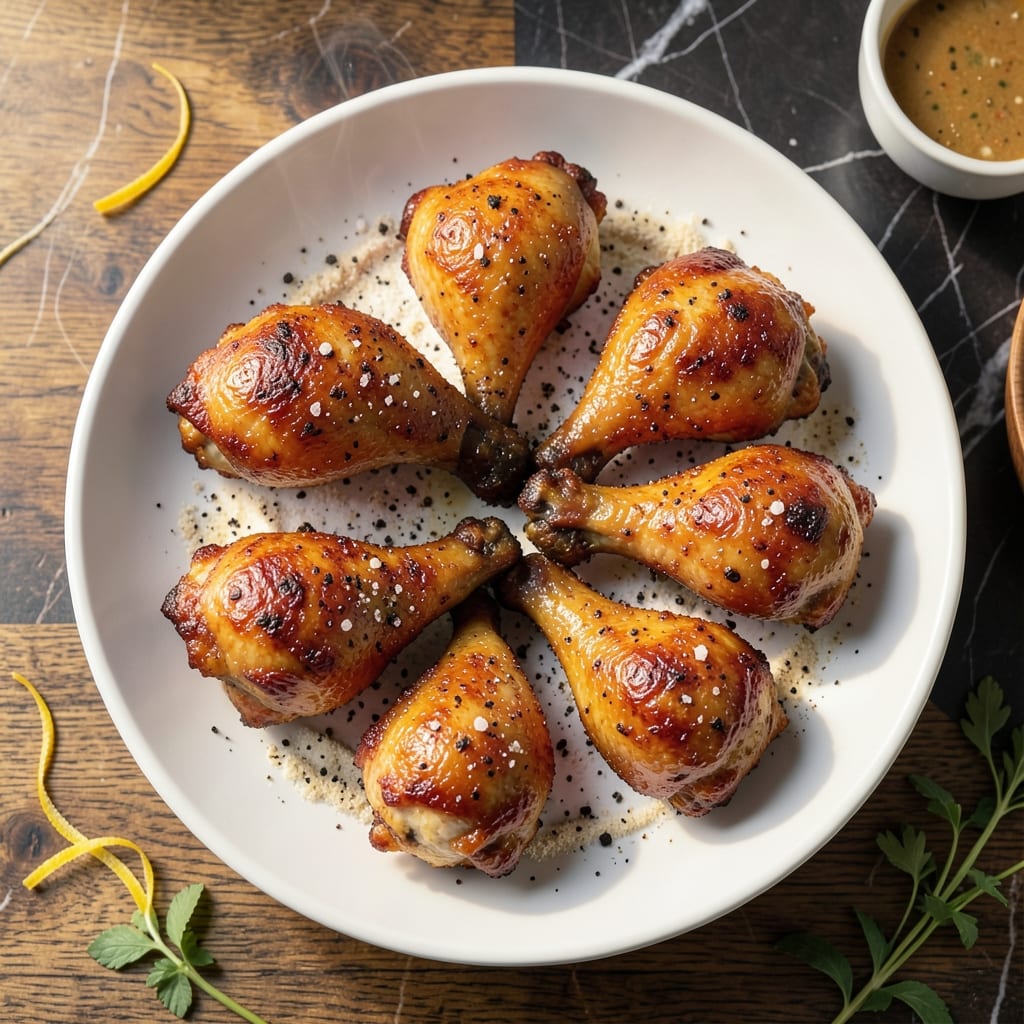
Achieving perfectly crispy fried chicken at home requires precision and patience. This double-fry method guarantees a shatteringly crunchy exterior while keeping the meat inside tender and juicy.
The first fry cooks the chicken through, while the second at a higher temperature creates that signature golden crust. Using buttermilk in the marinade ensures the meat stays moist during the frying process.
Each piece emerges with a deep golden-brown color and an audible crunch with every bite. The double-fry technique locks in flavor and texture that single frying can’t match.
Serve immediately for the best experience, as the chicken is at its peak freshness right out of the oil. This method delivers professional-quality results every time.
Ingredients for Fried Chicken Recipe Steps
Precision starts with quality ingredients for that signature crunch and juicy interior.
| Ingredient | Amount | Notes |
|---|---|---|
| Chicken Thighs and Drumsticks 🍗 | 3 lb | Bone-in, skin-on preferred |
| Buttermilk 🥛 | 2 cups | Full-fat for best results |
| All-Purpose Flour 🌾 | 2 cups | Plus extra for dredging |
| Cornstarch 🌽 | ½ cup | For extra crispiness |
| Kosher Salt 🧂 | 2 tbsp | Diamond Crystal preferred |
| Black Pepper 🌶️ | 1 tbsp | Freshly ground preferred |
| Garlic Powder 🧄 | 1 tbsp | Not garlic salt |
| Onion Powder 🧅 | 1 tbsp | Fresh ground preferred |
| Paprika 🌶️ | 1 tbsp | Sweet or smoked variety |
| Cayenne Pepper 🔥 | ½ tsp | Adjust for heat preference |
| Vegetable Oil 🫒 | 4 cups | For deep frying |
| Large Eggs 🥚 | 2 whole | Beaten for wash |
[recipe_ingredient_scaler]
The chicken quality is paramount. Bone-in, skin-on thighs and drumsticks yield the juiciest results—avoid boneless cuts as they dry out. Whole Foods or local butchers often carry high-quality, air-chilled options. For buttermilk, full-fat versions (like Organic Valley) provide superior tenderness and flavor in the marinade compared to low-fat alternatives.
Need a buttermilk substitute? Whole milk with 1 tbsp vinegar per cup works in a pinch. For gluten-free, swap all-purpose flour for rice flour or a 1:1 gluten-free blend. No cornstarch? Arrowroot powder at the same ratio maintains crispiness. The oil must have a high smoke point—peanut oil is ideal but vegetable or canola work too.
Marinate the chicken overnight for maximum flavor penetration. Leftovers (if any) stay crispy when reheated on a wire rack in a 400°F oven for 10-12 minutes. Consume within 2-3 days for optimal texture, as the coating softens with time. Never refrigerate fried chicken in a sealed container—it traps steam.
Why You’ll Love This Recipe
- One Bowl Wonder: I mix the buttermilk and spices in one bowl, dip the chicken, and coat it—no fancy prep or extra dishes.
- Crispy Outside, Juicy Inside: The cornstarch in the flour blend gives it that shatter-crisp crust while the buttermilk keeps the thighs and drumsticks absurdly tender.
- Feeds a Hungry Table: Between us, it’s my go-to for Sunday suppers or when the kids bring friends over—always disappears fast.
- Budget Stretcher: Chicken thighs and drumsticks are cheap, and this recipe turns them into something everyone thinks came from a fancy joint.
Step-by-Step Instructions for Fried Chicken
This double-fry method ensures maximum crunch and juiciness with every bite.
Step 1: Brine the Chicken in Buttermilk
Place the 3 lb Chicken Thighs and Drumsticks in a large bowl and pour in the 2 cups Buttermilk. Ensure each piece is fully submerged for even marinating. The buttermilk tenderizes the meat while adding a subtle tang that balances the richness of the final dish.
Cover and refrigerate for at least 4 hours, or ideally overnight. This extended brine time allows the buttermilk to penetrate deeply, resulting in meat that stays moist even after the high-heat frying process. Don’t skip this step—it’s the foundation of flavorful, juicy chicken.
Step 2: Prepare the Dredging Mixture
In a large shallow dish, whisk together the 2 cups All-Purpose Flour, 0.5 cup Cornstarch, 2 tbsp Kosher Salt, 1 tbsp Black Pepper, 1 tbsp Garlic Powder, 1 tbsp Onion Powder, 1 tbsp Paprika, and 0.5 tsp Cayenne Pepper. The cornstarch is key here—it creates an ultra-crispy crust that shatters with each bite.
In a separate bowl, beat the 2 whole Large Eggs until smooth. This egg wash will act as the glue between the buttermilk-marinated chicken and the seasoned flour mixture, ensuring the coating adheres perfectly during frying.
Step 3: First Fry for Even Cooking
Heat the 4 cups Vegetable Oil in a deep, heavy-bottomed pot or Dutch oven to 325°F. Use a thermometer for precision—oil temperature is critical for even cooking and preventing a greasy finish. While the oil heats, remove the chicken from the buttermilk, letting excess drip off, then dip each piece in the beaten eggs before dredging in the flour mixture.
Press the flour mixture firmly onto each piece to create an even, thick coating. Carefully lower the chicken into the hot oil, working in batches to avoid overcrowding. Fry for 12-15 minutes until the coating is set and the chicken is cooked through. The pieces should be light golden brown at this stage. Transfer to a wire rack to drain.
Step 4: Second Fry for Extra Crunch
Increase the oil temperature to 375°F. Once hot, return the chicken to the pot and fry again for 3-4 minutes until the coating is deep golden brown and ultra-crispy. This double-fry technique ensures the interior stays fully cooked while the exterior achieves that coveted shatter.
Drain on a clean wire rack—never paper towels, as they can trap steam and make the crust soggy. The chicken should be so crispy that you hear a distinct crunch when cutting into it.
Pro Tips For Making Fried Chicken Recipe Steps
- Double-Dredge the Chicken: Dip each piece in buttermilk, then flour, then back in buttermilk and flour again—this builds a thicker, crunchier crust that actually stays put.
- Heat the Oil First: Get your oil to 350°F before adding chicken; I learned this the hard way after pulling out soggy, greasy pieces from lukewarm oil.
- Pat the Chicken Dry: Blot the thighs and drumsticks with paper towels before dredging—excess moisture makes the coating slide right off.
- Rest Before Frying: Let the dredged chicken sit for 10 minutes on a wire rack; this helps the coating adhere and keeps it from flaking into the oil.
Dietary Considerations for These Flavors
Gluten-Free Crispy Option
Swap the all-purpose flour for a 1:1 gluten-free blend like King Arthur’s Measure for Measure. Add 1 extra tbsp cornstarch to compensate for texture differences. The result is just as crispy and golden. 💪
Lower-Calorie Baking Method
For a lighter version, bake at 400°F on a wire rack for 35-40 minutes. Spray with avocado oil before baking for extra crunch. Flip halfway through for even browning.
Dairy-Free Buttermilk Substitute
Mix 2 cups unsweetened almond milk with 2 tbsp lemon juice or vinegar. Let sit for 10 minutes to thicken before using. The acidity mimics buttermilk’s tenderizing effect perfectly.
Reduced-Sodium Version
Cut the kosher salt in half and add 1 tsp celery salt for depth. Use low-sodium chicken broth in the marinade if desired. The flavor remains robust without excess salt.
Lactose-Intolerant Adjustments
Replace buttermilk with 2 cups coconut milk plus 2 tbsp apple cider vinegar. The tang is subtler but effective. I’ve tested this with great results for my lactose-sensitive friends.
Vegan Adaptation
Use cauliflower florets or tofu pieces instead of chicken. Marinate in the same buttermilk substitute, then coat and fry as directed. The double-fry method works wonderfully for plant-based options too. ✨
Nutrition Facts
Frequently Asked Questions
Why use buttermilk for marinating?
Buttermilk tenderizes the meat and adds subtle tang. Its acidity breaks down proteins, keeping chicken juicy through frying.
What oil works best for frying?
Use oils with high smoke points like peanut or vegetable oil. They handle 375°F without burning, ensuring crisp results.
How do I keep the coating crispy?
Drain on a wire rack, never paper towels. This prevents steam buildup that could soften the crust.
Can I bake instead of fry?
Yes! Bake at 400°F for 35-40 minutes on a rack. Spray with oil for extra crunch.

Trained in classic French technique but raised on slow-cooked ribs and spicy rubs, she blends culinary skill with smoke and soul.